Custom Pet Tee

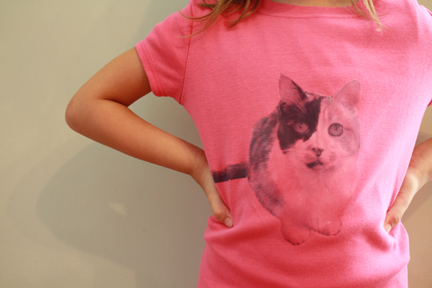
I saw some super-cute pet tees at Mini Boden and decided to make some of our own with a photo of our cat Kiki.

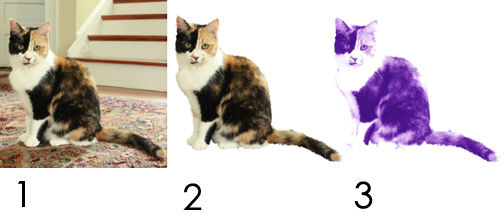
The hardest part of this project was getting the cat to pose. I used Photoshop to edit the pictures, but perhaps you could use another free photo program? I looked at a couple of tutorials for extracting an image from a background here and here. Then I brightened up the photo, desaturated it, added some color and flipped it to print in mirror image. I printed the image on iron-on transfer paper (available at office supply stores), pressed it onto the fabric and voilà — a custom pet tee! I’m thinking of embroidering around the edge, maybe with some silver thread on the one above since this is my glamour girl. And they would definitely be cute worn over striped tees like the Mini Boden shirts.
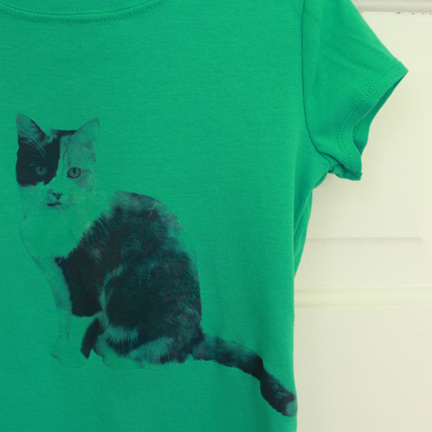
Here’s the other one that I made for my older daughter. The kids picked out the colors and the pose. And of course this kid wouldn’t model for me. She’s apparently seven going on seventeen. Such attitude, but I think she actually likes the shirt.

Here’s the progression of the images:
Lunch Bag

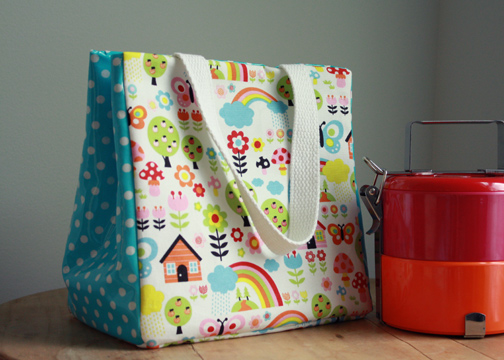
For some reason, I get obsessive over lunch containers. I love to look through the bento blogs and I’m always cutting the girls’ sandwiches with cookie cutters. I never thought I’d be this kind of parent, but here I am. I want their lunch to look good. So after I ordered this adorable stacking container set purely based on its appearance, I realized that it wasn’t insulated and wouldn’t fit in any of our existing lunch bags. I considered making a simple insulated sleeve, but then just decided to make the bag to also hold a drink, silverware and a napkin.

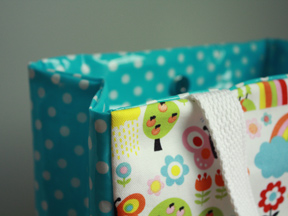
This bag is fully lined, insulated and fastens with a magnetic snap at the top. See below for variations and a link to the pattern. It was simple to make and is extra roomy (9″  x 9″ and 5 1/2″ deep). I used vinyl-coated cotton, but acrylic-coated cotton may be a safer and more eco-friendly choice. If you have a teflon presser foot attachment, that’s helpful but not required as you’ll mostly be sewing the vinyl right sides together. I got the printed fabric from Fabricworm, but it looks like it’s currently out of stock. It is perfect for my five-year-old and even has bits of glitter in the fabric.

Variations on this pattern:

  • Make it your own size. Change the dimensions to suit your needs. This bag is large enough to work for an adult lunch bag as well. Simply choose your favorite fabrics or try a basic black.
  • Use all cotton. This is a simple tote bag pattern and can be made with all organic cotton for easy care in an eco-friendly fabric.
  • Add a flap. By simply inserting a lined flap in the final step, you can help keep food contained. You’ll need to move the magnetic snap to the front of the bag and use one strap attached to the sides.
  • Make a tab. You could also make a simple tab with the magnetic closure attached to it.
  • Add a zipper. Someone mentioned in the comments that she might like to add a zipper, which is a great idea. But I’d suggest omitting the side pieces and squaring off the bottom corners of the bag (similar to the construction of this tote). This would make zipper installation much less complicated.
  • Add a pocket. You could easily add a pocket to the inside for an ice pack, an outer pocket for notes, or a side pocket for a drink. But this is a pretty roomy bag as it is.

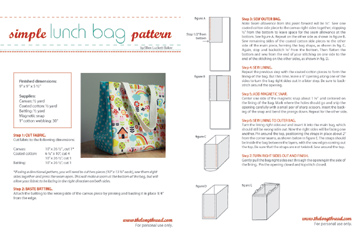
Click on the image below to download the pattern .pdf file.

Sewing Notions Sun Prints

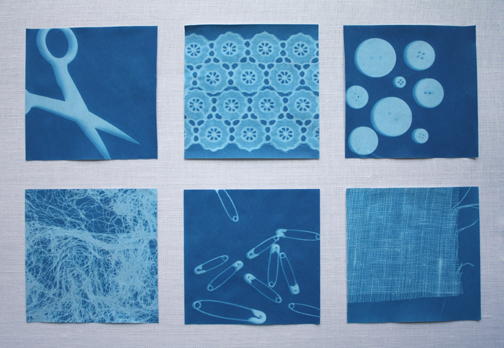
Looking for some simple artwork for a sewing room? The kids and I made these quick and easy sun prints with photo-sensitive sun print paper.

Simply choose your favorite objects from the sewing room and arrange them on the paper indoors. Two-dimensional objects can be covered with a clear piece of plexiglass to hold them in place. Then move the paper and objects outdoors in direct sunlight for about two minutes, being careful not to bump around the objects. Rinse the paper and let it dry. That’s all there is to it.

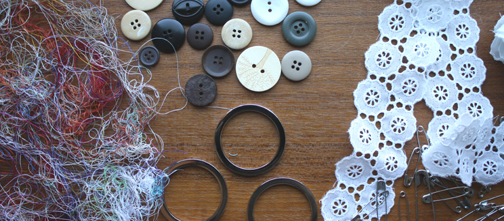
Here we used scissors, eyelet trim, buttons, thread, safety pins and burlap and mounted them to a linen-covered board.

Kids’ Drawing Case

make-it-monday

kids-drawing-case

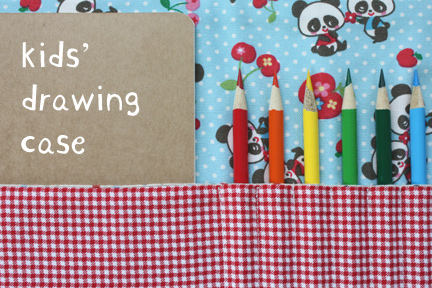
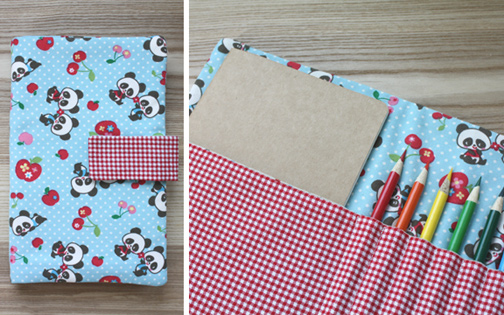
Here’s a pattern for a kids’ drawing case that holds 8 colored pencils and a notebook and folds over with a Velcro tab closure. Handy for travel, it also makes a quick and easy gift for kids of most any age. I made several of these over the weekend for birthday gifts.

You could embroider the child’s name, add an appliqué design, or customize it in any way you choose. I made two of these without the quilt batting, but found that the use of batting provides an added cushion and weight. You can use a lightweight cotton canvas or any cotton fabric. For the notebook, I used a 5″ x 8 1/4″ moleskine, available here.

kids-drawing-case2

Want to make one? Click here to download the .pdf file with instructions. If you make one, show us by uploading your photos to the Flickr Make it Monday group.

Reversible Table Runner

make-it-monday

linen-table-runner1

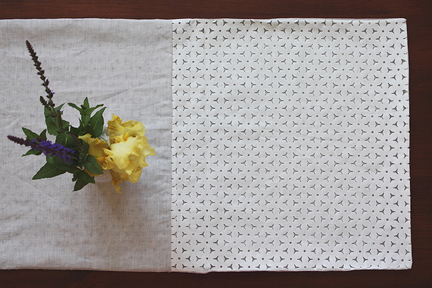
Here’s a quick project as you get ready for warmer weather. A linen runner made from two different fabrics for a reversible effect. I used a die-cut linen that I found locally, but you could create this textured look with lace, eyelet, an old tablecloth, sheer embroidered linen, or a single gauze cotton. This runner would be perfect for a summer dinner party and would also make a nice Mother’s Day gift. The finished size is 16″ x 60″, but you will have enough fabric to make the center pieces larger to suit your needs.

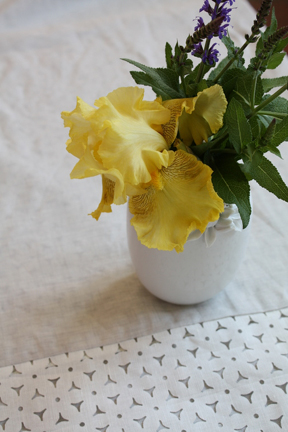
And look at that, my mother’s irises finally bloomed in our yard after coming up with no blooms for five years.

linen-table-runner2

Here are the instructions:

Supplies:
Linen, 2 yards (1 yard each of two colors)
Matching thread

Seam allowance: 1/2″

1. CUT FABRIC: Cut fabric according to the dimensions shown below.

step-1

2. SEW PIECES TOGETHER: Sew the two opposite shorter pieces to each long piece, right sides together. See below for fabric layout. Trim the excess fabric and press the seams flat. If you are concerned about your fabric fraying, finish the raw edges with an overcasting stitch.

step-2

3. SEW RUNNER TOGETHER: Place pieced sides right sides together and pin them in place, being sure to align the seams. Sew around all sides, leaving a 6″ opening to turn the fabric right sides out, as shown below. Trim the excess fabric and sew an overcasting stitch, if desired. Turn right sides out and poke out the corners with a blunt tool. Sew the opening closed by hand.

step-3