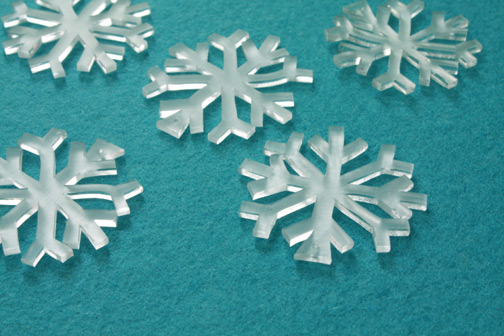
Shrinking Snowflake Necklace

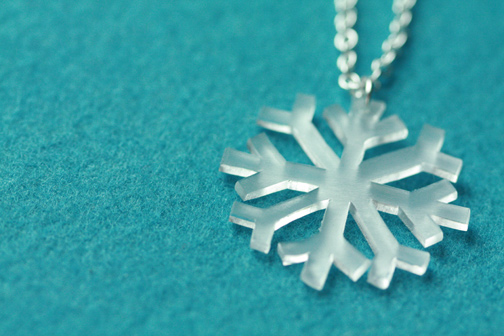
I made these for party favors for my daughter’s birthday, but I’ve been wearing one of them around myself so I don’t think this is just a kids’ project. But it does involve shrinky dinks! If you haven’t worked with shrinkable plastic before, you can buy it online or at your local craft store.

Supplies:

  • Shrinking plastic (frosted, not clear)
  • Small, sharp scissors
  • Snowflake template (see link below)
  • Mini hole punch (1/8″)
  • Toaster oven
  • Necklace chain with jump ring
  • Pliers

1. Print the snowflake template and cut the plastic according to this shape. It’s helpful to cut your plastic down to a smaller size as it’s easier to work with as you cut. Punch a hole at the top where indicated.

2. Melt the snowflake in the toaster oven according to the instructions on your shrinking plastic. If any of the tips get stuck together, you can pull them apart while it’s still hot and re-shrink it to lay flat. When you remove the snowflake from the toaster, immediately place it on a flat, heat-resistant surface and put a pot or drinking glass on top to flatten it.

3. Bend jump ring open and insert it into the hole in the snowflake, thread it onto the necklace chain, and bend the jump ring closed to secure it.
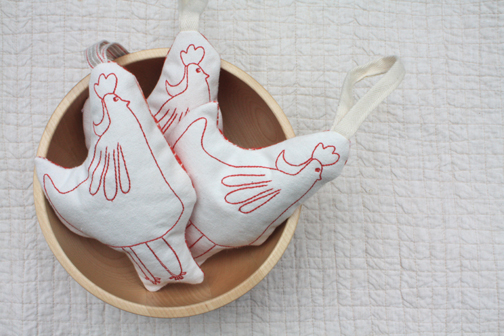
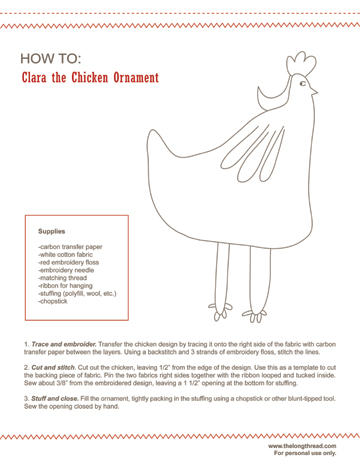
Clara the Chicken Ornament

Here’s one of the projects that we made for the craft fair over the weekend. I’ll be writing a wrap-up post about the event tomorrow, but I wanted to pass along this tutorial for “Clara the Chicken”, drawn by my five-year-old. We actually have quite a few of these left, so they will be adorning many of our holiday packages.

Click the image below for the embroidery pattern and full instructions. And I’d love to see photos of your creations in the Make it Monday Flickr group.

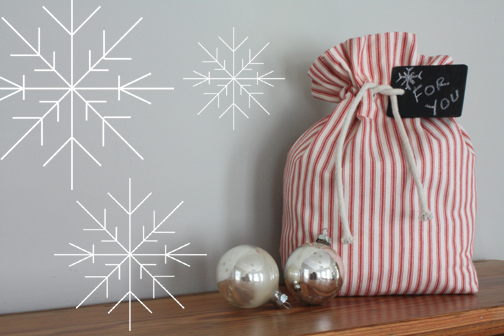
Bag it. Tag it.

Happy Holidays?! I know it’s early, but get started now and relax when the holidays are finally here.

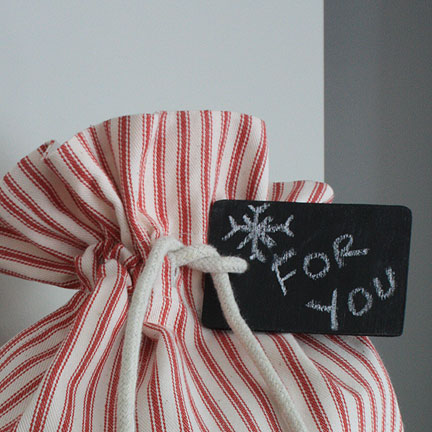
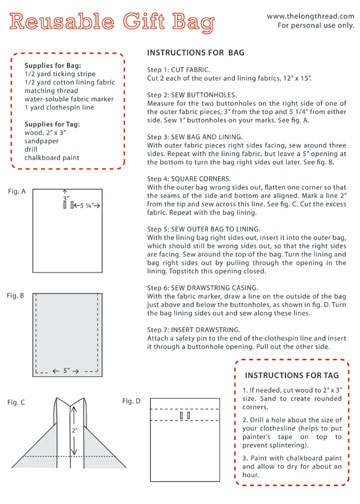
Here’s a quick drawstring bag and wooden chalkboard tag that you can reuse for a thrifty and eco-friendly holiday. I opted for simple, but you could change up the fabric, or use a satin ribbon or rick-rack trim for the drawstring. Two buttonholes on the front of the bag allow the string to hang in the front and the drawstring casing is created by simply sewing a channel in the outer and lining fabrics. These would be simple to make in many different sizes for all of your holiday gifts.

Click on the image below to print out the full instructions.

Skirt with Built-in Shorts

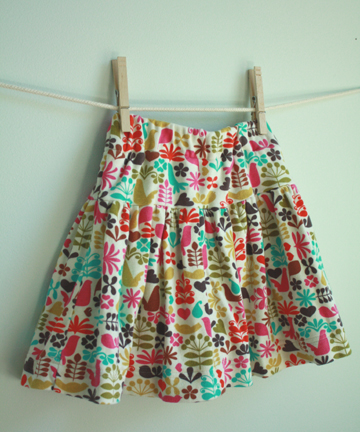
Not really a skort, but a full skirt with shorts underneath for your little tree-climbing, cartwheel-turning girl.

My kids love the clothes from Hanna Andersson, so when I saw this Scandinavian-style print from Patty Young (for Michael Miller), I knew I had to make them some skirts like the ones they love so much. I rarely sew with knits and I don’t own a serger, but my kids love comfortable clothes. I’d say this makes about a size 6, but with an elastic waist you can easily adjust the waist and length to fit any kid. You could also skip the shorts if you want, or make them long and narrow with a contrasting fabric for built-in leggings. The skirt here has a wider waistband than what’s written in the instructions, but that’s just what I had on hand. I didn’t get a very good photo of the shorts on the inside, but they’re just basic.

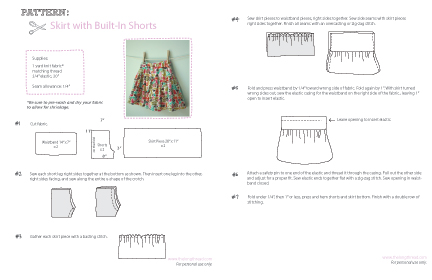
So if you want to make one like this, you can download the .pdf instructions by clicking on the image below.

So if you want to make one like this, you can download the instructions by clicking on the image below.

Lazy Daisy Pillowcases

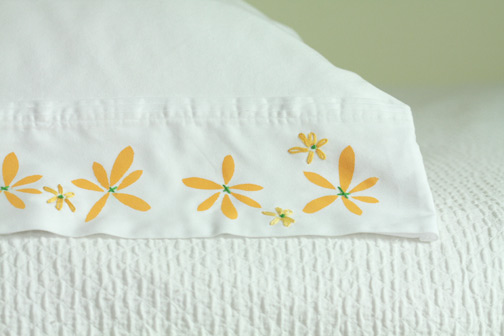
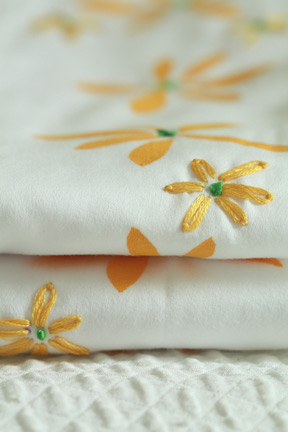
I just bought some organic sheets for the girls’ beds, but wanted to add something sweet to the plain white. So I used a freezer paper stencil and some embroidery to make these cheerful daisies. I’ve been inspired a lot lately by Vera Neumann prints. Here’s what you’ll need:

  • daisy template
  • painter’s tape
  • craft knife
  • cutting mat
  • pillowcases
  • freezer paper (found at the grocery store)
  • iron
  • fabric paint
  • foam or stencil brush (I use the end of a foam roller)
  • scrap cardboard or plastic
  • embroidery floss in yellow and green
  • embroidery needle

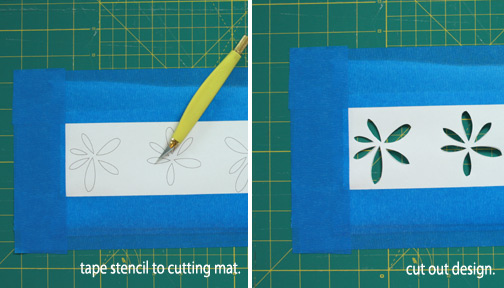
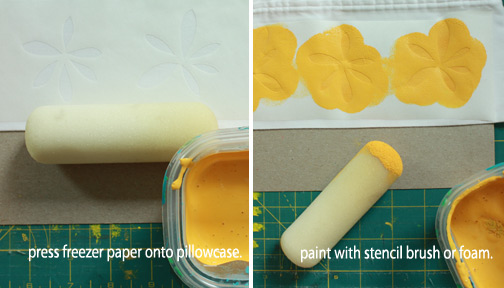
If you’ve never made a freezer paper stencil before, you’ll find that they couldn’t be easier. Just print out the template, cut into two rows and tape it on top of the freezer paper on the cutting mat. Cut out the design with a craft knife, as shown below. Press the shiny side of your freezer paper to the pillowcase edge with a hot iron (no steam). Place scrap cardboard or plastic inside your pillowcase so that your paint doesn’t bleed through. Then paint your design, wait a minute, then carefully peel off the freezer paper.

Allow the paint to dry for at least 24 hours, then start the embroidery. I used a lazy daisy stitch, french knots and a simple cross stitch. If you aren’t familiar with these easy stitches, there are lots of video tutorials for the stitching available on YouTube (here and here). I made my daisies a bit wonky to match the stencil design. You could also use this stencil for curtains, bags, skirt hems, dish towels, aprons or whatever you can imagine.