Super Simple Ruffled Skirt

make-it-monday1.jpg

skirt2.jpg

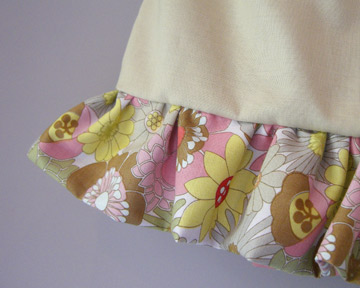
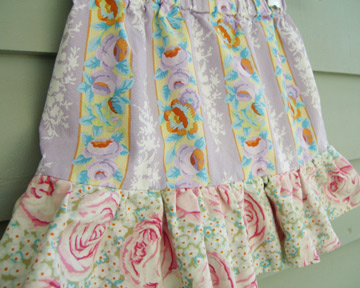
There are lots of girl’s skirt patterns out there (like here and here), but I made these the other day and thought I’d post the pattern since they were super simple and quick. My girls love the ruffles, but one is really enough for me to gather and sew.
skirt1.jpg

Our children are tiny, so it’s difficult for me to gauge sizes, but the instructions below are for a small size 3 (European size 90). I added about 2 inches to the ruffle for my five-year-old, making the skirt 1″ longer (shown in second photo). The pattern below makes a pretty short skirt (about 9 1/2″ from waist to hem), so you might want to measure your child and adjust accordingly.

Supplies:

  • About 1 yard of fabric or 1/2 yard each contrasting fabrics
  • 3/4″ elastic (about 20″ or so, depending on child’s size)
  • matching thread

Step 1: Cut fabric

Cut 2 each: 9″ x 15″upper part of skirt, 6″ x 30″ ruffle. Turn on your iron.

Step 2: Make side seam and Waistband

Sew upper skirt pieces, right sides together to create one of the side seams. Finish inside raw edge of seam*.  Sew overcasting stitch on bottom raw edge of fabric.

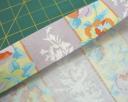
At the ironing board, fold down top edge 1/2″ towards the wrong side of fabric, press and fold again 1″ to create the opening for elastic, as pictured below.

waistband.jpg

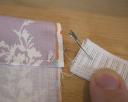
Sew in place. Measure child’s waist and cut elastic accordingly. Use a safety pin to feed elastic through the waistband:

elastic.jpg

Then pin at both ends to hold elastic in place for the next step. Optional: If you want to ensure that the elastic will not get twisted, you may sew it in place. Sew in the center of the waistband, pulling the elastic taut from the front and back as you sew. Pictured below.

sewing-elastic.jpg

Step 3: Make Ruffle

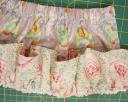
Fold each ruffle piece in half lengthwise (wrong sides together) and iron or pin in place. Sew together with 1/4″ seam and finish raw edge. Then sew two ruffle pieces together to create one long 60″ strip of fabric. Use a basting stitch to create gathers, being sure to leave extra long bobbin threads on both ends. Pull bobbin thread gently from one end then the other to create gathers. Pin in place on the skirt, right sides together and upside down (as shown below), starting at the center seam and working your way out. Adjust the gathers as you go.

pinning-ruffle.jpg

Step 4: Finish

Sew remaining side seam, right sides together from the bottom of the skirt to the bottom of the waistband. Then sew elastic together with a zigzag stitch. Fold fabric edges of opening under and topstitch in place. Finish inside seam.

Done!

*When my instructions say to “finish” a seam, I mean to finish the raw edge of the fabric with an overcasting stitch after sewing the seam to avoid fraying. I often use a heavy overcasting stitch to join my fabrics and finish the edges at the same time. If you have a serger, lucky you!

As always, patterns posted on the long thread are for your personal use only. See licensing information at the bottom of this page. Thanks!

Be sure to upload your photos to the Flickr Make it Monday group.  I love to see what you create!

Patchwork Flower

make-it-monday.jpg

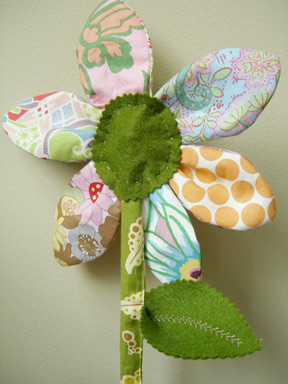
patchwork-flowers1.jpg

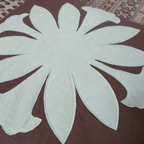
Here’s a quick little patchwork flower that you could use in a kid’s room or on a windowsill. I think a series of three in terra cotta pots would be sweet (like these I posted about a while ago). My kids are using this one as a magic wand. 

Does a picture say a thousand words?  Try to decipher my photo instructions here.  E-mail me if you have questions about how to make this and I’ll post more details.

Make it Monday

Just didn’t get to the Make it Monday project this week.  But here’s a re-cap of the how-to projects I’ve posted in the past.  Click on the image to see the original post.

matryoshka-small.jpgpillow-small.jpg

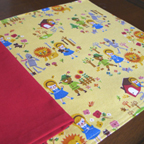
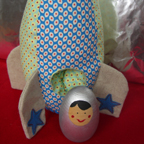
placemat-small.jpgrocket-small.jpg

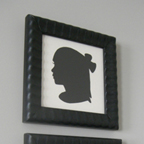
silhouettes-small.jpgcape-small.jpg

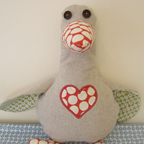
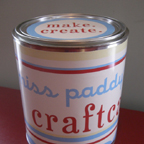
goose-small.jpgcraftcan-small.jpg

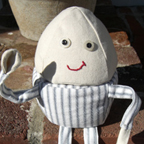
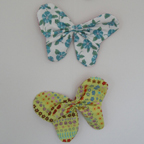
humpty-dumpty-small.jpgbutterfly-small.jpg

Butterfly Mobile

make-it-monday-smaller.jpg

butterfly-mobile-1.jpghanging-mobile2.jpg

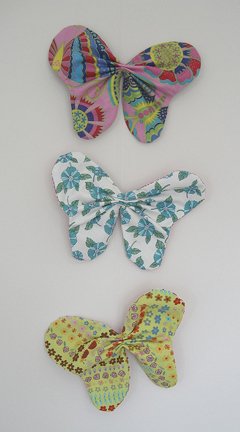
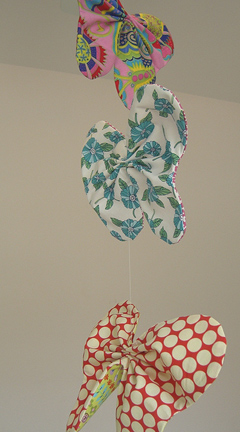
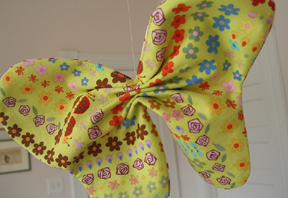
I was inspired by this post about paper butterflies on craftster. The photo on the left is of my mobile hanging on the wall and the one on the right is the mobile hanging from the ceiling. I made each butterfly two-sided with contrasting fabrics. I think it would be sweet in a child’s room or you could use more adult fabrics and hang it in celebration of spring. A smaller version of this butterfly could also be used as an embellishment or could be made as a garland.

Supplies for Three Butterflies:

  • Fabric (1/4 yards or remnants of six different fabrics)
  • Interfacing, optional (1/2 yard)
  • Thread
  • Monofilament (fishing line)
  • Sewing needle with large eye

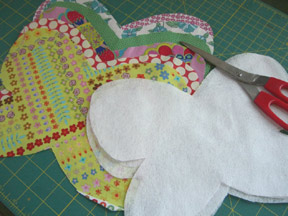
Step 1: Cut fabrics and interfacing according to template: butterfly.pdf (48KB)

cut-fabric.jpg

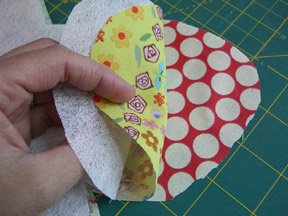
Step 2: Sew fabrics right sides together with interfacing on top (as shown below). Begin sewing about 1 1/2″ from the top center of the butterfly and sew around until you are again 1 1/2″ from the center (this will leave an opening about 3″ wide). Trim excess fabric, particularly around curves, and turn right sides out through opening. Press down corners. Fold under fabric at opening 1/4″ and press down. Sew opening closed. Repeat for other two butterflies.

fabric-layers.jpg

Step 3: Cut the full length of monofilament (about 4′) and thread through the needle. Take first butterfly and fold accordion-style. Hold in place with one hand. Then insert needle at the center top of the butterfly and pull through (you’ll have to push hard to get it through all layers of fabric) leaving the length at the top of the butterfly that you’ll need to hang it (about 12-18″). Thread monofilament back up through the butterfly and then down again. This should be secure and you will not need to make a knot. Continue to next butterfly leaving a space between them. Repeat. Tie a knot at the end and trim the monofilament, leaving an inch so the knot won’t slip out.

butterfly-mobile2.jpg

All done! Obviously, if you are going to hang this above a crib, you should hang it securely and well out of the child’s reach. If you make these, please submit a photo to the Make it Monday Flickr group here.

And the winner is….

Mar!  Congratulations to Mar who wrote post #20 “I’ll keep my finger crossed till tonight!”.  Thanks to everyone for playing along.  I hope to have more give-aways in the future.  In the meantime, you can make a Humpty Dumpty toy of your very own.