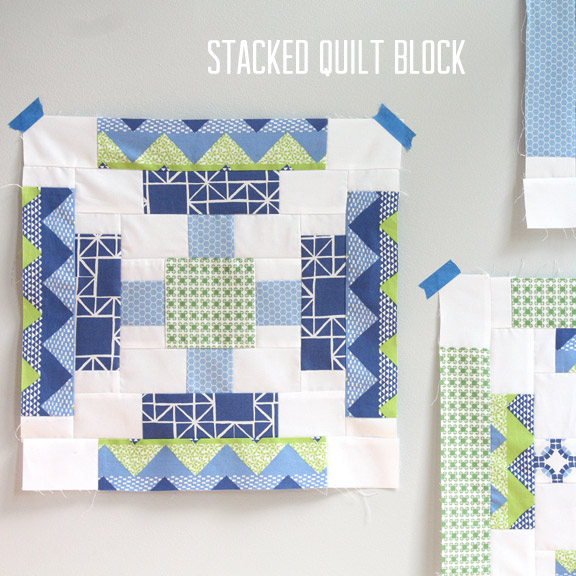
Stacked Quilt Block

It is Monday and I am posting a tutorial. I know I haven’t done a Make it Monday post in quite some time! I made these blocks last week using my new Quilt Blocks collection and thought I’d share quick instructions. So I made a quilt block using Quilt Blocks. How meta. Tomorrow I’ll show you how to make glue using glue. Ha!

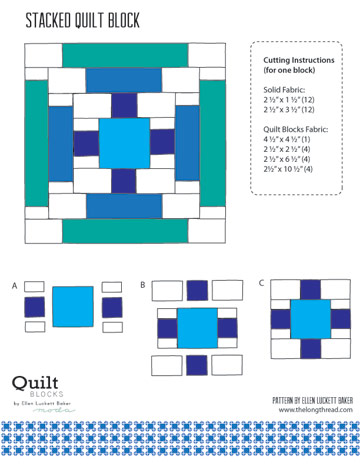
Anyway, this makes a 16″ finished block and you can easily use a pre-cut jelly roll since the strips are all 2 1/2″. You can download the .pdf instructions by clicking on the image below. I gave you the cutting measurements, plus some quick illustrations that will get you started. After you’ve made the first square, you just keep going, Log Cabin style.

Click here for a list of shops that are now shipping the Quilt Blocks fabric.
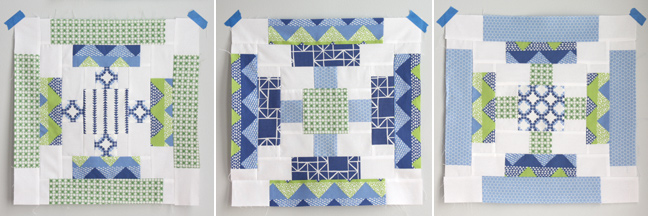
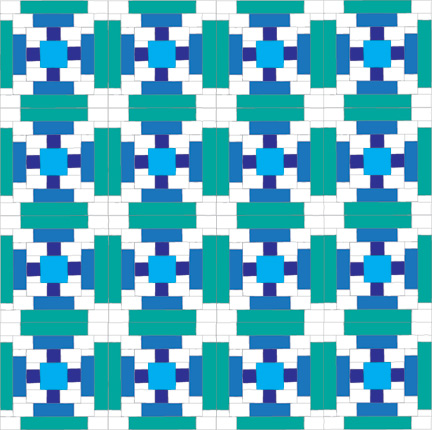
Oh, and here’s how it might look all together, if you made every block the same. The stars print that stands out so well in the image above comes in five colorways and I plan to make a quilt from four of the five colors, making each block the same. So you’ll see that next year!
Rope Handbag

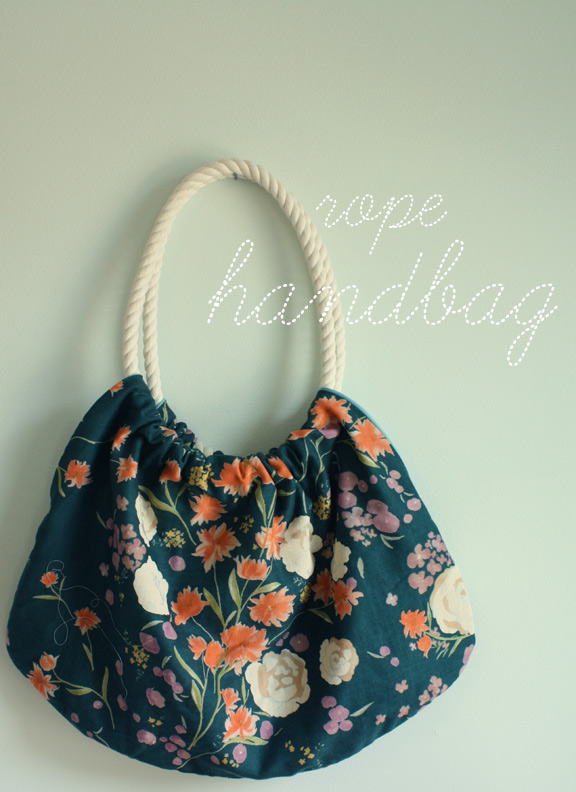
Here’s a quick tutorial for a handbag with rope handles. I’ve pretty much been making the same summer bag for the past couple of years (see here and here).

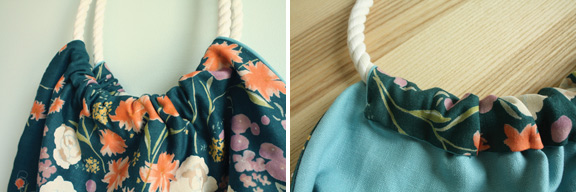
Long story, but I bought some heavy-duty cotton rope to use for chair seats, then decided to go with wooden seats for the chairs since we have kids standing and spilling on the chairs. So I will be doing a lot of rope projects! This rope is a bit sturdier than the rope trim that you can find in the sewing store, but I think that will do just fine for this project. You could also use bamboo handles as I’ve done in the past, following the same instructions. I secured the rope handles by sewing them and then holding them together with hidden masking tape, but I think it would be a nice detail if you used metal clamps from the hardware store — and perhaps a bit more professional!

The fabric is by Nani Iro from Matatabi.

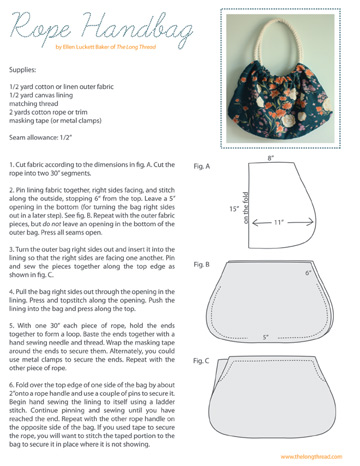
Click on the image below to download the instructions.


Crossed Quilt Block

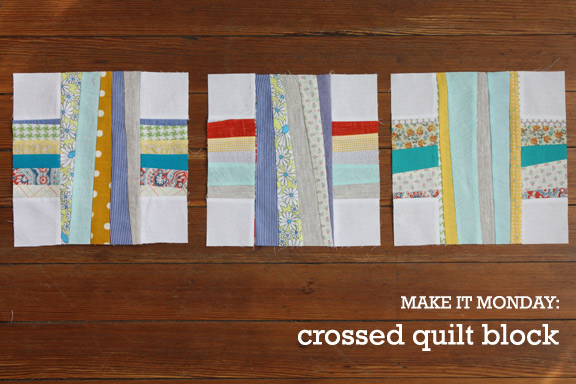
I finally started doing something with that long strip of string pieced fabrics I was working on a while back. I plan to intersperse these with plain white blocks and make a throw quilt. Looks like I need 18 of these blocks. Three down, so check back with me in another month.

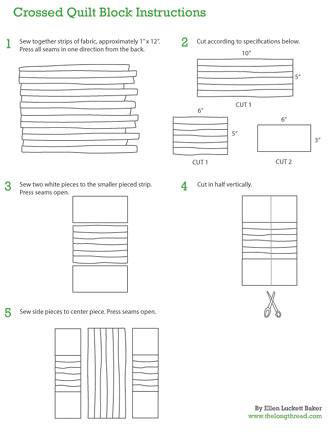
And since it’s Monday, I thought I’d include a quick tutorial for the block so you can skip the math. This makes a 10″ block. Click on the image below to print out the instructions.

Monster Tooth Pillow

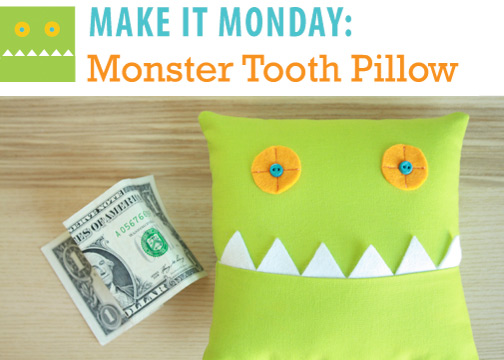
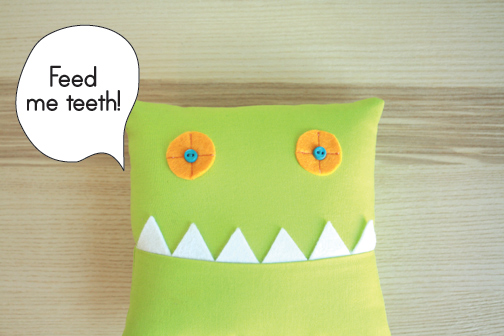
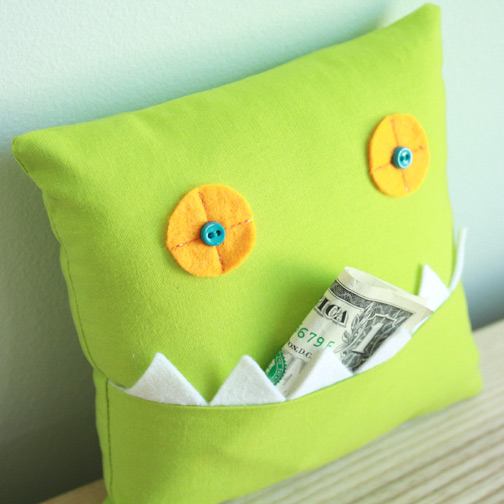
It’s Celebrate the Boy Month at Made and Made by Rae. Dana and Rae are serving up tons of boy tutorials, ideas and inspiration over on their respective blogs. Plus they are offering giveaways and other good stuff. So be sure to check it out. They asked me to make a special project for boys, so here it is! Yes, I have two girls, but we still love monsters. This little monster pillow will gobble up your child’s baby teeth and spit out money — what could be better?

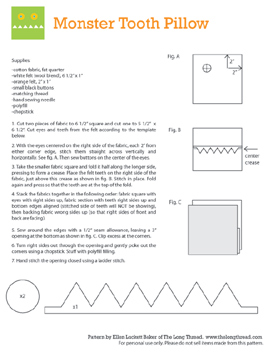
Measuring about 6″ x 6″, this little pillow is a cinch to make and I’ve given you the full tutorial with templates; just click on the image below.

Be sure to check out all of the great ideas on Made and Made by Rae during Celebrate the Boy Month.

Handmade Paper Valentines

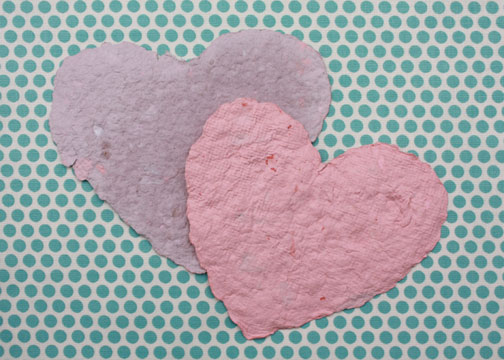
My eight-year-old made paper on a Brownie field trip last weekend, so she wanted to do it again for her Valentine cards. We’ve made paper before, but with a slightly different method. This time we poured the pulp mixture into a heart-shaped cookie cutter for the mold. She is planning to draw faces on these. My eight-year-old did almost this entire process herself, but I did operate the blender.

Below are the supplies we used, but you may be able to find things that work just as well around your house. For the paper mixture, we used recycled office paper, toilet paper tubes, a few sheets of pink paper and some red acrylic paint added for color when needed. Recycled paper is best of course, but if you have too much writing on it, the mix will turn gray. You also can not use shiny paper (magazines, food packaging, etc.).

  • recycled paper
  • blender
  • water
  • heart-shaped cookie cutter
  • small bowl (just larger than cookie cutter)
  • screens (2 cut larger than your cookie cutter)
  • plastic screen (We used plastic canvas, but you could use a sturdy wire mesh.)
  • wooden block for pressing out water
  • felt, quilt batting or paper towels for drying

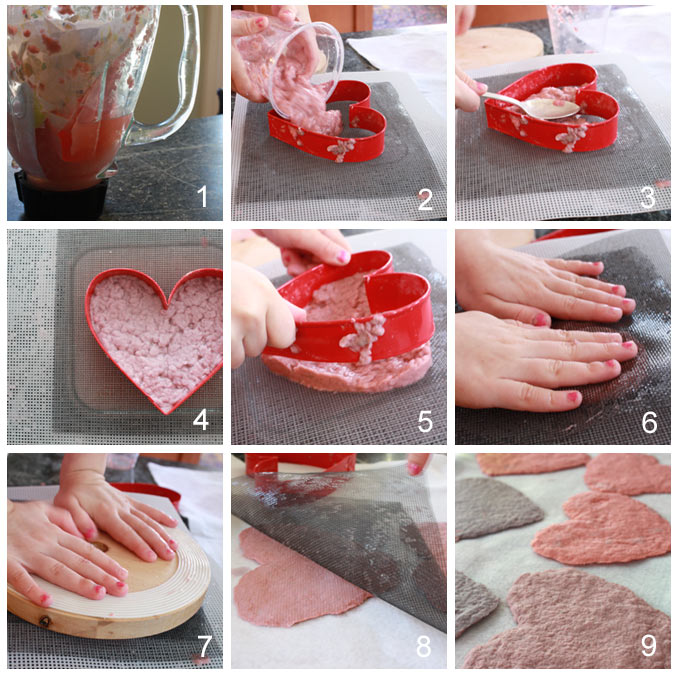
1. Rip the paper into small pieces and blend it with water. Add paint if needed.

2.  Have a bowl set up with the heavy plastic mesh on top and one screen on top of that. Place the cookie cutter in the center. Pour the paper mixture into the cookie cutter.

3. Spread it around with your fingers or the back of a spoon.

4. Allow the water to drip in the bowl while you count to 20.

5. Carefully pull off the mold.

6. Place another screen on top and gently press out more water.

7. Place a wooden block on top and press again.

8. Remove the screen and turn the heart onto the felt to dry. Blot again with the felt (if very wet, you can again apply pressure with the wooden block).

9. Allow to dry at least 24 hours before decorating.

Happy Valentine’s Day!