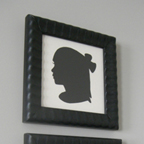
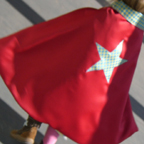
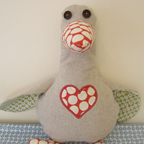
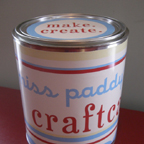
Just didn’t get to the Make it Monday project this week. But here’s a re-cap of the how-to projects I’ve posted in the past. Click on the image to see the original post.
Etsy Finds Friday
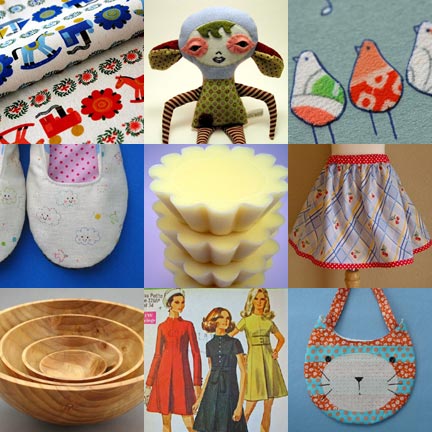
Clockwise from top left:
Japanese fabric from Karaku Tokyo, $10.50.
Loretta by Morninglori, $42.
Anna Ruby King gift cards (detail), set of 2 for $11.50.
Happy Cloud and Elephant Slippers from Alfalfa, $30.
Soy candles by Karen’s Soaps, $3 each.
Girl’s Skirt from Mary Elizabeth’s, $30.
Moon Raker Turning turned cedar nesting bowls, $225.
Vintage Simplicity pattern from Sunshine Annie Fabrics, $12.59.
Melly & Me Pussycat Bag, $25.
A few project ideas
A few quick projects from my blog surfing:
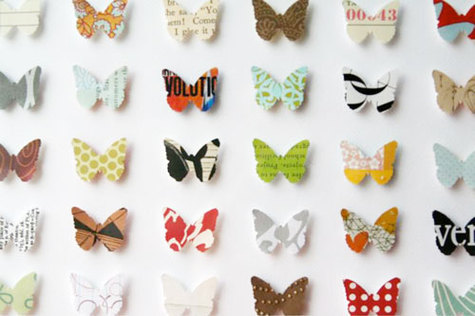
Butterfly Collage from Ali Edwards.
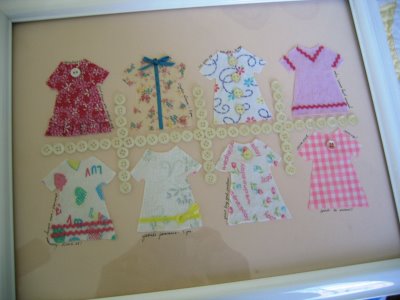
Framed dresses collage from old baby clothes at Alexa Lett.
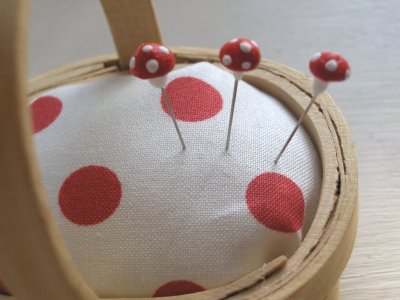
Basket Pincushion from Zakka Life.
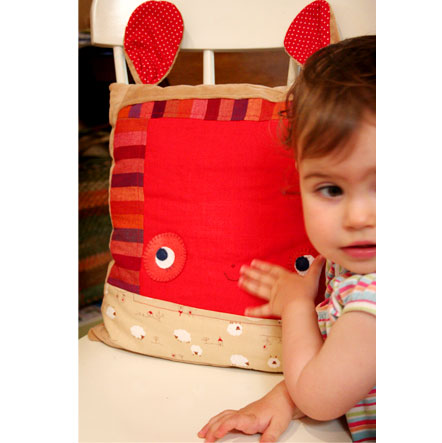
Cute and quirky pillow from Loobylu.
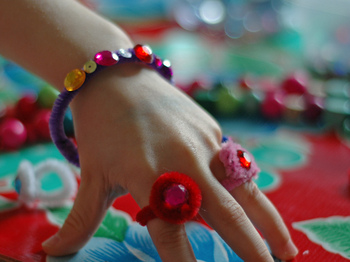
Pipe cleaner rings from Glitter Goods.
Monarch Monograms Sale
I rarely use this blog to directly promote my business and it feels a little strange to do this, but I’m working on a new business idea so there’s a sale in my shop! Visit Monarch Monograms to see all sale items.
Butterfly Mobile
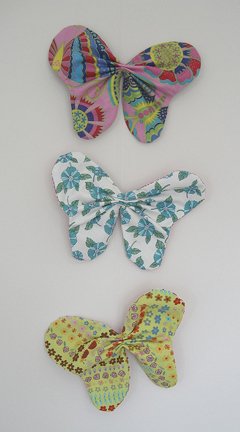
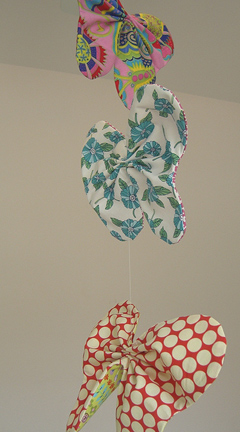
I was inspired by this post about paper butterflies on craftster. The photo on the left is of my mobile hanging on the wall and the one on the right is the mobile hanging from the ceiling. I made each butterfly two-sided with contrasting fabrics. I think it would be sweet in a child’s room or you could use more adult fabrics and hang it in celebration of spring. A smaller version of this butterfly could also be used as an embellishment or could be made as a garland.
Supplies for Three Butterflies:
- Fabric (1/4 yards or remnants of six different fabrics)
- Interfacing, optional (1/2 yard)
- Thread
- Monofilament (fishing line)
- Sewing needle with large eye
Step 1: Cut fabrics and interfacing according to template: butterfly.pdf (48KB)
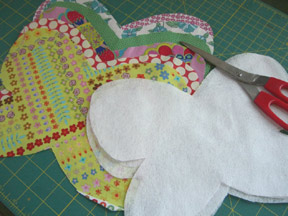
Step 2: Sew fabrics right sides together with interfacing on top (as shown below). Begin sewing about 1 1/2″ from the top center of the butterfly and sew around until you are again 1 1/2″ from the center (this will leave an opening about 3″ wide). Trim excess fabric, particularly around curves, and turn right sides out through opening. Press down corners. Fold under fabric at opening 1/4″ and press down. Sew opening closed. Repeat for other two butterflies.
Step 3: Cut the full length of monofilament (about 4′) and thread through the needle. Take first butterfly and fold accordion-style. Hold in place with one hand. Then insert needle at the center top of the butterfly and pull through (you’ll have to push hard to get it through all layers of fabric) leaving the length at the top of the butterfly that you’ll need to hang it (about 12-18″). Thread monofilament back up through the butterfly and then down again. This should be secure and you will not need to make a knot. Continue to next butterfly leaving a space between them. Repeat. Tie a knot at the end and trim the monofilament, leaving an inch so the knot won’t slip out.
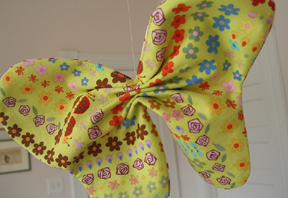
All done! Obviously, if you are going to hang this above a crib, you should hang it securely and well out of the child’s reach. If you make these, please submit a photo to the Make it Monday Flickr group here.

