Recycled Yarn Eggs

make-it-monday

yarn-eggs

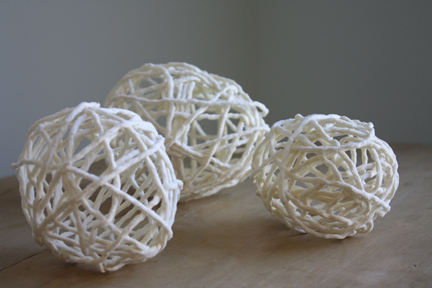
I made these before Christmas this past year, thinking they would be good ornaments. But the egg-shape of them really made me think of spring. I was inspired by this yarn bowl, but I think Martha Stewart has done something similar as well. This fiber bowl also looks like a fun spring craft project.

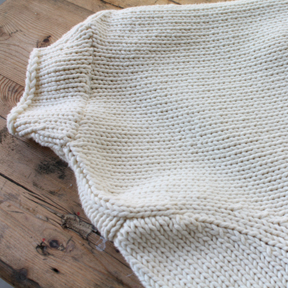
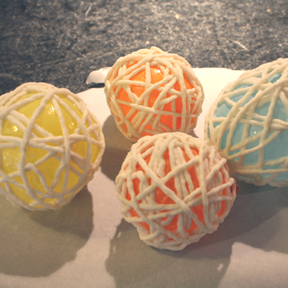
Anyway, I found a nice knit cotton sweater at the thrift store, then the kids and I unraveled it, dipped each strand in a mixture of equal parts white school glue and water and wrapped the yarn around balloons. We left the eggs on wax paper to dry overnight, then popped and removed the balloons. As simple as that. Messy and fun.

yarn-eggs-3

yarn-eggs2

Spring Pieced Coasters

make-it-monday

spring-pieced-coasters

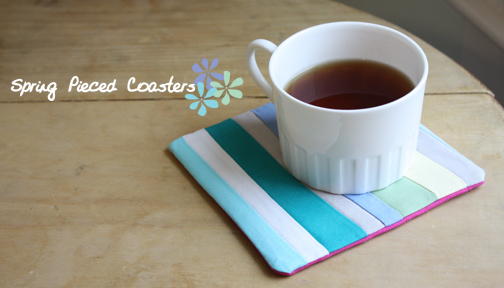
I know it’s not spring yet, just wishful thinking. I happen to have a large number of scraps in my sewing room at the moment in these lovely beach-inspired colors. And I just received a review copy of Alabama Studio Style, which has a lot of string-pieced projects (more on that later in the week).

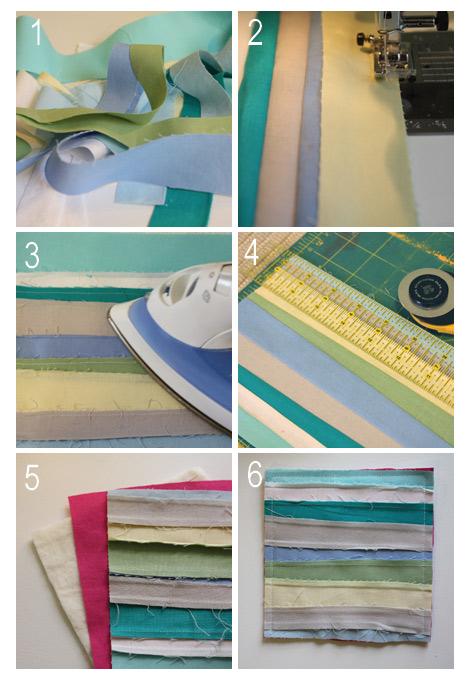
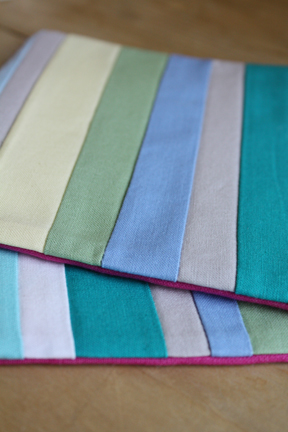
So here’s a quick tutorial for string-pieced coasters. It seems that I do a lot of coaster tutorials here, but I’m a fan of quick, easy and useful things. And this is a great project for fabric scraps.

spring-pieced-coasters-3

Supplies (for 4 coasters):

  • Fabric scraps: min. 24″ length
  • Backing fabric: 5 1/2″ x 22″
  • Quilt batting: 5 1/2″ x 22″
  • Matching thread
  1. Cut fabric scraps with minimum 24″ length. Cuts should not be straight.
  2. Sew right sides together until you have a width of 6″ or more.
  3. Press.
  4. Cut off sides and top to form a rectangle 5 1/2″ x 22.
  5. Cut out tops, batting and backing fabric in 5 1/2″ squares.
  6. Sew around, leaving an opening to turn right sides out. Opening should be on a side with one continuous piece. Clip off the corners.
  7. Turn right sides out, press and hand stitch the opening closed.

spring-pieced-coasters2

Salt Dough Hearts

make-it-monday

salt-dough-hearts

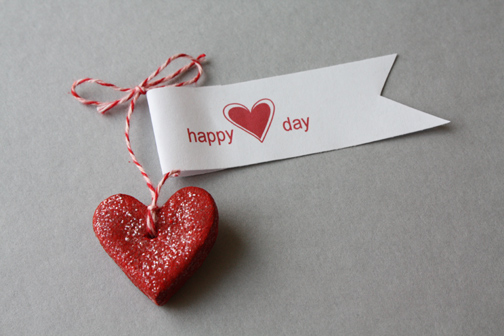
Here’s another craft standard that we’re using for Valentine’s Day. After seeing these polymer clay hearts that I linked to yesterday, I found this project. So we decided to make these little salt dough hearts for my five-year-old’s class.

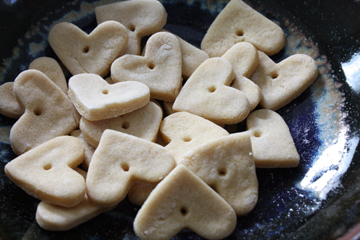
Though I think it would have been adorable to make them shaped like candies and it would have made a useful gift to add a magnet, I questioned the wisdom of giving small children something shaped like candy, particularly with a magnet attached. Then my husband proved how delicious these hearts look when he actually attempted to eat one, thinking they were cookies. (Take note, April Fool’s Day pranksters). See, don’t they look delicious?

salt-dough-hearts2

We used a small heart-shaped cookie cutter and this standard salt dough recipe: 1/2 cup salt, 1/2 cup warm water, 1 cup flour. My five-year-old enjoyed rolling out the dough and cutting the hearts. Then we poked large holes for the string, baked them at 250 for around two hours (until hard all the way through), painted with acrylic paints and dusted them with glitter while the paint was still wet. Easy!

A Colorful Valentine’s Day Card

make-it-monday

crayon-card

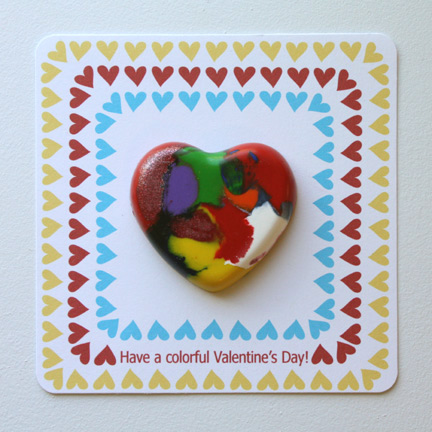
We’re planning ahead for Valentine’s Day. Since it was a gloomy weekend, the kids and I made some melted heart crayons for my first-grader’s Valentine’s Day cards. If you haven’t ever tried this project, it’s simple with great results and is a nice way to recycle broken crayons. We followed the directions from Marie at Make and Takes. The only advice I have is that the brighter colors look much better, so hide the browns, blacks and dark blues from your kids. I also used a knife on one batch to cut the crayons into even smaller bits, which I think worked well.
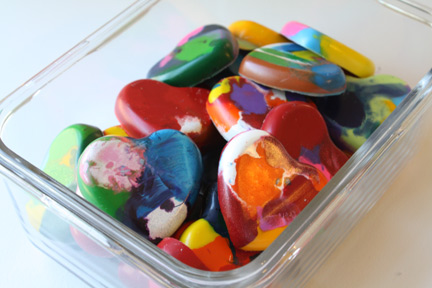
crayon-hearts

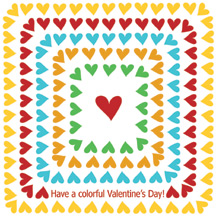
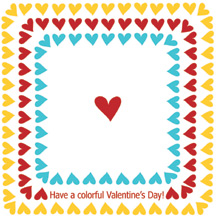
I made two versions of this card. One can be used without the crayon in the center, and the other has an open middle to attach the crayon. We used foam adhesive tape to attach the hearts to the cards. Simply click on an image below to download the .pdf file, print it out on card stock and cut. We also used a corner punch to create rounded corners.
colorful-valentine's-day-cacrayon-cards2

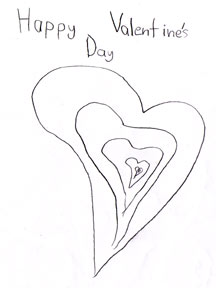
My daughter is going to send the crayons with her own drawing below, which we scanned in and will print out. That way she can decorate them as much as she likes, but if she gets tired of it, they are still done. I’ve got another idea for my five-year-old’s valentines because she really requires that everything be covered in glitter. The teachers will love that.
child's-valentine

Embroidered Ribbon Sleeve

make-it-monday

ribbon-sleeve1

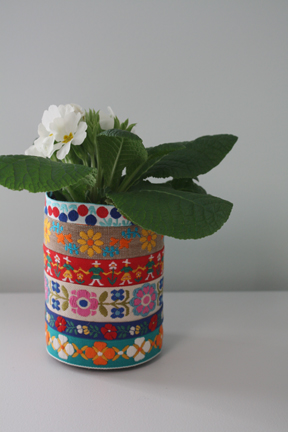
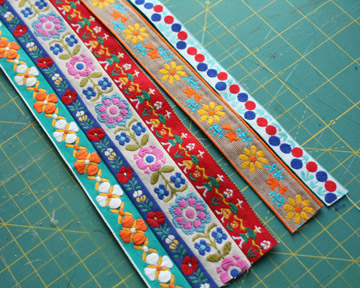
I took some old ribbon scraps and made a sleeve for a glass jar. This is a quick and easy project, a good way to use your embroidered ribbon scraps, and a free project if you’re using an old glass jar or tin can. You could also make smaller versions with votive holders or a larger version with a wide vase. Just be sure that the sides of the jar are straight (not tapered).

ribbon-sleeve3

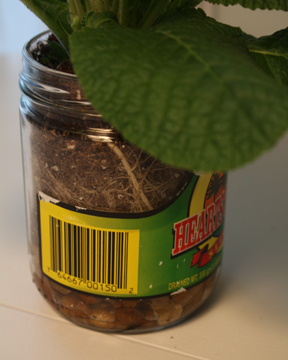
Simply cut pieces of ribbon approximately 1″ longer than the circumference of the jar and sew each ribbon right sides facing with barely any seam allowance until you have one large rectangular shaped piece. Press after each additional ribbon is sewn. Fold the piece over and sew right sides together with a 1/2″ seam allowance, forming a sleeve. Easy! I planted a primrose in this jar, but put some rocks in the bottom for drainage. I’m sure to kill it, but then I can use the jar for fresh flowers or as a pencil holder.

ribbon-sleeve2