
Humpty Dumpty GIVE-AWAY!

humpty-dumpty.jpg

make-it-monday-smaller.jpg

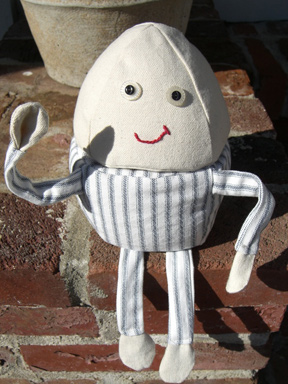
It’s Make it Monday and our first ever Give-Away! Enter to win this Humpty Dumpty toy by simply leaving a comment on this post. Entries must be received by midnight Eastern time on Tuesday night, when the winning comment number will be chosen at random. I will e-mail the winner to get the shipping address, so no need to leave any personal information in your comment. I will try to mail this so that it arrives before the weekend if you live within the continental United States. I’m willing to ship overseas, but obviously that will take longer.
sitting-on-wall2.jpghumpty-falls2.jpg

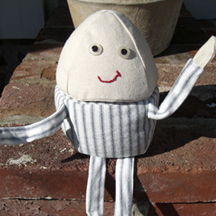
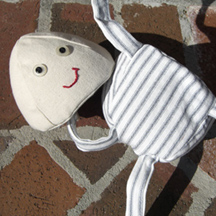
Humpty Dumpty sat on a wall. Humpty Dumpty had a great fall. This Humpty Dumpty breaks in half! But you can put him back together again. He is made in two pieces and attached with velcro. I stuffed the bottom with buckwheat hulls and the top with polyfill. He has adjustable arms thanks to a couple of pipe cleaners. Instructions for making him can be found here:

Humpty Dumpty Pattern Please note that this is a large file (189KB).
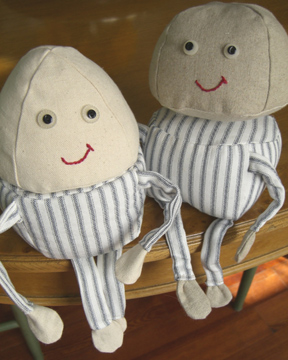
humpty-and-frank.jpg

Just so I’m never accused of making things look easy, I wanted to show you that designing toys is a process. Here’s Humpty with his cousin Frank. Frank lives in the Land of Misfit Toys and might prefer to be a hamburger bun. Not to worry, he’s getting a lot of love from my kids. Obviously I made the shape a little wrong the first time and had some construction issues. I never get it right on the first try. This is NOT the toy you will win in this give-away.

Hurry and enter the contest! Humpty Dumpty needs a home.  If you make a Humpty Dumpty toy, please add a photo to the Make it Monday Flickr photo pool here.  I would love to see your creations!

Glitter Eggs

eggs2.jpg

We made some glittered wooden eggs. I put them in a candy dish and we made a bird’s nest from yarn.

It seemed like a good idea at the time, but…

.eggs1.jpg

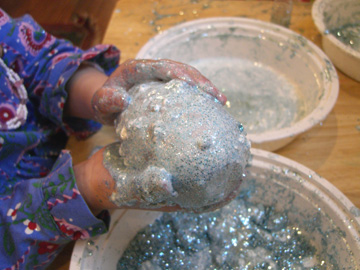
….it was quite a mess. The beautiful Martha Stewart glitter is tiny and seems to resist the suction of my vacuum cleaner. We’ll be seeing reminders of this project for a while. Still, the kids enjoyed getting all goopy and glittery.

Spring Dress

dress-front.jpgdress-back.jpg

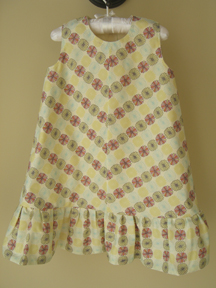
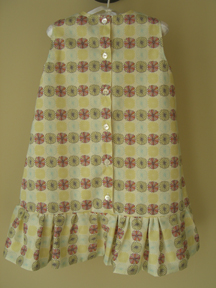
I made this dress for my three-year-old with a modified version of this simple Burda pattern. I made the front in two pieces to get the geometric effect and I made the back with six buttons instead of a zipper. I cut out the pattern pieces and then didn’t read any of the directions as the delicate Liberty of London Tana Lawn fabric had to be lined and thus the whole dress had to be put together differently. I took my time making this dress — measured correctly, fixed mistakes, pressed seams, etc. (which is unusual for me), but I think it worked out pretty well. Now on to the dress for the picky child who wants rows and rows of ruffles.

How Toys Become Real

velveteen-rabbit.PNG

The Velveteen Rabbit by Margery Williams, illustrations by William Nicholson.

We’ve been reading The Velveteen Rabbit over the past few days. I didn’t remember the story, but it is the sweet tale of a stuffed bunny who becomes real through the love of a little boy. Clearly I am feeling sentimental these days, but it makes me a bit weepy as I think of the bits and pieces of childhood that my children are leaving behind on their way to someplace else.

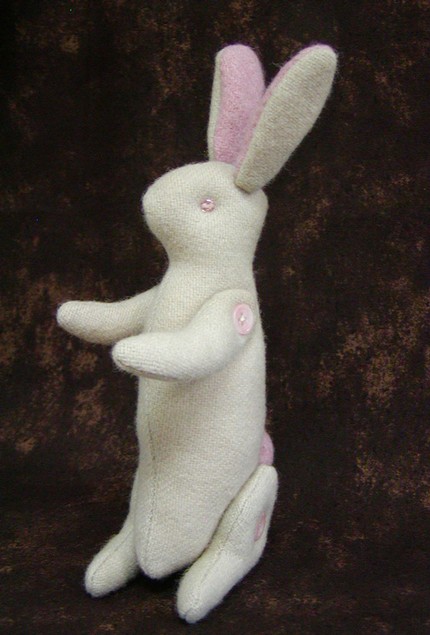
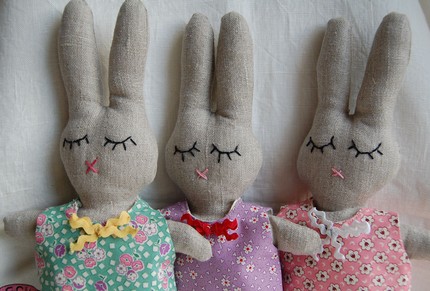
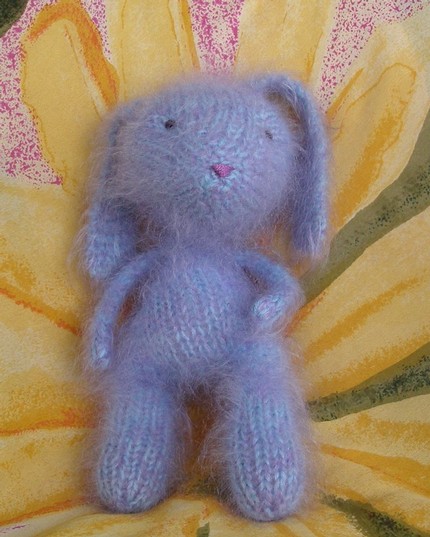
Anyway, this classic book would make a nice gift paired with one of these sweet things:

pink-sweetie.jpg

Pink Sweetie, $18.

strawberriesandcream.jpg

Strawberries and Cream, $22.

wholelottalisa.jpg

wholelottalisa, $28.


Egg Matryoshka Dolls

make-it-monday3.jpg

matryoshka4.jpg
matryoshka5.jpg

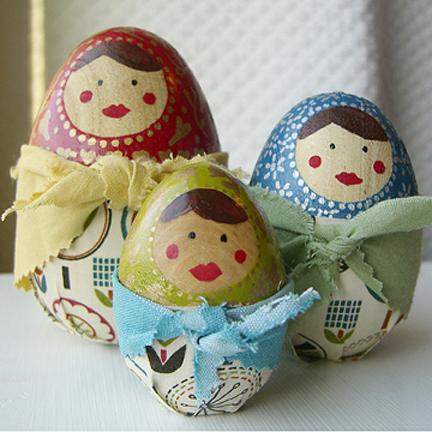
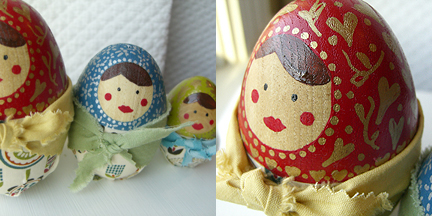
When I made the little egg man for the rocket ship I thought that wooden eggs would also make cute matryoshka style dolls. So here they are. Painted wooden eggs with fabric bottoms and little scarves. Here are some quick and basic directions. As you can see, I am not an artist so I think anyone with a paint brush can do this. Imperfections are the mark of handcrafted love! You could use pastel colors and they would make lovely little Easter gifts. These are probably the kind of dolls that would be happiest living on a shelf, but I’ll let you know how ours hold up to wear and tear.

Supplies:

  • 3 wooden eggs of varying sizes (available at craft stores)
  • painter’s tape
  • exact-o knife
  • acrylic paint
  • small paint brushes
  • paint pen (s)
  • spray polyurethane (I used clear satin for a little shine)
  • fabric scraps
  • scissors
  • spray adhesive (multi-purpose craft adhesive)

Note: Before you begin, you might want to lightly sand the eggs. I did not sand mine and wish I had. The bumpy surface makes painting a little more difficult and the porous areas allow paint to seep under the painter’s tape when you are painting the upper portion.

Step 1: Cut a circle from the painter’s tape. I rolled out some tape onto my cutting mat, traced a circle and used an exact-o knife to cut it out. I then applied it to the egg where I wanted the face. Make sure that the tape is pressed down firmly all around the edges. Measure where you want the paint to stop and mark that with a pencil. Paint this area and allow to dry for about five minutes. Then remove the painter’s tape circle and touch up any areas where paint may have bled through.

supplies.jpg

Step 2: Paint the face. I used a small brush and undiluted acrylic paints.

Step 3: Use paint pens and/or paint to embellish the top portion. Spray with a coat of polyurethane and allow to dry.

Step 4: Wrap fabric around the eggs to measure how much you will need for each bottom portion. Mark and cut. Then cut slits about 1″ long at 1″ intervals in the bottom of the fabric. Spray back of fabric with spray adhesive and apply to the egg carefully and quickly. On the bottom press down every other tab, then come back around and press down the rest. This will allow for a pleated look at the base (see image below). You may have to spray a bit more adhesive as you are working.

doll-bottom.jpg

Step 5: Make scarves. Again wrap fabric around the egg and add a couple of inches extra. Cut a long, narrow triangle of fabric. You could finish the top, but I just folded mine under and used the selvedge ends. I used pinking shears for the edges.

Thanks for looking! Remember, all patterns and original designs on the long thread are for non-commercial use only. Make things, give them as gifts, enjoy them, but please do not sell them. If you do make these dolls, please add your photos to the Make it Monday photo pool at Flickr here.  I would love to see your creations!  Thanks.