Embroidered Ribbon Sleeve

make-it-monday

ribbon-sleeve1

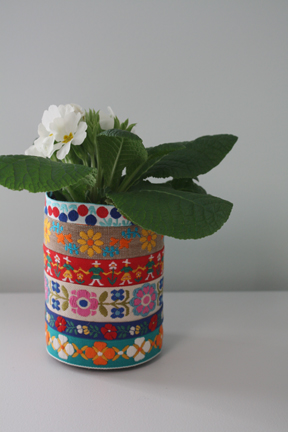
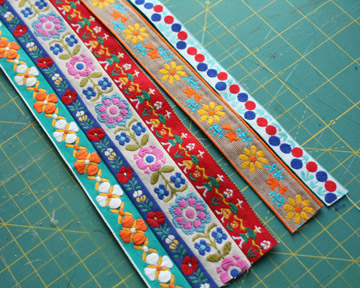
I took some old ribbon scraps and made a sleeve for a glass jar. This is a quick and easy project, a good way to use your embroidered ribbon scraps, and a free project if you’re using an old glass jar or tin can. You could also make smaller versions with votive holders or a larger version with a wide vase. Just be sure that the sides of the jar are straight (not tapered).
ribbon-sleeve3

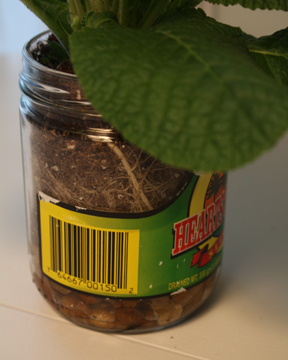
Simply cut pieces of ribbon approximately 1″ longer than the circumference of the jar and sew each ribbon right sides facing with barely any seam allowance until you have one large rectangular shaped piece. Press after each additional ribbon is sewn. Fold the piece over and sew right sides together with a 1/2″ seam allowance, forming a sleeve. Easy! I planted a primrose in this jar, but put some rocks in the bottom for drainage. I’m sure to kill it, but then I can use the jar for fresh flowers or as a pencil holder.
ribbon-sleeve2

Holiday Card Gift Tags

holidays-recycled

recycled-gift-tags

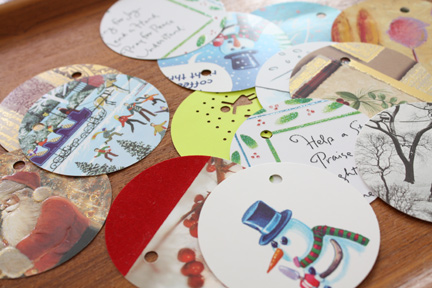
If you sent us a holiday card, it’s likely to end up under our tree next year. Don’t worry, I didn’t cut up anyone’s family photographs. This is certainly not a new idea, but just a reminder to re-use. I cut our cards with a circular hole punch, added a small hole for ribbon and stored the tags to use next year.

Sweater Stocking

holidays-recycled

sweater-stocking

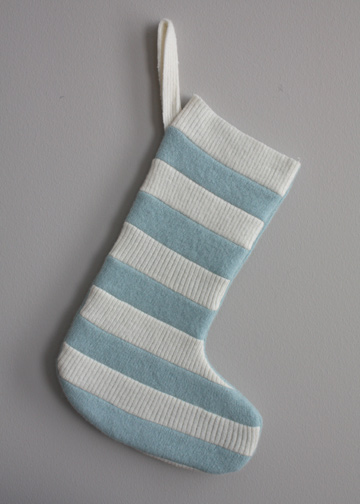
Well, maybe I can make all of our holiday decorations from two thrifted sweaters.  Here’s a quick tutorial for a felted sweater stocking.  I never can seem to find any good striped sweaters at the thrift store, so I thought I’d make my own.  I have a sneaking suspicion that Betz White has visited every thrift store in the land and is hoarding all the cool sweaters in her closet.

This makes a 12″ long stocking, but you could increase or decrease the pattern to suit your needs.  Print the template here.

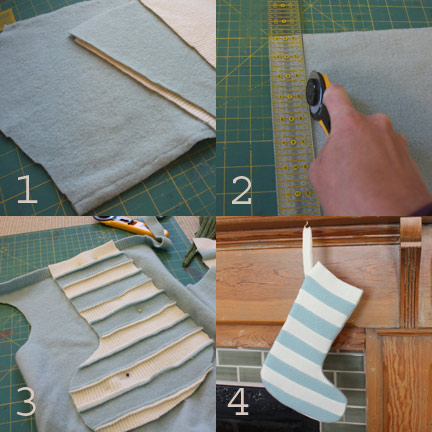
  1. First, you’ll need 100% wool sweaters, washed and dried.
  2. I cut my sweaters into 1 1/2″ strips (the width of my yard stick).  I used about 15 strips in all.  I sewed them with a straight stitch right sides together until I had a somewhat rectangular striped piece.
  3. I then cut the pattern front from this piece, adding 1/2″ around the outside for the seam allowance.  I cut the back from a solid color (with a band at the top).  Be sure to cut the front and back in mirror image.  I then inserted a quick loop and sewed it all together.

sweater-stocking-tutorial

kiki-the-cat

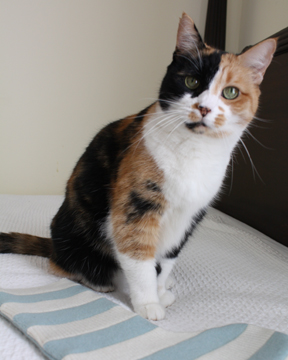
This wouldn’t be a sewing blog without a picture of a cat, would it?  Here’s the the best cat in the world with her new stocking.  Seriously, this cat comes when you call her and she would meow at my door when the girls were babies and cried at night.  She was the only family member who didn’t have a stocking yet.  I will not be making one for the fish.

Thrifted Tree Ornaments

holidays-recycled

tree-ornaments

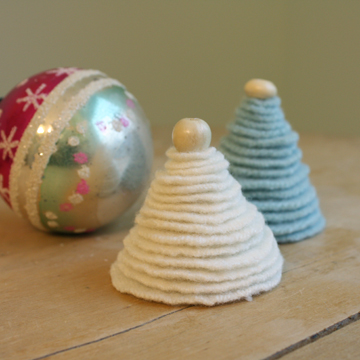
I’ll be making some projects from repurposed materials in the coming weeks. First off, I made some more trees from felted wool sweaters — a miniature version of my thrifted trees from last year. This version has a new template to go with it. So get some wool sweaters, wash and dry them, cut 15 circles according to the template, string them together and hang them or add them to your miniature winter village. I’m hoping to make one of those this year, but we’ll see. You know, because everyone needs a miniature winter village, right?

Dollhouse Rug

dollhouse-rug

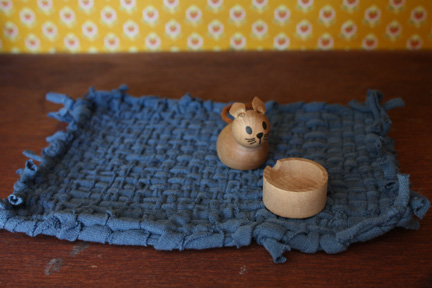
My six-year-old finished up her dollhouse rug the other day.  We used old t-shirts like we did in my tutorial for Alpha Mom.  This time around, we used t-shirt strips for the warp strings as well.    I think it turned out to be pretty cute!