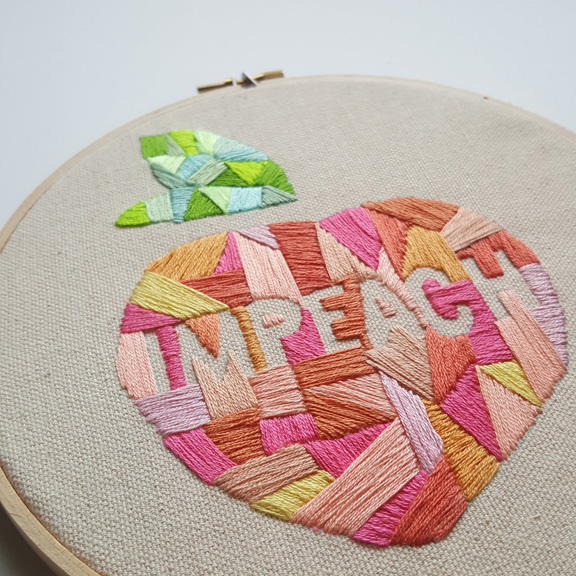
Happy Holidays! I just finished this Impeach embroidery and thought I’d share the pattern if you’re interested. One of my goals for the new year is to do a better job turning anger into action through sewing, volunteering, and donating, which is mostly a selfish ploy to improve my attitude. I’m lucky to have this choice. Continue reading “Impeach Embroidery Pattern”
Bunny Stitching
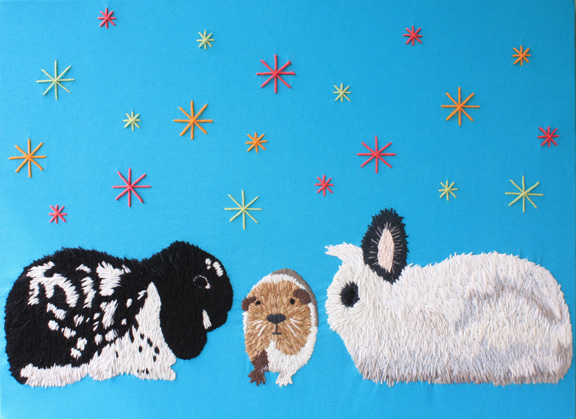
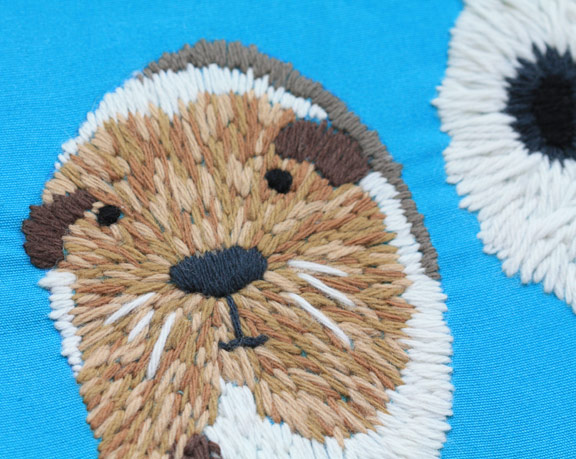
Happy first day of spring! Look, some bunnies are here to celebrate! I just finished up an auction project that I worked on with my daughter’s fourth grade class. Initially we were thinking of making a large-scale cross-stitched canvas, but there are two bunnies and a guinea pig in this classroom and it just felt like we needed to capture their personality rather than making a stylized version of a bunny. So I bought some tapestry wool and we got stitching! I tried using some yarn I had on hand, but it frayed as it was pulled through, so I’d definitely recommend using tapestry wool which is especially designed for stitching.
Each of the kids had a turn with this project, but I did end up doing lots of stitching myself to get this done in time for the auction this weekend. One of the teachers helped and they were both so patient with me being in their classroom all last week, even though I still have trouble not talking in class!
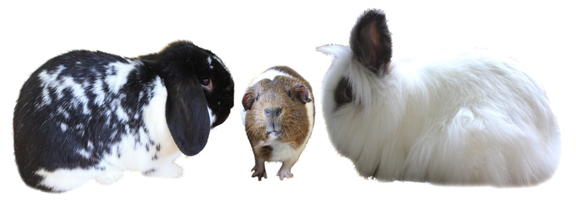
I started with the photo below that I edited in Photoshop because of course the animals wouldn’t pose like this. Then I had the sudden realization that these sweet little bunnies don’t look that much like bunnies at all! One is a big fluffball and the other has down-turned ears. And the guinea pig was tricky! We stitched on colored canvas fabric, then I added some colored asterisks stitched up top, then stretched it over a canvas, which also serves to hide the messy back side. I think it would have been interesting if we’d stitched some brightly colored patches into their fur, but another idea for another time!
This was a lot of work, but the kids have been so excited and I think it would look adorable hanging in a child’s room. I really enjoyed taking the time to relax and stitch by hand, and now I want to make portraits of our own pets. I just have a quilt to finish up and I’m done with auction duties!
Guest Post: Embroidered Growth Chart
Today’s guest post is from Emily of The Student/Teacher. I came across her blog when she commented on a post and I saw this wonderful felt and fabric memory game that she made for her kids. I asked her if she would do a guest post for The Long Thread, and happily, she agreed! Emily has made this lovely growth chart for her daughter that is sure to become a cherished family heirloom. I know you’ll enjoy this project.
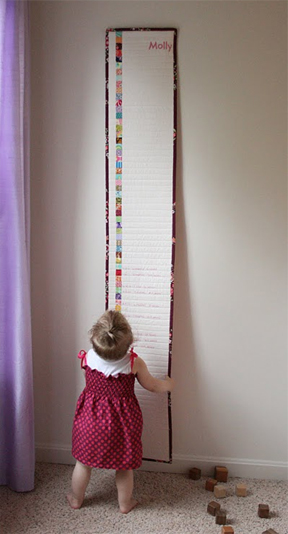
I love this photo of her daughter looking up at how tall she’ll become. It makes me have an “Oh, how quickly they grow” moment. Thanks for sharing this special project, Emily!
____________________________
Hello! I’m Emily from The Student/Teacher. I am a writer, crafter, and unschooler living near Washington, D.C. with my husband and our two young daughters. My blog is a journal of love and learning, a place to celebrate childhood and creativity. I use it as a space to discuss alternative education and to share the exciting crafts, projects, and activities that fill our busy days. As far as crafting goes, I am mainly a sewist. Quilts are my current favorite thing to make, but I love sewing clothes, accessories, and home decor, too. (You can read more about me and my blog on my About page.)
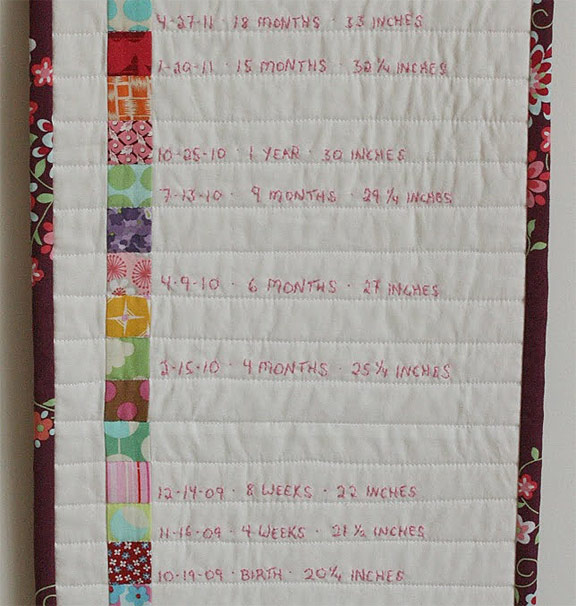
I am thrilled to share my tutorial for an Embroidered Growth Chart here on The Long Thread. This project is simply a long, narrow wall quilt designed to be a stylized version of a traditional children’s growth chart. Each patchwork square in the left-hand column of the quilt is one inch long, so these colorful bits serve as pretty stand-ins for numbers. Additionally, the horizontal rows of machine-stitched quilting that cascade down the quilt’s length serve as built-in straightedges; as your child grows, you will embroider his or her ever-changing height measurements along these lines, effectively capturing special moments in time for your family. Click here for the full tutorial!
Auction Quilt Update
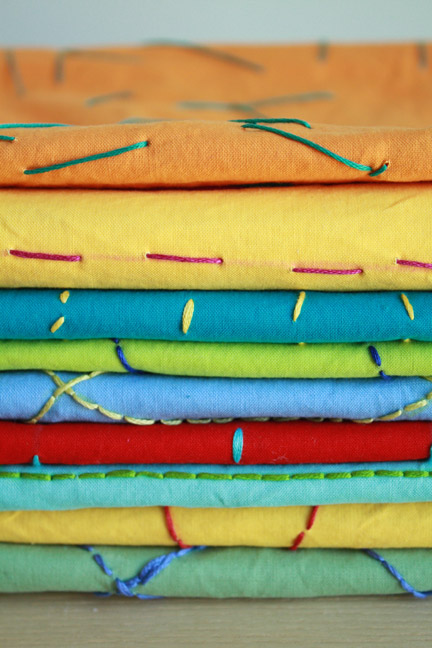
I thought I’d show you some photos of how the auction quilt is coming along. We still have kids who need to work on it, and of course we still have to put it together (and remove those chalk lines), but I’m really loving the handmade look. Over 400 kids will have sewn on this quilt when it’s all finished. And while it’s been a time-consuming process, it’s so exciting to see the kids get interested in sewing!
You can read my previous posts about this project here and here.
School Auction Quilt
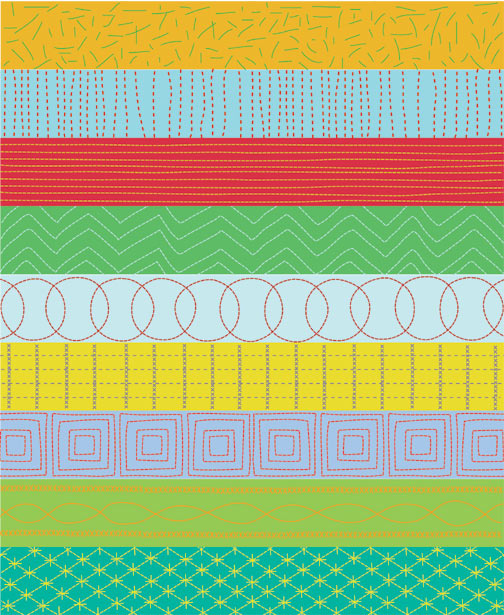
Fool that I am, I have volunteered to coordinate the auction quilt for my daughters’ entire elementary school (almost 400 kids). So I thought it would be interesting to show our progress here on the blog. I wanted the quilt to be something that the kids could really get their hands on rather than something the other volunteers and I sew on our own, and with my children’s previous Montessori experience I immediately thought of embroidery.
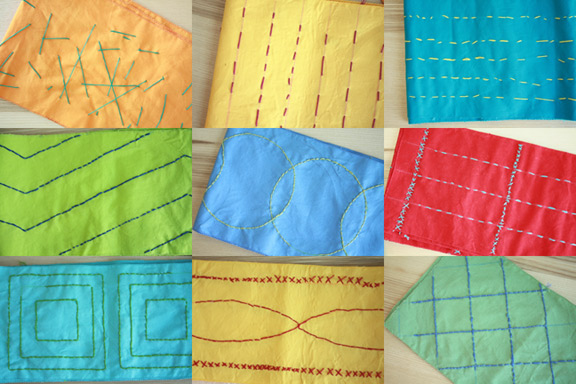
So, again, fool that I am, I’m going for a stitched quilt as you can see in the digital sketch above. The school starts in the pre-primary years, so children from age three through sixth grade will be working on it (nine age groups). My idea is to make the stitching progressively more complex from the youngest to oldest kids — top to bottom. I think they will all be running stitches, maybe some back stitching and some simple cross stitching in the older grades. So far, I have only bought the fabric, but I plan to cut the fabric and mark out the designs with chalk, serge the edges since it will be handled a lot, and get all of the supplies ready to go for next week.
The colors will be slightly different from those shown above. I initially wanted to do it on a white background, but I think it has a more child-like quality with the bright colors. So, this could be a complete disaster, or it could turn out beautifully. You’ll have to wait and see!
Luckily, Deborah of Whipstitch Fabrics donated the fabric for us. Thank you, Deborah! If you live in Atlanta, you really should visit her shop on Marietta Street if you haven’t made it over there yet. And if you’re not local, you can still buy some wonderful fabric from her Etsy shop here. And more luck — Melody Miller, the fabulous designer of Kokka’s new line, Ruby Star Rising, has children at the same school so she’ll be helping with the project. And there are a handful of other wonderful people who have volunteered to help, so at least I’m not in this alone!