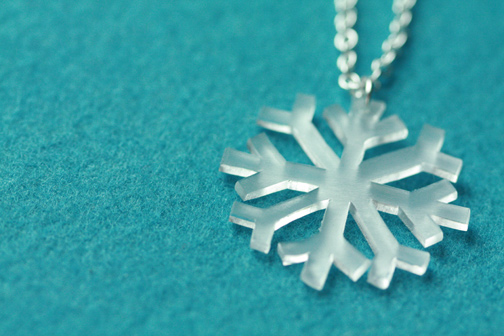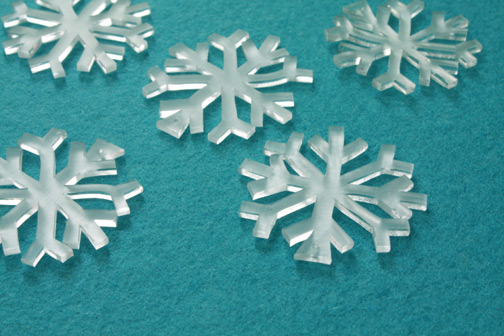

I made these for party favors for my daughter’s birthday, but I’ve been wearing one of them around myself so I don’t think this is just a kids’ project. But it does involve shrinky dinks! If you haven’t worked with shrinkable plastic before, you can buy it online or at your local craft store.
Supplies:
- Shrinking plastic (frosted, not clear)
- Small, sharp scissors
- Snowflake template (see link below)
- Mini hole punch (1/8″)
- Toaster oven
- Necklace chain with jump ring
- Pliers

1. Print the snowflake template and cut the plastic according to this shape. It’s helpful to cut your plastic down to a smaller size as it’s easier to work with as you cut. Punch a hole at the top where indicated.
2. Melt the snowflake in the toaster oven according to the instructions on your shrinking plastic. If any of the tips get stuck together, you can pull them apart while it’s still hot and re-shrink it to lay flat. When you remove the snowflake from the toaster, immediately place it on a flat, heat-resistant surface and put a pot or drinking glass on top to flatten it.
3. Bend jump ring open and insert it into the hole in the snowflake, thread it onto the necklace chain, and bend the jump ring closed to secure it.


SO cute! Thanks for sharing this fun project 🙂
This is a great idea. I happen to have some on hand from a recent project. Time to dig it out. Have a great day!
You can also use #6 plastic as shrink plastic. It’s the kind that is generally used in take out boxes (think Taco Bell Nachos lids.) If you want the frosted look you can take a piece of sandpaper and sand both sides. I use a heat gun to shrink it. It’s a lot cheaper than purchasing the shrink plastic and you are “recycling” plastic. I love this idea of snowflake decorations – I wonder if my snowflake punch is strong enough?
my daughter is loving shrinky dink paper. she is making fairy necklaces for friends with it. i am going to borrow a piece to make myself a snowflake! thanks for the great idea! 😉
Yes, I’ve tried using the recycled plastic, but with mixed results. I can’t ever get it to flatten as much as I want and for this project with thin points, I’m not sure how it would work. But I’d love to see photos if someone gives it a try!
what a great, simple craft! I can see using these as gift wrap embellishments, ornaments, personalized wine charms….the possibilities are endless! Thanks for sharing the template.
I love these, what a great idea! Hmmm… maybe I need to get out my shrinky-dink plastic to make some christmas ornaments or necklaces…
Oh, I’m so glad I saw this. I just bought some shrink plastic for another project, so this will be great to use up the extra sheets.
We tried it out today and it was a lot of fun. It would have been a lot easier if I had made the effort to find my hole punch 😀
Glad you tried it! Love how you decided to color it too. Thanks for sharing.
so totally cute and doable!! might have to whip up a few for presents for others. love it!
http://pachworkposse.com/blog
I think this will be a fun craft to do next week when my daughter is out of school. I have a big package of shrink plastic my mother-in-law gave me a few years ago — and now I have the inspiration.
I think these would make great christmas tree decorations for my teeny-tiny apartment sized tree! What a pretty snowflake and great idea!
Great tutorial of a great idea. Thanks!
How many snowflakes per sheet do you made? The template is A4. Only 1?
Regards
These are so cute! for learning about snowflakes, real snowflakes always have 6 sides 🙂 I have an adorable packet including a board game that might go great with this.
http://ateachersbagoftricks.blogspot.com/2011/12/snowflake-activities-i-on-tpt.html
I have a book about snowflakes, and NO they don’t always occur in nature with 6 sides. Some are even warped and have random branching. I wish I could post pictures from my book to show you. But this craft is a great idea. I want to try it but I’m nervous I won’t be able to cut it precise enough.
Love this! I just added this to the 25 Kid Crafted Gifts Tutorial!
http://www.busykidshappymom.org/2012/01/25-kid-crafted-gifts-that-looks-good.html
I had to share this on my blog! What a great idea! Keep up the great work!
Love the tutorial! Shrink plastic is perfect for snowflakes. Thanks for sharing the template.
I wonder if you can use a paper punch (snowflake) to make the design and the a paper hole punch for the hole? It would be a lot easier than scissors for this old lady.
OMG I love this they are so cute and I do a silver snowflake theme. I will have to do these for ladies for the family. Thank you for sharing. Not just for kids. I think I will use a oil sharpie and make them silver.
What a great idea! I love working with shrinky dink and also wanted to make a snowflake necklace, but I still dread the cutting process (especially the part where you can hardly move your scissors because there is no space). Do you have any tips?
Greetings from Germany
NNathalie