
I’m not quite ready for my holiday making yet, but I’ve started a Pinterest board full of ideas for sewing, crafting, and decorating!
I’m not quite ready for my holiday making yet, but I’ve started a Pinterest board full of ideas for sewing, crafting, and decorating!
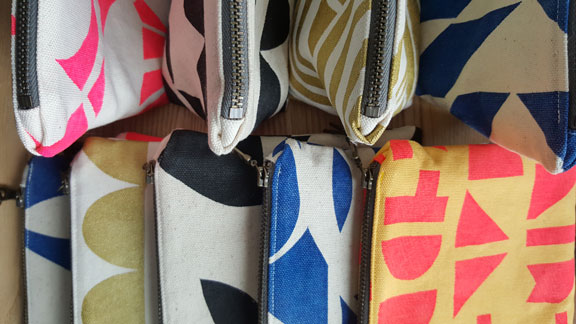
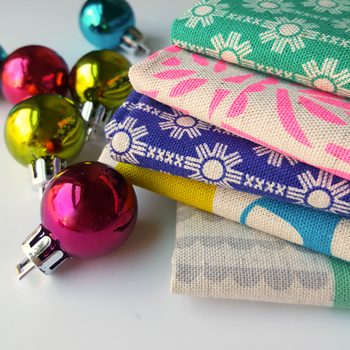
Come out to the ICE Holiday Shopping Spectacular in Atlanta this weekend! I’ll have some hand-printed pouches, bags, and other goods. See below for details or check here for more information.
I’ve been thinking a lot lately about making with meaning. I’ve been reading The Life-Changing Magic of Tidying Up, wherein the hyper-focused author suggests that we rid our homes of everything that doesn’t “spark joy.” As difficult as some of her ideas are for a cynic like me, it has helped me reflect on the tangible objects in our house that make me happy — many of them handmade or passed down from family. It’s the objects that evoke memory, pride, or love — not the things with monetary value.
I watched last week as my daughter took a sewing class from the fabulous teacher Reign at Fabricate Studios. Every day that I came to pick her up, she and the other two girls were beaming with pride about what they had made and I wanted to know why. I think it’s a few things: the feeling of success — accomplishing something within a prescribed set of technical rules, then the idea of creating — choosing fabrics and making something unique, and finally the need for utility — all of the things they made are functional. There’s something dramatically different about making art for your wall and creating an object to be used every day.
This all got me thinking about when I started this blog in 2007 and felt so inspired by making. I called this “a blog about handcrafted goods in an age of mass production.” With our cluttered homes and our consuming lives, we tend to get overwhelmed and forget that almost nothing we own was made by us from beginning to end.
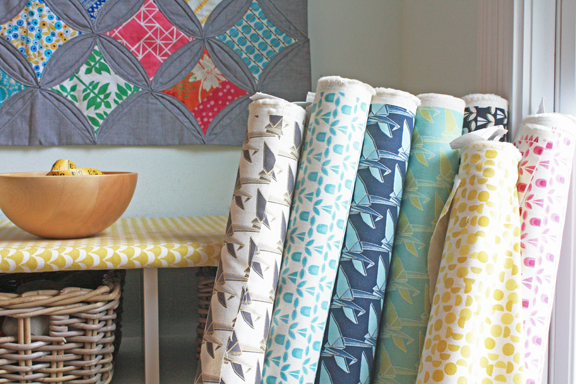
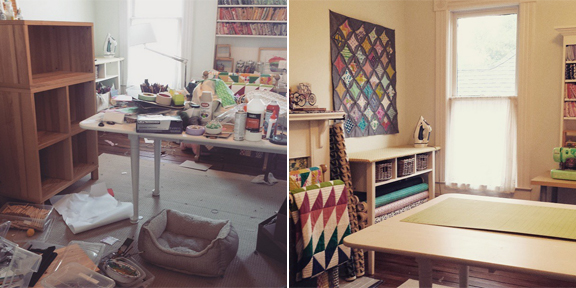
Here’s my sewing room before and after. I had to re-organize several rooms to get all of our craft supplies in order and in one place. The kids always end up in here with me making things, so now all of their supplies and mine are here together. Above you can see bolts of linen from my next collection for Kokka, Monochrome. I’m working on making samples for Quilt Market in May and the fabric should be shipping this summer. More photos soon.

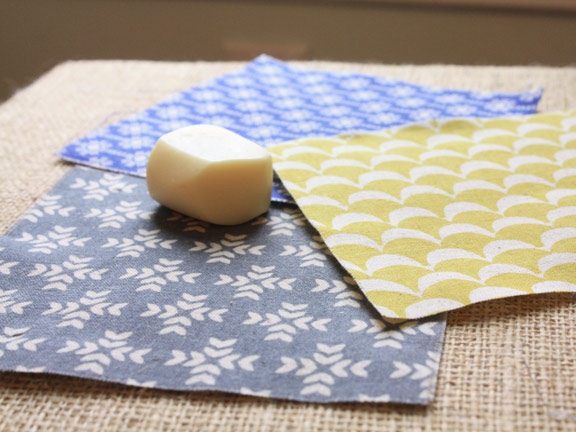
Last week I experimented with making waxed canvas using my Kokka linen/cotton blend fabrics. It was a simple project and I love the results. Why would you want to wax your fabric? Well, this is how people waterproofed fabric for outdoor use many years ago, but the natural waterproofing and the distressed look of it is appealing to me. I am not a hunter or an outdoors person, but I do like the idea of a natural, waterproof tote bag. Most of the waxed canvas bags I’ve seen are made with solids, so I wanted to try it out on my patterned fabric.
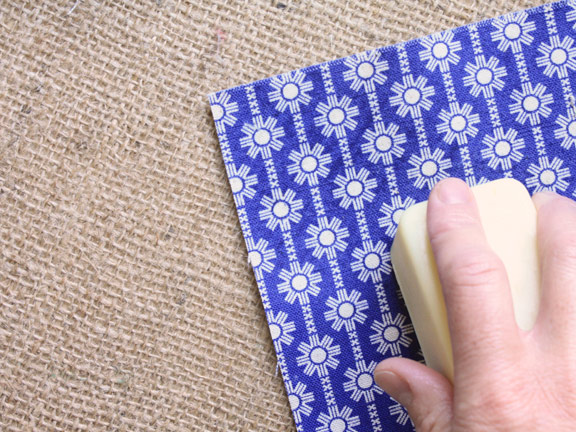
First, I ordered wax bars from Otter Wax. You can read here about their petroleum-free natural ingredients. Note that it’s made from beeswax, so not vegan. I bought three small bars and used almost one full bar for about a half yard of fabric. According to the directions, all you have to do is rub it on and let it cure. I applied the wax using a bit of elbow grease, rubbing the bar back and forth in both directions to get it into the weave of the fabric.
Then I let it cure for a day, but it still felt sticky to me. There are quite a few tutorials out there that suggest using a hairdryer, which I tried. But naturally I was impatient. So I ironed on the wrong side of the fabric which instantly melted the wax completely through both sides of the fabric. Just make sure you protect your ironing board from the wax, but it didn’t gum up my iron at all. The wax definitely has a smell, which filled up my sewing room for a day or so after the project, but it’s just a beeswax pine type of smell that was perfectly acceptable to me.
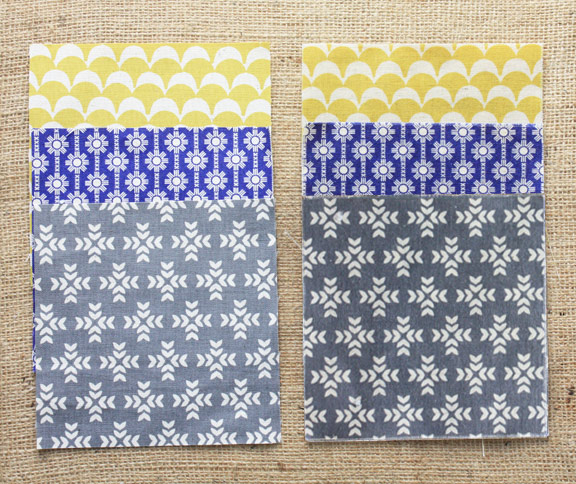
You can see the before and after below. The wax does make the fabric look darker, almost like it’s wet. And it feels a bit stiffer, but still soft enough to sew or wear. Next up, a tote bag for all my outdoor adventures! Or just for a trip to the grocery store.
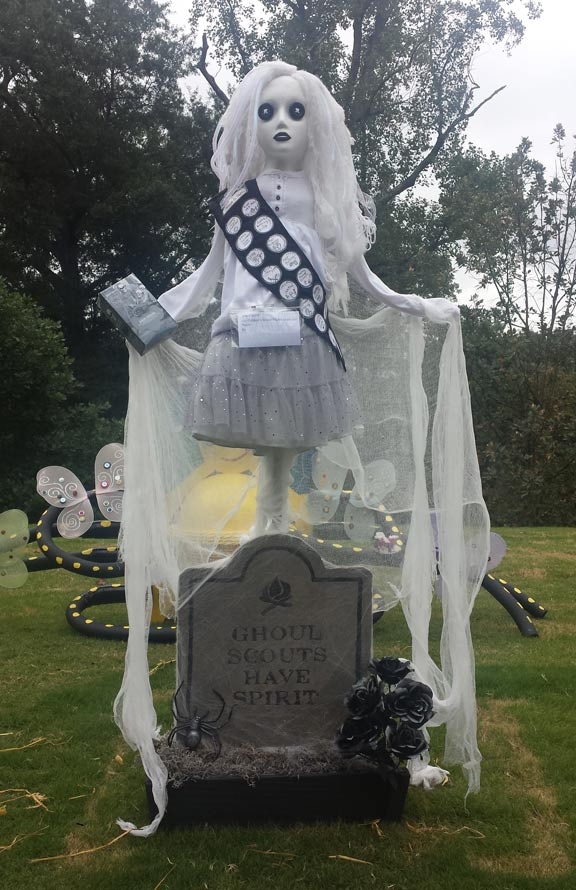
Creepy, isn’t it? October always is always a busy month for us. With Quilt Market, a trip to Portland, and Halloween costumes and events, we’re having an extra busy year.
My daughter’s fourth grade girl scout troop made this scarecrow “Ghoul Scout” for the Atlanta Botanical Garden. She actually turned out a bit creepier than we intended, but the girls were enthusiastic and this was the right age for getting a bit scary. The photo above was taken right after we dropped her off and she still has a tag pinned on her front. We haven’t been to the garden to see her in place yet, but she’ll be on display throughout October. And it looks like she’s won second place in the non-professional category, which should be exciting for our kids who worked so hard!
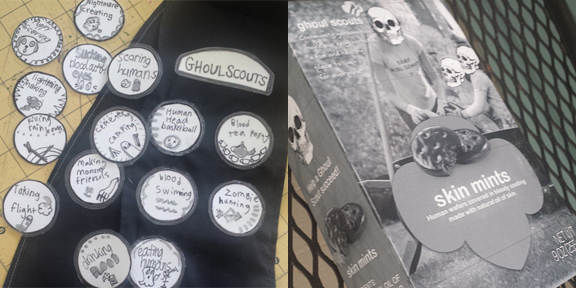
The girls made badges for the Ghoul Scout that you can see below, and I was impressed with their grotesque creativity! The badges include “puppy scaring”, “human head basketball”, “blood tea party”, and one of my favorites — “killing rainbows.” Pretty great. We even added a box of “Skin Mints.” This was my 11-year-old’s idea and she came up with the list of disgusting ingredients like flaking soda and hydrogenated toes. Gross, huh?