Clothesline Caddy

make-it-monday

clothesline-caddy

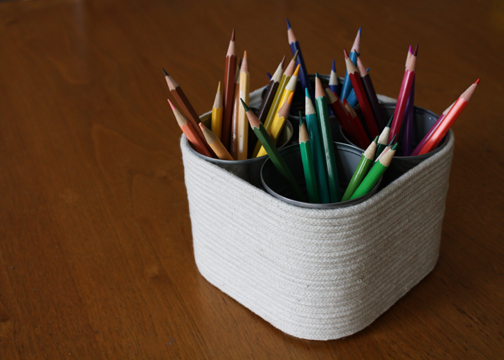
Today we made this caddy to hold the ever-growing supply of kid’s art materials.  Made from clothesline and recycled tin cans, it’s an easy and inexpensive solution.  You could use this caddy to hold various art supplies like we did here, or you could put it in the center of the table to keep utensils handy.  And I’m sure you could think of other uses.  We used four cans, but you could use more or less for your project.  You could also add a braided rope handle.  Here’s what you’ll need for the project:

  • cans
  • pliers
  • clothesline (I bought mine at a fabric store, but I think you could pick this up at a hardware or even the grocery store.  The plain cotton kind is best if you can find it.  A package of clothesline should make it through several projects.  I’ve been using mine for little backpacks like this one.)
  • glue gun and glue sticks
  • scissors
  • masking tape
  1. Wash out four tin cans.  Flatten any protruding metal with the pliers.
  2. Using the glue gun, put some glue toward the bottom of the cans to hold them together, two at a time.  Allow the glue to harden.
  3. Wrap masking tape around one end of your clothesline.
  4. Using the glue gun, glue the end of the clotheslin in place at the bottom of one of the cans (not the underside).
  5. Wrap around the cans, pulling the clothesline as you go.  Add a bead of glue when you get back to your starting point and continue to wrap it around, pushing down to keep the clothesline together.  Continue until you get to the top.
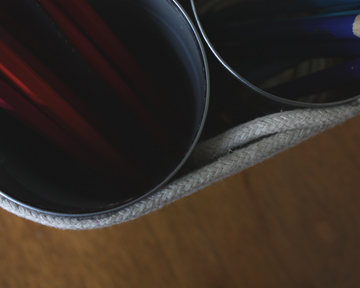
  6. Leave a tail 2″ long.  Wrap the tail end with masking tape, add some hot glue and tuck it in between the cans so that it sticks in place (see photo below).
clothesline-caddy2

If you make one of these, add your photo to the Make it Monday Flickr group here.

Quick Crafty Round-up

crafts-9-6-09

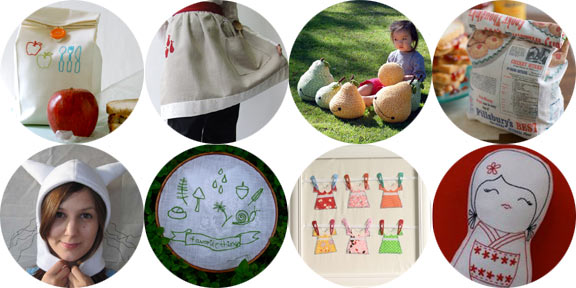
Back to School Lunch Bag from The Purl Bee.

Linen Apron from Living Creatively (link via Whip Up).

Amigurumi Pears Pattern from Salihan Crafts (via One Pretty Thing).

Lunch Bag by Amy Karol from Bend the Rules with Fabric on The Storque’s How-Tuesday.

Wild Things Hat Pattern from Instructables user jessyratfink (link via Craft Gossip).

Nature Embroidery Sampler from Margie of Reserruction Fern for Sew, Mama, Sew.

Clothesline Hair Clip Holder from Nested (link via Craft).

Kokeshi Stuffie from Melly & Me.

Etsy Finds Friday

9-4-091

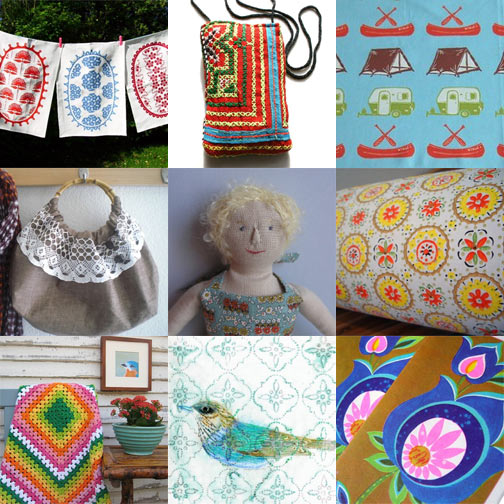
Screenprinted Linen Tea Towels, $52 from Shaky Isles.

Embroidered Cotton Pouch, $12 from Made You Look.

Great Outdoors Fat Quarter, $9 from Leanne Graeff.

Bamboo Handle Linen Purse, $42 from Christina’s.

Handmade Doll, $90 from Wren Handmade.

Vintage Wallpaper, $49 for 13.9 yards (20.5″ wide), from Menzo Collection.

Florida Everglades Afghan, $80 from popsicle stick.

Through the Wallpaper print, 8.5″x8.5″, $23 from Hadley Hutton.

Set of Six Vintage Modern Note Cards, $7.25 from Miss Retro Modern.

Cap Stamps

cap-stamps1

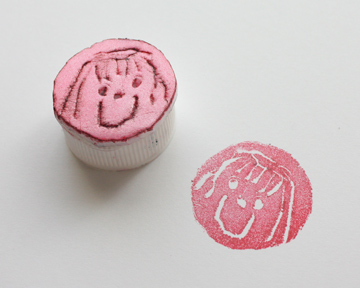
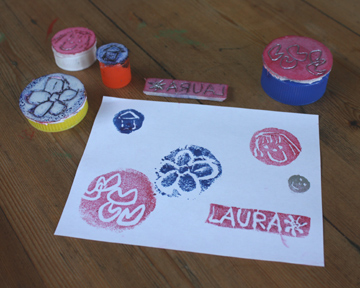
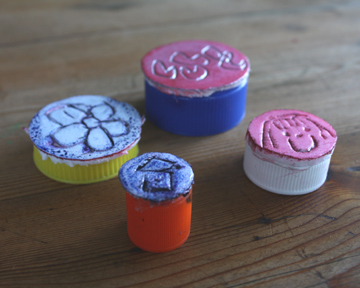
Here’s a recycled project great for a rainy day.  After making these stamps the other day, I wanted to try something that would allow the kids to be more involved in the process.  So, remembering this smart project from glittergoods, I gathered a couple of styrofoam trays.  I added some plastic bottle tops and there you go — custom stamps.

cap-stamps3

Supplies:

  • styrofoam trays
  • plastic bottle caps
  • craft knife
  • cutting mat
  • stamp ink pads
  • pen or pencil

First, I cut off the curved edges from the styrofoam trays with scissors.  Then I traced the outline of a plastic cap onto the foam and let the girls make their drawings within the circle.  I then cut these out with a craft knife because I found that scissors left a jagged edge, but it’s not a precision art here.  Oh, and if you’re going to try to write words, remember to make them a mirror image (I literally had to walk into the bathroom and hold the letters to the mirror because my brain does not work that way).

I talked with the girls about positive and negative space and encouraged them to draw their designs with as little detail as possible.  It probably would have been helpful to have the kids draw their designs on paper first and to show them a sample of a completed styrofoam stamp.  After they drew their designs, I went over them with the pen to make sure the grooves were deep enough to avoid the ink.

Once I cut out the shape, I glued the styrofoam circle to the cap with the hot glue gun.  I’m thinking that these won’t last forever because the styrofoam flattens out a bit, but they are a lot of fun.  My four-year-old wants to make more and more of these, so I guess we’ll have to go back to the farmer’s market and buy more muffins.

cap-stamps2