

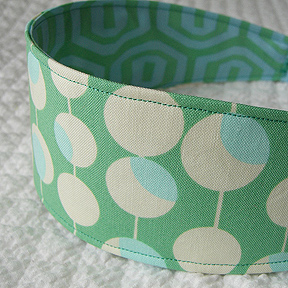
Here’s a quick and easy tutorial for a reversible headband. This makes a fairly wide headband — finished size of 2 1/2″ for adults and 1 3/4″ for kids, so adjust as you like. I used plain elastic in the back, but if you have short hair you might want to make a fabric sleeve, find some decorative elastic, or sew twill tape on top. This is a great project for fabric scraps.
Supplies:
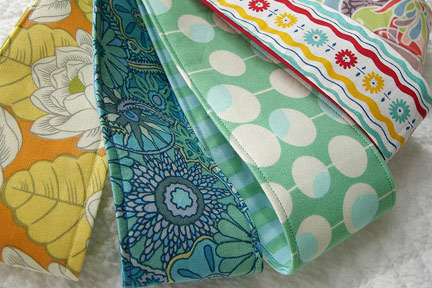
- Fabric scraps (about 18″ long)
- Elastic (about 6 inches of 1/2″ width)
- Fusible interfacing (optional, but recommended)
Step #1:
Cut out template (headband-template.pdf) and make sure it works for your head size. Adjust as needed. Cut one piece of each fabric and one piece of fusible interfacing.
Step #2:
Iron interfacing to back side of one of the cut fabric pieces. Fold down edges of both pieces by 1/2″ and press down (towards wrong side of fabric).
Step #3:
Pin two fabrics together, wrong sides facing, being sure to align them perfectly. Wind a bobbin to match the fabric on the other side. Sew along the outside edges, leaving an opening at each end. Cut your elastic to the desired length (about 6″-7″ for adult sizes, 5″ for kids). Insert into one end and sew into place with a zigzag stitch (reduce tension and use a wide stitch). Repeat on the other end.
If you make this project, please post photos to the Flickr Make it Monday group. Click here to see more Make it Monday projects.