Lucy Goosey

make-it-monday3.jpg

goose1.jpg

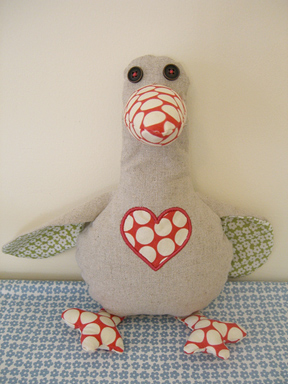
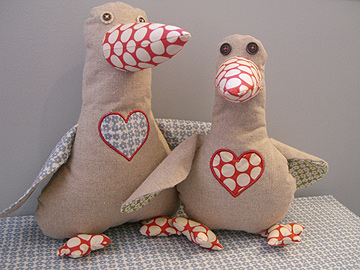
I call my five-year-old a goose all the time, so I made her one. And then I made another for my three-year-old with some of the fabric I bought at Reprodepot. Below is a picture of Lucy and Gertrude. The template below is for the smaller goose, but feel free to play around with the design. I appliquéd a heart onto the goose’s tummy (which I did not include in the instructions below); but you could embroider it, use heart fabric or fabric stamps, or just leave it plain. I think this would make a nice Valentine’s or Easter gift and I found this book of the same name that looks really sweet.
geese2.jpg

Supplies:

1/4 yard fabric (canvas, heavyweight cotton, tweed, wool felt, etc.)
scraps of contrasting fabric for wings, nose and feet
stuffing material (bamboo filling, polyfill, buckwheat hulls, etc.)
scissors
thread
two buttons

Step 1: Cut out fabric according to template: goose.pdf. Draw a 1 1/2″ vertical line where you want the nose to be, fold over your fabric and cut a half-circle shape.

Step 2: Sew nose, wings, and feet right sides together (see photo below). To turn them right-side out, it might be helpful to have one of these tools. But I use the technique of safety pinning a piece of string into the top of the tube before I sew. Then I pull on the string to turn the fabric tube right-side out. (Caution: this technique can pull delicate fabrics and sometimes the safety pin comes open). Some people sew the string directly into the tube and then cut it.
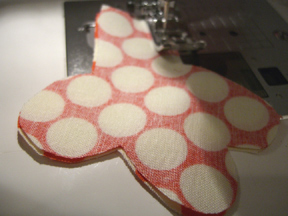
instructions1.jpg

Step 3: Pin nose to body (see picture below). Tack on by hand and then machine sew like you would attach a sleeve. Since this is so small I found that pins got in my way, so had to do the hand tacking.
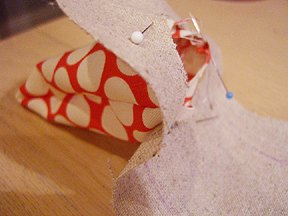
instructions2.jpg

Step 4: Sew buttons or use embroidery floss for eyes.

Step 5: Stuff feet with polyfill.

Step 6: Place body fabric pieces right-side together and insert wings and legs (as shown in photo below). Wings should be folded in half lengthwise. Pin. Sew around the edges, leaving an opening between the legs.
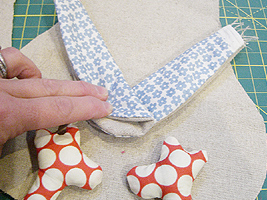
instructions3.jpg

Step 7: Turn goose right-side out by gently pulling (I found it helpful to get the wings and feet out first).

Step 8: Stuff the nose and neck, then the body. Hand sew bottom securely. I stuffed the head and nose with polyfill, the body with buckwheat hulls, then a little more polyfill to keep the hulls from falling out as I sewed it together.

All done! If you make this goose and you’d like to share your photos, please add them to the flickr group here.
Needlepoint

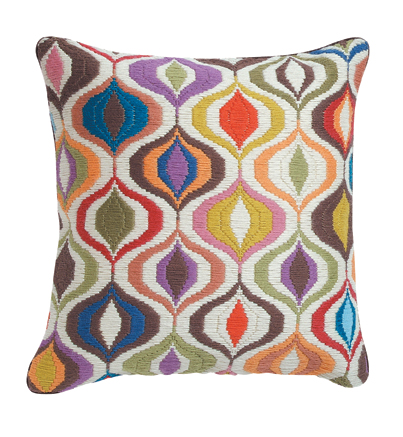
My crafting goals for the year are to learn to crochet and needlepoint. Oh, and to make lots of quilts. Let’s see how it goes. I love these Jonathan Adler Bargello needlepoint pillows (shown below). I guess these are handmade by someone somewhere and not made by a machine, but I can’t seem to find out where these are made. There is a mention of Peru on his site. Anyone know?

adler-pillow.jpg

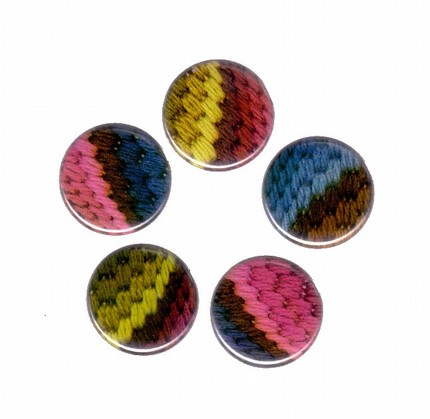
So I thought I would find a lot of contemporary needlepoint on Etsy, but no. Too time consuming? Too boring? Seems to me like needlepoint gives you a lot of freedom to come up with your own designs easily. Here’s a needlepoint sampler for a nursery from 66 stitches. Some bracelets from Carrie Wolf, and some cool magnets from Eclectic Selections (pictured below).

needlepoint-magnets.jpg

Want to learn? This looks like a good Bargello needlepoint book and with the right colors, the designs could be very modern. Or this one for basic needlepoint.

Monograms

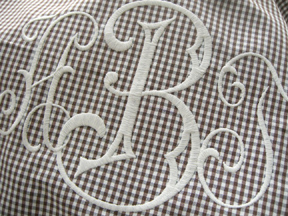
monogram.jpg

There’s something to be said for tradition.  I’ve been working on this custom monogram on the client’s fabric and felt like I should post something since I haven’t posted today.  I used a no. 100 thread, which is a mess on my machine but I really like the look of it.  I plan to add this photo to the custom page of my site, along with some others.  I have lots of new embroidery designs I’ve been working on too, if I can just get some samples sewn and some pictures taken.  A couple of weeks probably.

A quilt…one of these days.

kids.jpg

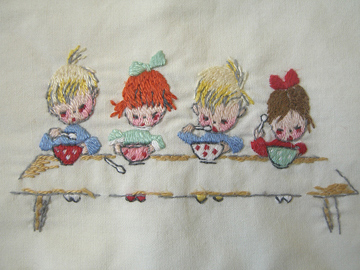
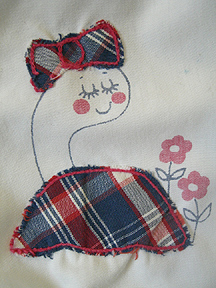
I’ve been sorting through my fabric over the past few days and came across the box of old baby dresses and such that were mine. These were either stained or too worn for the girls to wear, so I’ve been planning to make them into a quilt. I thought I’d post some photos of what I found because I love them so. I’m hesitant to cut these up until I have some kind of fabulous plan for this quilt. I thought I did, but I changed my mind. Suggestions welcomed.

fabric.jpgcats.jpgturtle.jpgsun.jpg

A Few Recycled Craft Ideas

Here are a few projects that I was thinking of creating patterns for, but found them online:

vase-cover.jpg

This cover is a great way to create something beautiful from glass bottles or jars. I also think it would be nice to knit a little shrug. If you don’t want to make one, you can buy the one pictured above here from nesty on Etsy.

mittens.jpg

This project for recycled sweater mittens is similar to the mittens that I featured a while back from Liz Jones Handmade. You definitely need to use 100% wool for proper felting. You could even knit a few small squares with wool yarn and felt it for this project. We made some a few weeks ago with felt appliqués in the shape of a heart and star. You can find instructions from Martha Stewart here.

crayons.jpg

I’ve seen this recycled crayon idea all over the place but haven’t tried it yet. Here are some heart-shaped crayons, also from Martha Stewart, that would make nice valentines for kids. For more Valentine ideas, see my Valentine’s Day Crafts page.