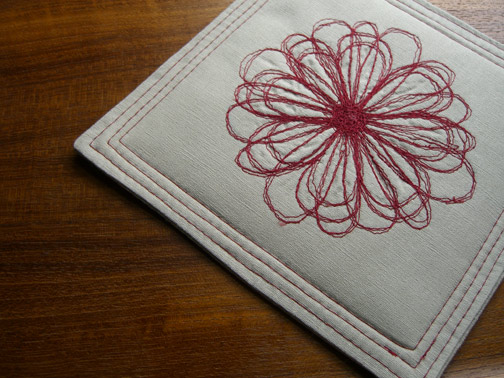
Sketched Flower Trivet

make-it-monday

flower-trivet

flower-detail

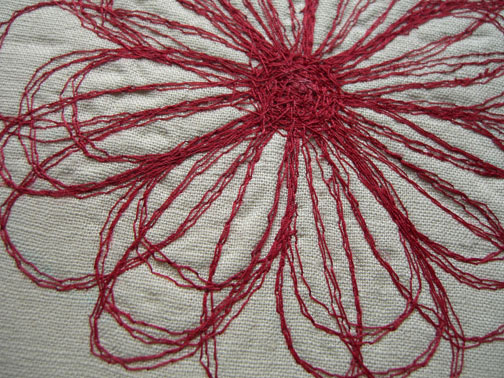
Why have I never tried free motion embroidery?  It is really fun if you like to sew and sew like I did in this recent project.  Here are some simple steps for making this sketched flower trivet.  This would make a nice Mother’s Day project.

Supplies:

  • two 8″x8″ squares of fabric (cotton/linen blend)
  • embroidery thread (no. 100)
  • bamboo or cotton batting, two 7″x7″ squares
  • 6″x6″ embroidery hoop
  • fabric marker

For the free motion embroidery, you will also need an embroidery foot for your sewing machine.

Be sure to wash, dry and press your fabric before beginning the project.
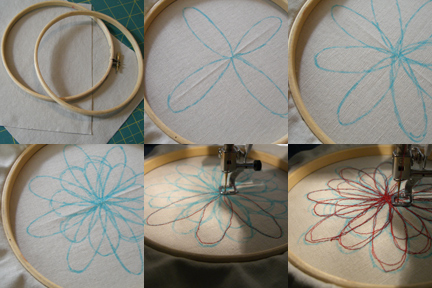
free-motion-embroidery

  1. Mark the center of one fabric square by folding in half each way.  Put the fabric in your embroidery hoop so that the fabric will lay flat on your machine.
  2. Draw the flower design onto the fabric as shown.
  3. Turn the feed dog switch on your sewing machine to the off position (check your sewing machine manual for instructions). Practice your free motion embroidery on a piece of scrap fabric to get the right tension (you will need to turn the tension way down, most likely).
  4. Then follow around the lines of your design.  I went over each line three or four times and enjoyed the freedom to be messy with it.
  5. Press the fabric and spray with water to remove fabric marker (or let air dry, depending on the type of marker you’re using).
  6. Sew the two squares of fabric, right sides together, with a 1/2″ seam allowance, leaving one end open.  Press seams flat and clip corners.
  7. Turn right sides out and push out corners.  Press opening under 1/2″.
  8. Insert both squares of quilt batting and pin together opening.
  9. Sew around the square 3/4″ from the edge, then again 1/2″ and then 1/4″ from the edge, for three rows of stitching.

Cereal Box Journal

make-it-monday1

cereal-box-journal

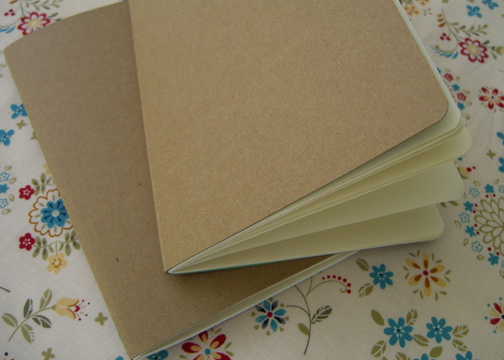
Here’s a quick and easy way to re-use a cereal box and make a useful journal from it. Ever use the Moleskine notebooks? I love them, so thought I’d make some of my own with materials that I had around the house.  There are lots of possibilities for this project. You could stamp or print the cover, paint it, add a collage or a simple drawing, or use decorative paper to cover the inside. This would also make a fun project for the kids – they could decorate the covers and write a story.

cereal-box-journal-2

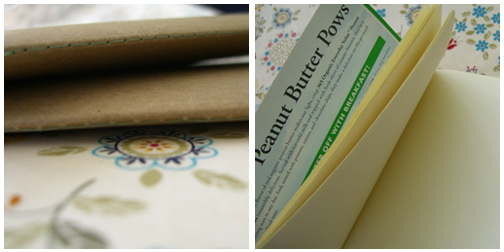
I made this on my sewing machine, but I can’t be held responsible for broken needles! I set the tension to a very low setting and made the stitch long. I used 8 pieces of paper (for a 16-page journal) and wouldn’t recommend many more than that.

Supplies:

  • cereal box
  • paper (recycled or handmade would be even better)
  • thread
  • rounded corner punch
  • paper cutter
  • painter’s tape

cereal-box-journal-steps1

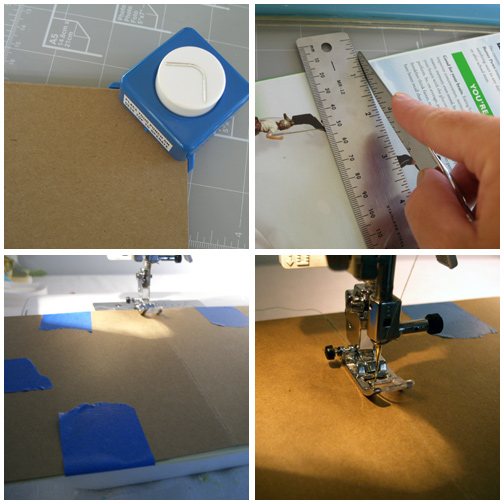
Step 1: Cut cardboard box down to desired size. I made mine 10”x7” (for a 5”x7” journal).

Step 2: Cut journal paper down to size as well. You might want to deduct 1/8” to make sure the paper folds nicely into the inside of the journal.  (see this next post for more instructions about this).

Step 3: Round corners with the corner punch.

Step 4: Score cereal box cover down the center until it folds crisply. I used a utensil knife and ruler to do this.

Step 5: Place cardboard (plain side up) on top of paper and tape together with painter’s tape.

Step 6: With sewing machine tension set to low, slowly stitch long stitches along the scored line.

Step 7: Fold over and place under a heavy book  to press flat.

Quick Doily Garland

make-it-monday2

doily-garland-1

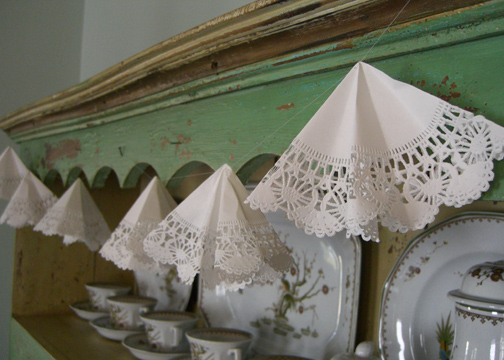
I found some extra doilies and made this quick, last-minute garland for a wedding shower.  These would also be great for a badminton tournament!  Ha.

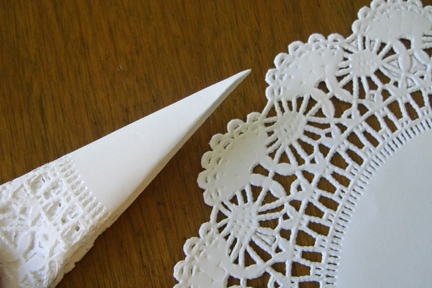
Just fold in half until they are a small triangle shape, unfold, string with a needle and thread and hang.  That’s it.

doily-garland-2

Pintuck Pillows

make-it-monday1

pintuck-pillows1

pintuck-pillows2

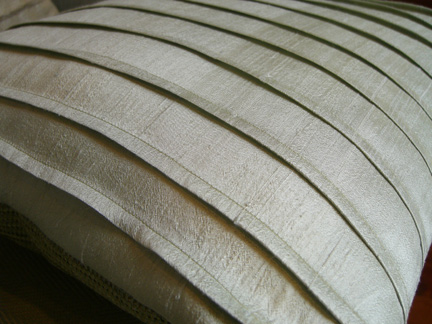
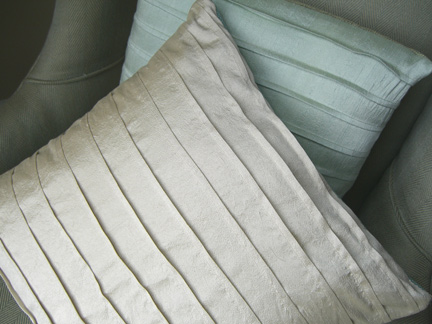
There’s something going on with me lately that makes me want to sew repetitive lines.  May need psychoanalysis.  Anyway, I made these pillows from washed silk.  I had some silk remnants, washed them on cold and let them air dry, which gives the silk a wrinkled look.  These pillows use pintucks to create a tailored, clean look.  This is a very simple project, one that would work well for a beginning sewer.  I backed my pillows with upholstery weight fabrics, which helps add some durability to the silk.  Click below for instructions:

pituck-pillow-pattern