
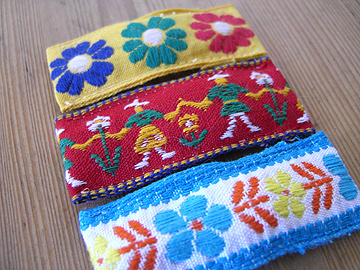
Here’s a repeat from last year, but I thought these might be nice to make for school. Click here to read the tutorial.


Here’s a repeat from last year, but I thought these might be nice to make for school. Click here to read the tutorial.

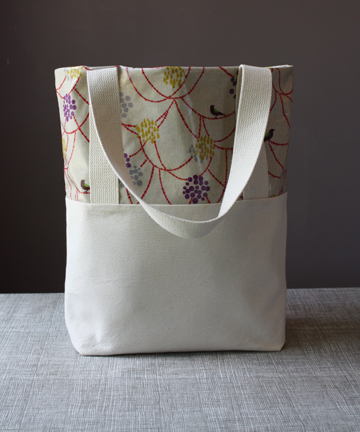
Today’s project is a tote bag that I’ve been meaning to make all summer. I really wanted a bag that could hold wet bathing suits and all of our pool gear. This one is made with Echino polyurethane coated cotton and plain canvas. This bag is lined and includes a magnetic closure and detachable pouch option, which is nice for storing a small camera or wallet that you can take with you without bringing the whole bag. The finished size is approximately 15″x11″ and 5″ deep.
If you are a beginning sewer, you might find working with this coated cotton to be somewhat difficult, so you could try a patterned canvas or twill fabric. If you do try the coated cotton, I recommend setting your tension very low (loose) and using a long stitch length. Since it is kind of rubbery, you have to pull it through your machine a bit.
You can download the tutorial here. If you make a bag, I’d love to see it. Be sure to add your photo to the Make it Monday Flickr pool here.

It’s all about the fairy tales this week. Today I made a simple Little Red Riding Hood stuffed doll. Just a few pattern pieces cut from scraps plus a little embroidery and you’re set. I used red flannel for the cape, wool felt for the face and some vintage fabric for the dress. Here are the instructions:
Supplies:
If you make one of these, I’d love to see it! Be sure to add your photo to the Make it Monday Flickr group.

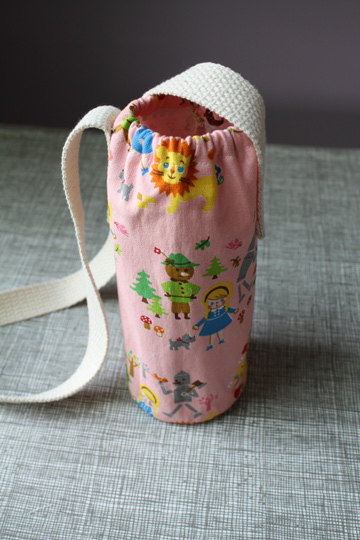
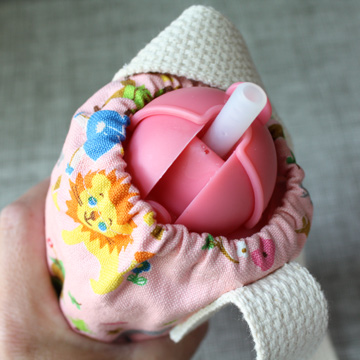
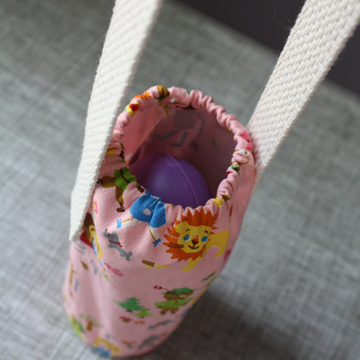
The kids needed water bottle totes for a summer day camp this week, so I came up with this quick and easy pattern. This one has elastic around the top to keep the bottle from falling out and should hold most smaller sizes of plastic and metal bottles (12-18oz). And if you’re interested, you can read this review of BPA-free bottles. This will work for adults too by simply lengthening the strap.
Click here to download the .pdf tutorial.
MATH ALERT: Luckily my husband was around today to help me with this one. If you need to make your tote larger to accommodate a bigger bottle, simply increase the size of your bottom fabric circle. To then determine what the width of your fabric should be, multiply the diameter of your circle by ∏ (3.1415926….).

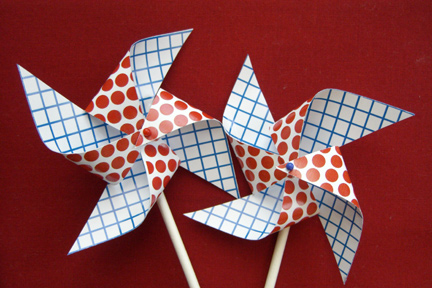
Here are some quick and easy printable pinwheel cupcake toppers to celebrate the Fourth of July. They really spin! These are made with straight pins, but if you are having a party with small children I’d advise you to glue them down or use small paper clips (similar to these). The design is 3″ x 3″, so perfect for cupcake toppers or for party favors.
Supplies:
Click on images below for templates:
1. Using card stock, print the blue grid on one side then flip the page over and print the red dots.
2. Cut a small slit at a 45 degree angle at each corner like this:

3. Carefully poke a hole in the top of the lollipop stick with a straight pin.
4. Fold down every other corner of your pinwheel and hold it in place in the center.
5. Poke a straight pin through the center, being sure to catch all the corners.
6. Gently tap with the hammer until it is secure, but the pin isn’t going all the way through the lollipop stick.
7. Glue in place, if you’d like.
If you make these, we’d love to see your photos in the Make it Monday Flickr group here.