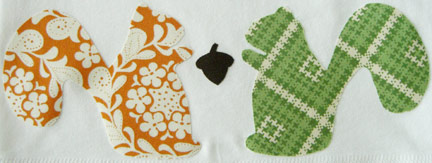
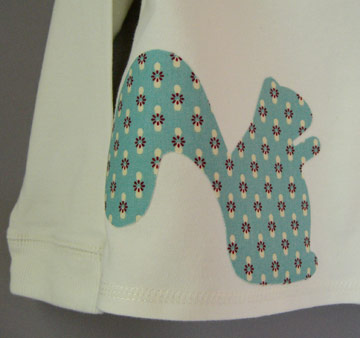
Squirrel Friends

Happy first day of Fall!  Here’s a little autumn no-sew appliqué project.  I put these appliqués on tees, but I think they would be cute on a kitchen towel, tote bag, at the hem of a skirt, or wherever you choose.  I think it’s best to have some contrast with your fabric — dark appliqué on light fabric, light appliqué on dark fabric.  As you can see, the orange fabric above doesn’t really show up all that well because of the white in the fabric design.  It would also be cute to sew some buttons for eyes, maybe even embroider a little face.

I have never used this Wonder Under product for appliqué because I didn’t trust that it would stay on through wear and tear without sewn reinforcement.  But I’ve washed and dried these tees and they just frayed a teeny bit around the edges, so I am satisfied. If you’re as confused by the vast array of interfacing at the fabric store as I am, just ask for “Wonder Under” and check to make sure that’s what you’ve got.  It comes on a bolt or in small packages.  The Wonder Under instructions say this works on wood too.  I’m skeptical — anyone tried that?

Supplies:

  • Double-sided fusible webbing (Wonder Under or other brand)
  • Fabric scraps (about 6″x6″ for each squirrel)
  • Tee
  • Fabric marker
  • Iron
  • Small, sharp scissors
  • Damp cloth

Print out the template you wish to use and cut out the image(s).  The single squirrel is about 5 1/2″ wide and the squirrels in the other design are each 4 1/2″ wide:

squirrel-single

squirrels-sharing

  1. Cut a piece of fabric just larger than the appliqué design.  Iron rough side of fusible webbing to wrong side of fabric, according to fusible webbing instructions.  Be sure not to let the webbing overlap while you are ironing or you will get goop on your iron and/or your ironing board.
  2. Place template on the back of your fabric and trace image with a fabric marker.
  3. Cut away excess fabric and then cut carefully around your image with small, sharp scissors.
  4. Carefully peel away backing and place design on tee.
  5. Iron in place according to package directions with damp cloth on top.

All done!  If you make this project, please show us by posting your photos in the Make it Monday Flickr pool.


Scrappy Owl Treat Bag

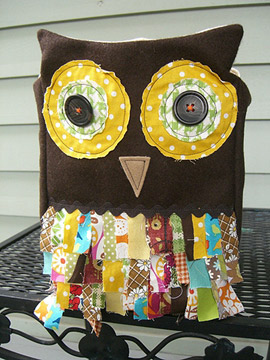
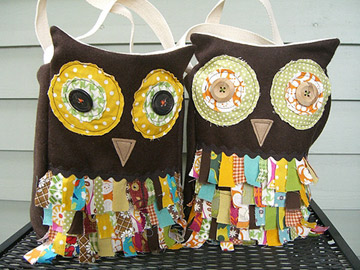
Although owls have become the cliché of the craft world, they are still my friends. I cannot stand the plastic pumpkins, so I made these trick or treat bags for the girls. They are roomy enough for a good bit of candy, but not too much! The bag is lined, has two handles, and is made of wool felt, canvas and scraps.

Instructions are posted over at Flickr. As always with any of my original sewing patterns, this is for personal use only. If you make one of these, please post a photo in the Make it Monday Flickr pool so we can see it!

Needle Felted Pumpkin

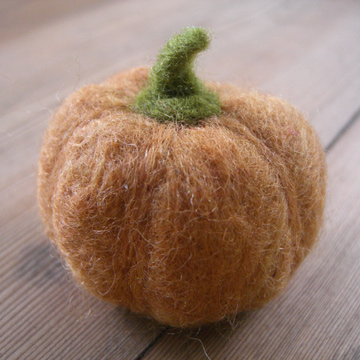
I am totally geared up for Fall and especially Halloween. So I have made quite a few of these little needle felted pumpkins in the past couple of days. I thought I’d make a quick tutorial, though this is certainly not an original idea and I am definitely a novice! My photo tutorial is posted over at Flickr.

Needle felting is pretty addictive, and it’s great if you’re an election junkie like me and need to sit in front of the television to listen to the talking heads. Just don’t poke yourself with a needle.

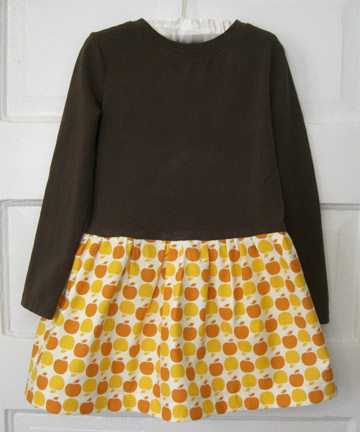
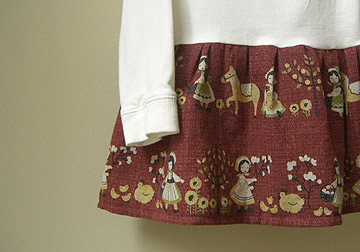
It’s a t-shirt…it’s a dress…

it’s a t-shirt dress!

I saw an adult a-line version of this in a catalog and decided to make some for the kids.  Are they back in style?  This was pretty easy and inexpensive.  You could add a matching appliqué to the top.  And I think it would be extra cute in plaid.  This will work for adults or kids.

Here are the basic instructions:

Supplies:

  • tee
  • 1/2 yard fabric (for kids)
  • thread
  • scissors
  • measuring tape

Step #1: Wash and dry tee and fabric.

Step #2: Try the tee on to see where you want it to hit.  Mark that spot and cut neatly across the bottom.

Step #3: Measure the width of the hem of your t-shirt.  Double that and cut your fabric to that width in two pieces.  You can decide the length according to your needs.  (I used about 10″ for my three year-old and 12″ for my five year-old).

Step #4: Turn under bottom of one piece of fabric 1/2″ and press.  Fold 1/2″ again and sew hem.  Repeat for the other piece of fabric.

Step #5: Right sides together, pin the two pieces of fabric together and sew one of the side seams (1/2″ seam allowance).

Step #6: Sew a basting stitch along the top for gathering, leaving bobbin thread long.

Step #7: Right sides together, sew the other side seam, starting at the bottom and leaving about 1/2″ at the top so that you can still adjust the gathers.

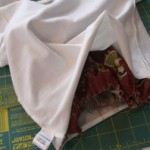
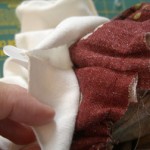
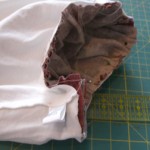
Step #8: Turn tee inside out and insert skirt section into the inside of the skirt upside down, with right side of skirt facing right side of tee (see photo below).

Step #9: Pin seams of skirt to seams of tee.  Pins should be on the inside of the skirt.  Then pin around, adjusting the gathers evenly as you pin.

Step #10: Sew in place along the basting stitch.

Step #11: Sew overcasting stitch along all seams.

If you make this project, be sure to post a photo to the Flickr Make it Monday page.

Flower Pot Pincushion

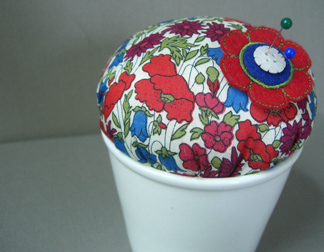
I thought I’d try to make one of the little pincushions in a flower pot that I’ve seen lately. It requires no sewing! Ha, but you probably won’t want to make one of these unless you like to sew. I added a little felt flower (like the hair clips I wrote about in my last post) and a button. And I used this Liberty of London fabric again. There’s still some left, so you’re sure to see it more!

Supplies:

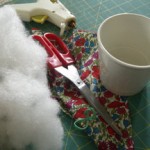
  • small flower pot
  • fabric scrap
  • polyfill stuffing
  • hot glue gun
  • rubber band

  1. Cut fabric about three times the width of the top of your pot. My pot was 4″, so I cut a 12″ square.
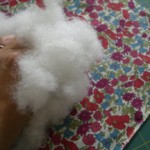
  2. Place some polyfill in the center and wrap loosely with a rubber band.
  3. Continue stuffing with polyfill (as much as you possibly can, and then some).
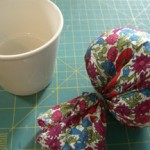
  4. Wrap rubber band around a few more times to tighten it.
  5. Adjust fabric evenly and try it out in the pot.
  6. Glue all around the inside of the pot, about an inch from the top. Quickly stuff in your fabric.

All done! If you make one of these, be sure to post a photo over in the Make it Monday Flickr photo pool. Check out these flower pot pincushions from Betz White for some more inspiration.