Little Red Riding Hood

make-it-monday2

little-red-riding-hood-doll

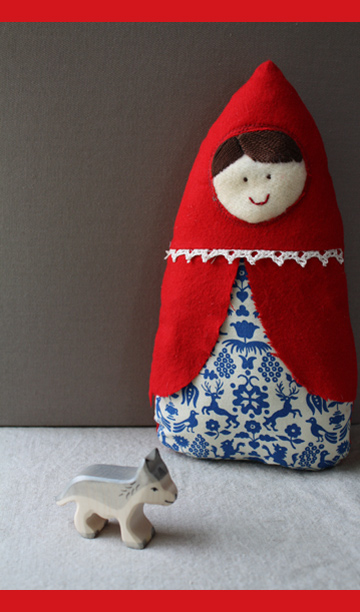
It’s all about the fairy tales this week.  Today I made a simple Little Red Riding Hood stuffed doll.  Just a few pattern pieces cut from scraps plus a little embroidery and you’re set.  I used red flannel for the cape, wool felt for the face and some vintage fabric for the dress.  Here are the instructions:

Supplies:

  • fabric scraps
  • embroidery thread and needle
  • stuffing
  • matching thread
  • small sewing needle
  • crochet trim (optional)
  1. Print out templates page 1 and page 2.
  2. Embroider the face onto uncut felt or fabric of your choice according to size of the face on the template.  Then cut the face piece to the size of the outside template circle (or a little larger to give some extra sewing space).
  3. Cut out the rest of your fabric according to the templates.
  4. Fold the hood piece in half lengthwise and cut a half-circle at least 1/4″ smaller than your face piece.  Pin the face to the underside and topstitch around several times.
  5. Sew the front pieces together: place the cape pieces aligned with the top of the dress front, then place the hood piece right sides together with hood pointed down and sew along the top, using a 1/4″ seam allowance followed by an overcasting stitch.  (If you are using the crochet trim, you’ll want to insert it in this step.)
  6. Beginning at the bottom, sew front piece to back, right sides together.  Be sure to leave a 1″-2″ opening at the bottom for stuffing.
  7. Stuff and hand sew bottom closed.

If you make one of these, I’d love to see it!  Be sure to add your photo to the Make it Monday Flickr group.

Summer Reading Craft #3

summer-reading

wabi-sabi-cover

This week we read one of my new favorites, Wabi Sabi by Mark Reibstein with illustrations by Ed Young.  It’s the story of a Japanese cat named Wabi Sabi searching for the meaning of her name.  She comes to discover that wabi-sabi is the simple, imperfect beauty that can be found all around us.  Its meaning might be complex for a young child, but I continue to be inspired by the book each time we read it and feel that the story offers a meaningful idea.  And since wabi-sabi is an essential element of handmade goods, I think it’s an apt concept for this blog regardless of your age.  Here is an interesting explanation of its meaning.

The story is beautifully written with a lovely haiku on each page.  Ed Young’s illustrations carry on the wabi-sabi philosophy with collages that include natural and everyday objects, humbly and beautifully woven into the work with an amazing sense of composition.  His final images for the book had to be created quickly because his original designs were lost while he was also undergoing a personal tragedy (you can read more about it here).  So Young changed his process and used splattered paint, magazine clippings, pine needles,  origami papers, cardboard and other found materials.  Take a look at this video interview with both author and illustrator here.

wabi-sabi-collage

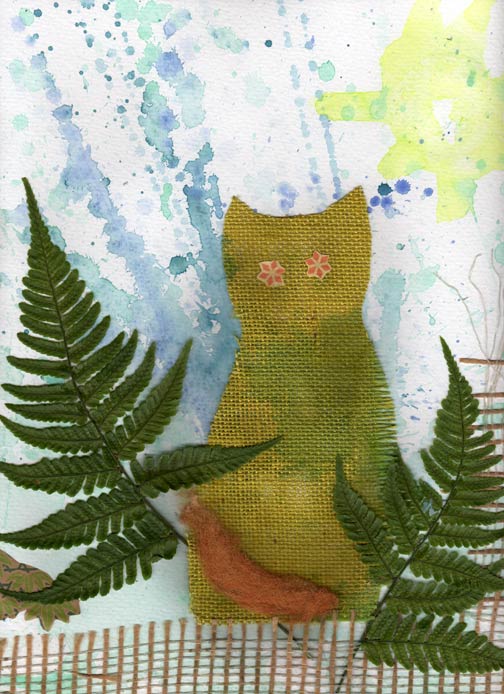
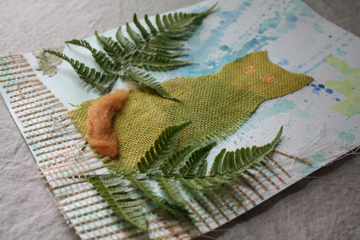
For our kid’s project, we read the book again and talked about the images while the children guessed how they were made.  We collected textured materials from around the house and in the yard including burlap, wool felt, bits of a rug pad, fern leaves and patterned paper.  My four-year-old enjoyed the splatter painting with watercolors, then she and I worked out the composition, cut the shapes and glued everything in place.  Then my six-year-old, who didn’t want to participate, came in and said that it wouldn’t be right until we scanned it into the computer and printed it out as a flat image.  She was right.  You can see the scanned version above.  Then she even began working on a collage book of her own while the four-year-old made a collage doll from scraps of paper.  It’s always interesting to see where new ideas take them.

wabi-sabi-collage2

Balsa Wood Prints

balsa-wood-prints-1

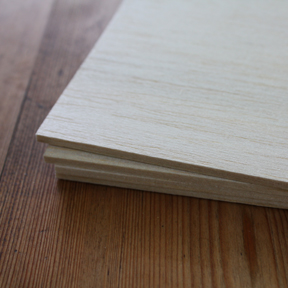
I had some balsa wood around the house and decided to make prints with the kids.  If you’ve never seen this before, it is an inexpensive and soft wood that you can buy at most art supply and craft stores.

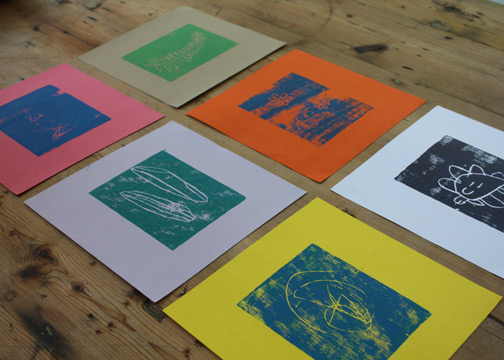
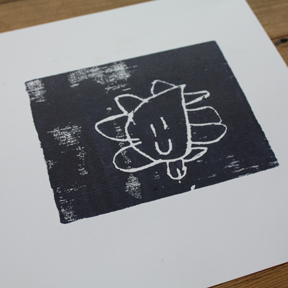
Here’s how we did it.  I had the wood cut into rectangles already.  The kids drew their designs with a pencil, then I went back to make sure that the indentations were clear.  We printed with several colors of ink on colored paper (for more details on the printmaking process and materials, read this post).  We had mixed results, but overall I like the effect of the woodgrain as it comes through to the paper and there was no carving necessary.  I think it would be nice to have your child print several runs of the same design in different colors and frame them together.  I even made a print of my own– this is not just a kid’s project!

balsa-wood-prints-3

balsa-wood-prints-2

Glitter Globe

glitter-globe

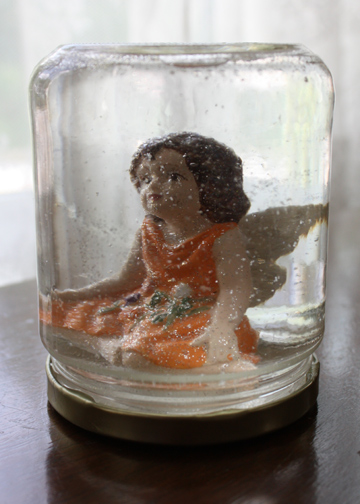
I have a love/hate relationship with glitter.  I can’t deny my children of the mess because I can understand its appeal.  This glitter globe is a simple recycled project because you can use an empty glass jar and a knickknack picked up from the thrift store.  We’ve had this little fairy for a while now intending to make a snow globe.  I looked at quite a few tutorials, but ended up following this one from Robert Mahar over at the Junior Society.  I used a plastic cap to elevate the little fairy so she wouldn’t be flat to the jar top (or bottom, depending on your perspective).  I think I’d like to add some satin ribbon around the base.

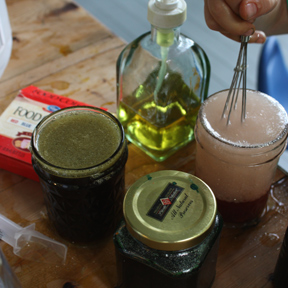
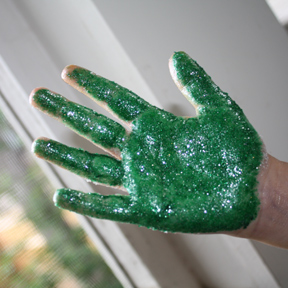
So naturally when you leave tiny little glitter (thanks, Martha) on a table within a kid’s reach, this might happen.  My six-year-old did some experimenting with “magic potions”.

potion-making

Then it turned into this.  Then it was time for a bath.

glitter-hand

Checking In

princess-cape

What have I been doing?  Taking the kids to the pool, eating blueberries, burying dead aquarium fish.  The usual.

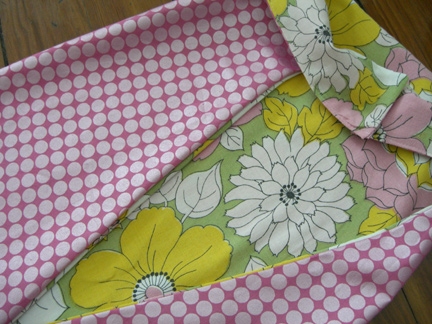
But not much sewing around here.  However, I have been making some last-minute birthday gifts for kids.  Last week I made this superhero cape that I posted about last year and it honestly took only 20 minutes.  It’s reversible too!  If you’ve never made this before, it may take you a little longer on the first try but it’s still a very easy project.  And it has a velcro closure which is handy so the kiddos can dress themselves.  This also works sort of like our cat’s break-away collar in case a kid gets hung up on something.  Seriously.  I say this because my kid got hers caught going down a slide and a tied cape might have been a problem.  Yikes.  Anyone on the CPSC recall e-mail list?  There is a drawstring hooded sweatshirt recalled just about every week.  Anyway, I keep a muslin pattern for this cape on hand so I can make them anytime.  This one is made from a vintage sheet and some shiny polka dot fabric.  Fit for a queen!

beer-holder

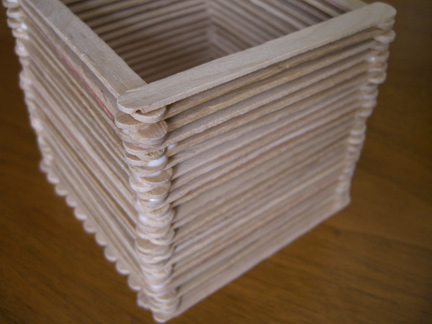
Oh, and the girls and I made this popsicle stick project for my husband’s birthday last week.  So it was supposed to be a pencil holder, but he walked in and said “Oh, a beer holder!”, so OK –  a beer holder.  Truly, he doesn’t need a pencil holder anyway.  The man never writes anything down on paper, never prints out paper either.  He’s all digital.  I’m thinking of making a quilted lining to keep the brew cold, but that’s a project for another day (possibly another lifetime).