My Folklore Dress

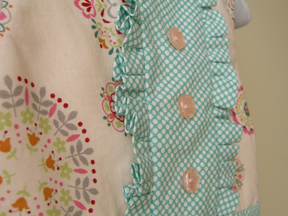
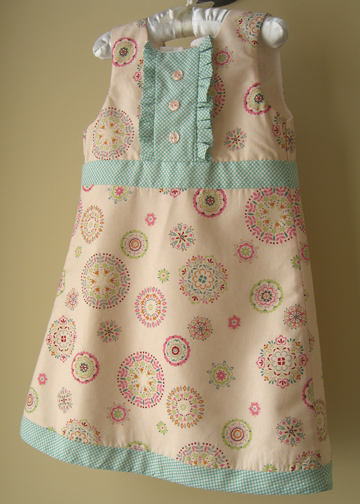
lecien-dress

lecien-dress-detail

Made a little dress using some of this Lecien My Folklore fabric.  It’s a favorite of mine.  I’ve been loving all of the tuxedo style ruffles, so I used them here.  I didn’t work from a pattern, but modified a simple bodice shape to include the ruffles.  Hope the four-year-old will wear this one!

Marimekko Apron

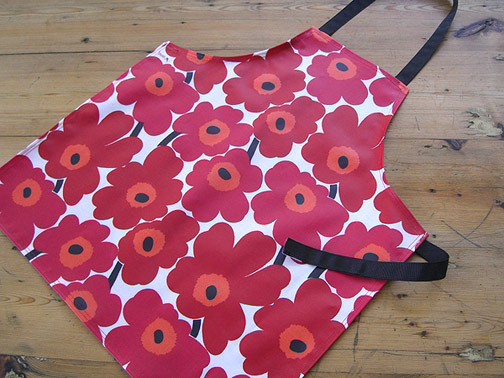
marimekko-apron

I ordered this coated Marimekko fabric with the intention to make lunch bags, but I’ve decided that I should go with a polyurethane coated cotton instead.  So I made some child-sized aprons with this fabric.

I looked at this Montessori apron from Sew Liberated for some guidance, but didn’t really follow the instructions.  My finished width at the top is 6″ and the overall length is around 18″.  I used a hidden velcro closure on the side.  I really like how Sew Liberated’s pattern includes elastic in the neck, but since I was using grosgrain ribbon folded over, I didn’t think that would work very well.

Anyway, it’s a good little apron for messy projects and it was simple to sew.
Sketched Flower Trivet

make-it-monday

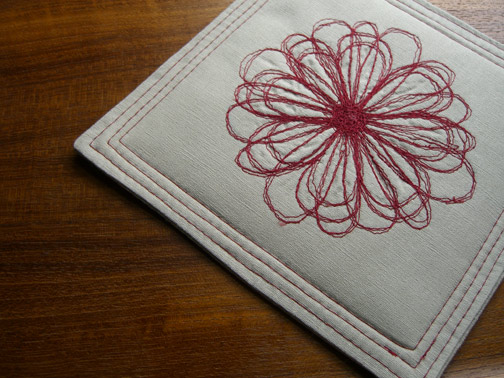
flower-trivet

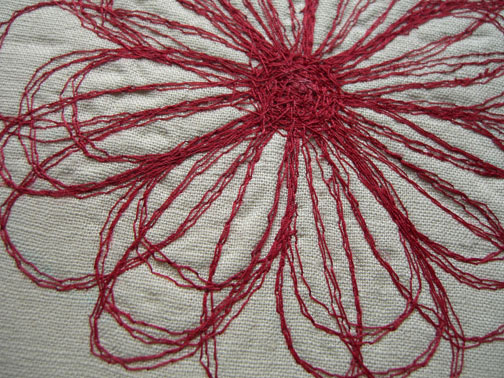
flower-detail

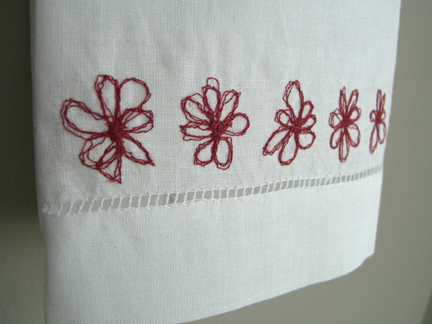
Why have I never tried free motion embroidery?  It is really fun if you like to sew and sew like I did in this recent project.  Here are some simple steps for making this sketched flower trivet.  This would make a nice Mother’s Day project.

Supplies:

  • two 8″x8″ squares of fabric (cotton/linen blend)
  • embroidery thread (no. 100)
  • bamboo or cotton batting, two 7″x7″ squares
  • 6″x6″ embroidery hoop
  • fabric marker

For the free motion embroidery, you will also need an embroidery foot for your sewing machine.

Be sure to wash, dry and press your fabric before beginning the project.

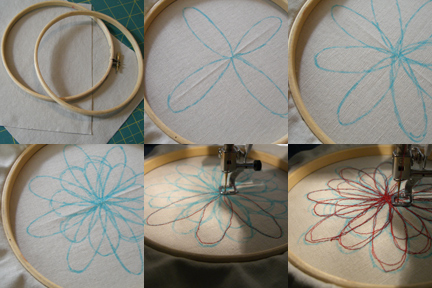
free-motion-embroidery

  1. Mark the center of one fabric square by folding in half each way.  Put the fabric in your embroidery hoop so that the fabric will lay flat on your machine.
  2. Draw the flower design onto the fabric as shown.
  3. Turn the feed dog switch on your sewing machine to the off position (check your sewing machine manual for instructions). Practice your free motion embroidery on a piece of scrap fabric to get the right tension (you will need to turn the tension way down, most likely).
  4. Then follow around the lines of your design.  I went over each line three or four times and enjoyed the freedom to be messy with it.
  5. Press the fabric and spray with water to remove fabric marker (or let air dry, depending on the type of marker you’re using).
  6. Sew the two squares of fabric, right sides together, with a 1/2″ seam allowance, leaving one end open.  Press seams flat and clip corners.
  7. Turn right sides out and push out corners.  Press opening under 1/2″.
  8. Insert both squares of quilt batting and pin together opening.
  9. Sew around the square 3/4″ from the edge, then again 1/2″ and then 1/4″ from the edge, for three rows of stitching.