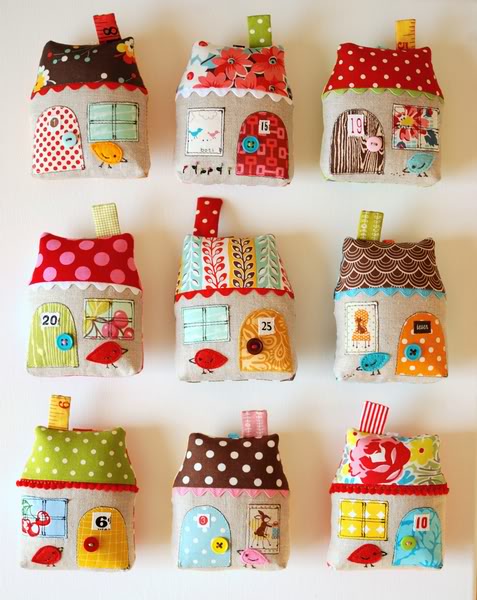
Head over to Sew, Mama, Sew! to check out my round-up of holiday sewing projects. The house ornaments pictured here are from Retro Mama.

Head over to Sew, Mama, Sew! to check out my round-up of holiday sewing projects. The house ornaments pictured here are from Retro Mama.
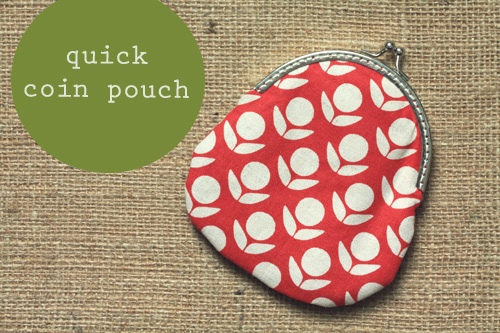
Head over to Skip to My Lou to see my tutorial for this Quick Coin Pouch. I love these pouches and I’ve been meaning to make one for a while, so thought I’d share how I made mine.
I’ll be selling a few of these at the Indie Craft Experience Holiday Shopping Spectacular this weekend. In fact, I’ve got a stack of stuff to sell here. But much more to make before Saturday! Hope you’ll stop by if you live in town. Looks like Felt Jar and I will be the first booth when you walk in the door, so you can’t miss us!
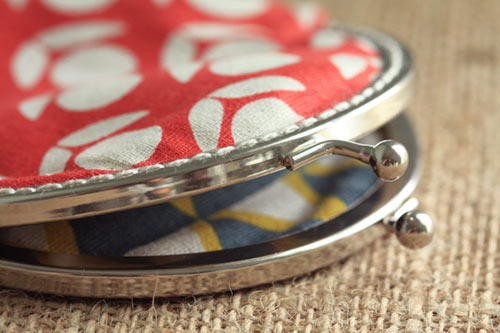
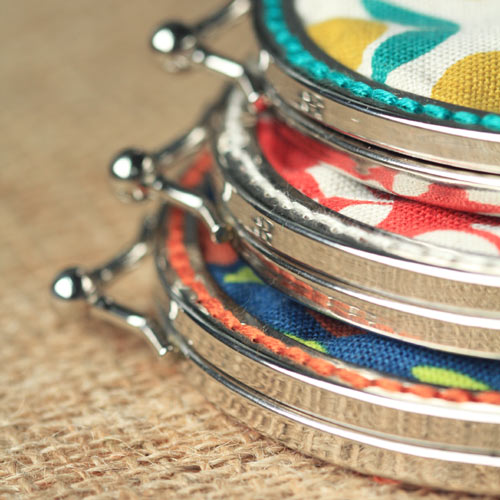
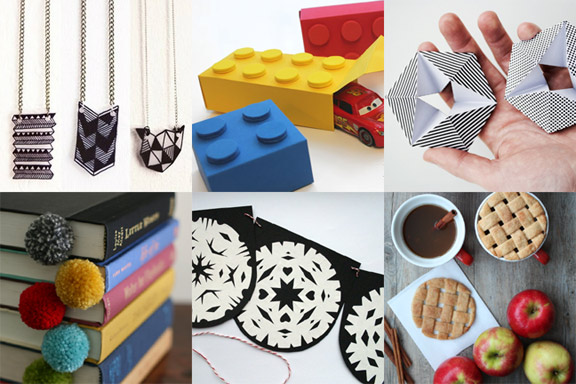
Just a few craft links, plus some other random links for you today. Pictured above:
46 Ideas for DIY Jewelry You’ll Actually Want to Wear from Buzzfeed.
Lego Gift Boxes from Lines Across.
Kaleidocycle Folding Paper Toy from Mini Eco.
PomPom Bookmarks from Design Mom.
Snowflake Scallop Bunting from Bugs and Fishes.
Lattice Pie Mug Toppers from A Subtle Revelry (via Craft).
For those of you parents feeling like you are juggling too many things, read this article, laugh, and feel better about letting your kids play instead of teaching them Mandarin.
Quilt Market Wrap-Ups: Kathy Mack of Pink Chalk Fabrics has a nice trend report from market. I always feel like she has a good perspective on what’s happening in the industry. And of course, follow along with Kim and her gang of reporters over on True Up for tons of posts with photos. And check out this inspiring video made by Creative Bug. I particularly like what Kaffe Fassett says about beautiful fabrics having restorative powers. You can also see a peek of the Kokka booth with my Stamped fabric collection over at Made by Rae. All of my samples are traveling to Europe and unfortunately I didn’t get any photos before Market, but I’m making loads of stuff with this fabric and will show you more soon!
Here’s a post that’s had me thinking a lot lately: 10 Great Ways to be an Unhappy Mom. This post led me to discover Beth Berry’s blog, Revolution from Home, which I find real and refreshing. I particularly like this post. A reminder to take the time to slow down, focus our energy on what’s really important and remember not to compare ourselves to the perceived perfection that we see online (which does not exist, I can assure you).
So, I’m giving you a round-up of project tutorials, none of which I am going to make! Ha. But I’m going to finish my final round of book edits today, get some photos taken and make a trip to the grocery store. Success! And if you have the time and feel inspired, go make something from these tutorials. There are so many creative and inspiring projects out there, but maybe you need to go do something more important. Like feed the kids.

Reading Pillow from Melissa Mortenson.
Boatneck Tutorial from Dana of Made.
Sewing Round-up on How about Orange.
Easy Watercolor Portraits from Grow Creative.

And some Halloween ideas:
50 Halloween Crafts (from my previous round-up).
Halloween Craft Round-Up from Hello Lucky!
25 Projects from Better Homes & Gardens.
Plus a round-up of my crafts over the years. Here’s another round-up of candy corn crafts, and still another round-up of projects.
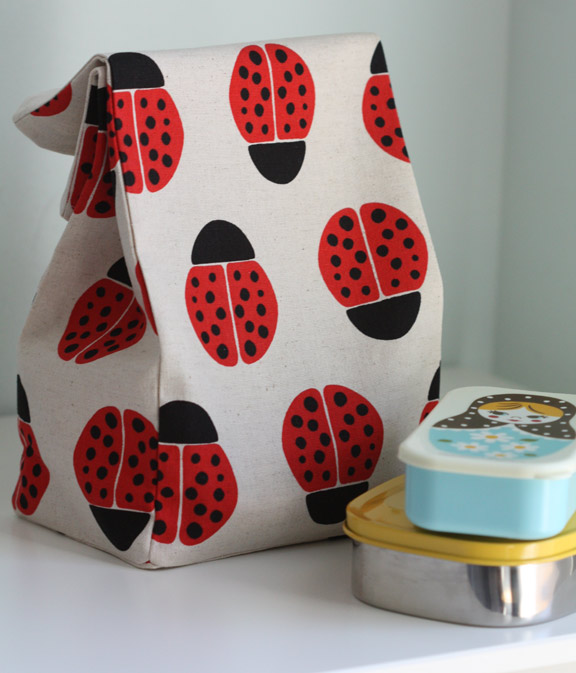
Ready for the kids to get back to school? Here’s a quick and simple tutorial for a basic lunch sack. I used my ladybug fabric for Kokka for this project. The cotton/linen blend works really well for these kinds of projects because it is soft, but also holds its shape.
Better Than Paper Bag
Supplies:
Brown paper lunch bag (7-by-13-by-5 inches)
1/2 yard thick fabric (such as cotton canvas or twill)
Pencil or tailor’s chalk
Straight pins
Pinking shears
Matching thread
Assembly:
1. To use the brown paper bag as a template, cut it into five pieces: front and back, two sides and the bottom.
2. Trace these five pieces onto the wrong side of the fabric, adding ½ inch on all sides for the seam allowance. Cut out the pattern pieces.
3. Next, sew the front, back and side pieces to the bottom piece: With the bottom piece and the front piece placed together with right sides facing, sew a seam ½ inch from the edge, beginning and ending ½ inch from the corners. (You might want to mark the ½ inch point before sewing.) As you sew, use a backstitch to lock the stitches in place at each end. Repeat this step with the back and side pieces, until you have all pieces sewn to the base.
4. Create the bag shape by sewing the side pieces to the front and back pieces with right sides together. Again, begin ½ inch from the bottom corners and use a ½ inch seam allowance, stopping and starting with a backstitch. Sew all the way to the top of the bag.
5. Fold down the raw edge at the top by about ½ inch and sew a hem along the top, topstitching on the right side of the fabric, ¼ inch from the folded edge. Turn the bag right sides out, and press along all the seams.