Father’s Day Crafts

fathersdayshirtcard

I think Father’s Day might be one of the toughest holidays for crafters.  So, what can you make for Dad or Granddad?  Photos are always a good idea.  I think we’re going to do a gift certificate along with a handmade gift from the kids.  Since my husband bought two boxes of 1000 popsicle sticks to make my Mother’s Day present with the kids, there’s a good chance that he’ll be getting a popsicle craft as well (for the next ten years).

Here are some other suggestions:

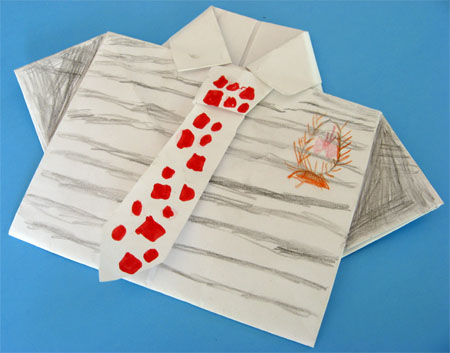
Origami Card from Cindy Hopper of Skip to My Lou for Alpha Mom (pictured above).

Father’s Day Cards Kids Can Make from The Crafty Crow.

Five Excellent DIY Father’s Day Gifts from Alpha Mom.

10 Quick & Easy Sewing Projects for Father’s Day from BurdaStyle.

Father’s Day Crafts for Kids to Make from One Pretty Thing.

Altoid Tin Toolbox from Brenda Ponnay of Secret Agent Josephine for Alpha Mom.

Paper Airplane Cards from Martha Stewart.

Pinwheel Quilted Coasters

make-it-monday

pinwheel-1

Sorry I’ve been out of touch for a bit.  Now I need a vacation from my vacation.

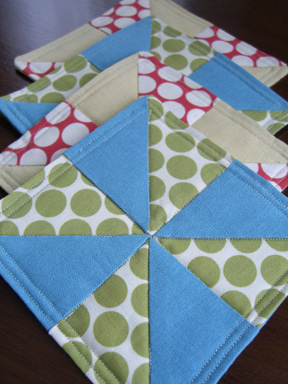
Here are my pinwheel quilted coasters from last summer.  Another re-run!  Click here for instructions.  I think these would be nice for a summer party or as a hostess gift.  Maybe you could make them much larger and turn them into square placemats.  You could have a pinwheel party and make these flower pinwheels too.

Quick Crafty Round-Up

round-up-5-25

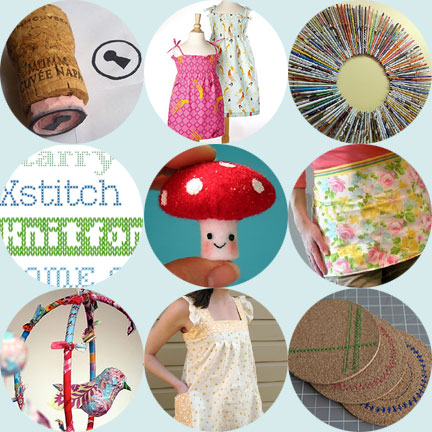
Wine Cork Rubber Stamps from Zakka Life.

Smocked Sundress from Heather Ross for Martha Stewart.

Paper Roll Wreath from Rag & Bone.

Sewing Fonts Links from Craft Gossip and How about Orange.

Felt Mushroom from My Little Mochi for Etsy How-Tuesday.

10-Minute Pillowcase Apron from from Betz White.

Summer Tweets by Lisa Tilse for Small magazine.

Spring Ruffle Top from Made by Rae for Sew, Mama, Sew.

Cork Coasters from Jackie Hernandez for Crafting a Green World.

10-Minute Mouse Pad Makeover

make-it-monday1

mouse-pad-makeover

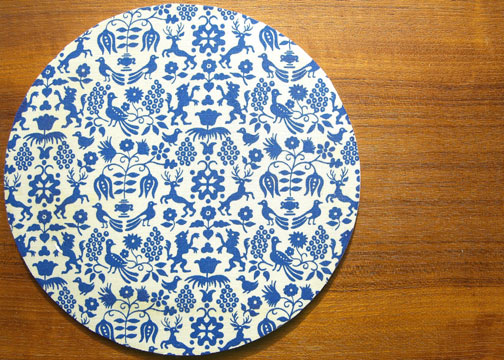
We had a dingy looking mouse pad bought from IKEA for $1.  It was time for a makeover.  I’m sure there are plenty of tutorials out there for this project, but here’s how I covered this old mouse pad with vintage fabric.  So simple and easy.

Supplies:

  • old mouse pad
  • fabric scrap
  • rotary cutter and mat
  • spray adhesive
  • fray check

mouse-pad-makeover-instruct

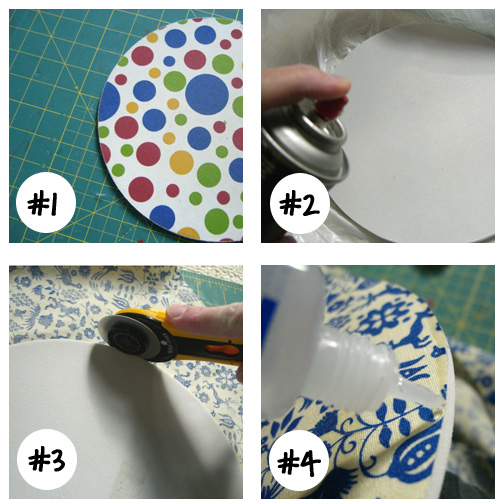
  1. Remove old fabric from the top of the mouse pad by gently peeling it back.  If it doesn’t pull off easily, you can just add your fabric right over the top.
  2. Spray the adhesive onto the top of the mouse pad and press onto back side of fabric.
  3. Trim around the edges with the rotary cutter.
  4. Squeeze a little fray check around the edges to prevent fraying.  Allow to dry.

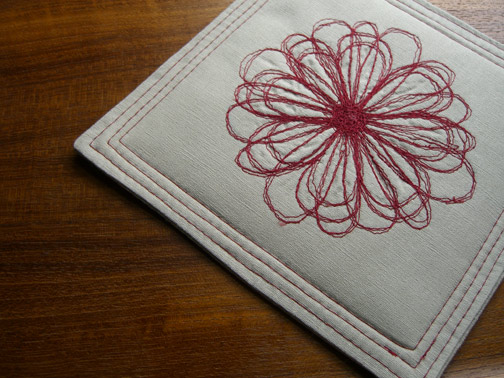
Sketched Flower Trivet

make-it-monday

flower-trivet

flower-detail

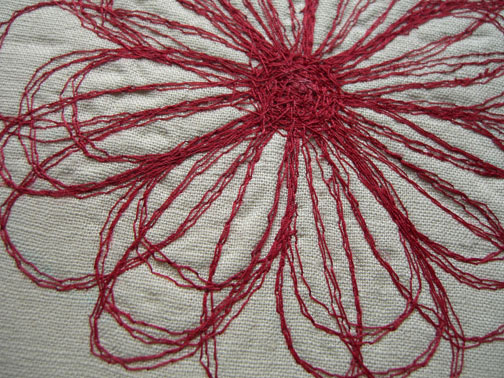
Why have I never tried free motion embroidery?  It is really fun if you like to sew and sew like I did in this recent project.  Here are some simple steps for making this sketched flower trivet.  This would make a nice Mother’s Day project.

Supplies:

  • two 8″x8″ squares of fabric (cotton/linen blend)
  • embroidery thread (no. 100)
  • bamboo or cotton batting, two 7″x7″ squares
  • 6″x6″ embroidery hoop
  • fabric marker

For the free motion embroidery, you will also need an embroidery foot for your sewing machine.

Be sure to wash, dry and press your fabric before beginning the project.

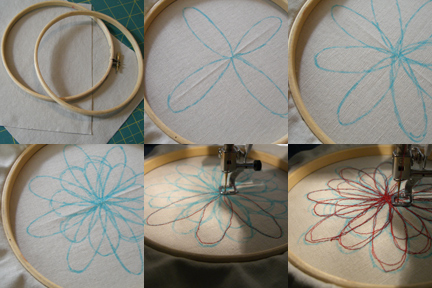
free-motion-embroidery

  1. Mark the center of one fabric square by folding in half each way.  Put the fabric in your embroidery hoop so that the fabric will lay flat on your machine.
  2. Draw the flower design onto the fabric as shown.
  3. Turn the feed dog switch on your sewing machine to the off position (check your sewing machine manual for instructions). Practice your free motion embroidery on a piece of scrap fabric to get the right tension (you will need to turn the tension way down, most likely).
  4. Then follow around the lines of your design.  I went over each line three or four times and enjoyed the freedom to be messy with it.
  5. Press the fabric and spray with water to remove fabric marker (or let air dry, depending on the type of marker you’re using).
  6. Sew the two squares of fabric, right sides together, with a 1/2″ seam allowance, leaving one end open.  Press seams flat and clip corners.
  7. Turn right sides out and push out corners.  Press opening under 1/2″.
  8. Insert both squares of quilt batting and pin together opening.
  9. Sew around the square 3/4″ from the edge, then again 1/2″ and then 1/4″ from the edge, for three rows of stitching.