Sewn Valentine’s Day Cards

valentines-day-recycled-wid2

Here are a couple of ideas for recycled Valentine’s Day cards.  I’m going to try to post a new idea each day this week.  So much better to make something from materials found around the house rather than buy a card at the store.

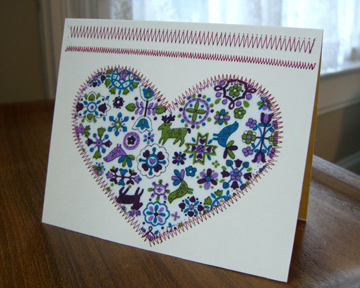
This card is made from an old manila folder and vintage fabric.  I used a bit of interfacing to stiffen the fabric and glued it on with spray adhesive before sewing a zig-zag stitch around the edge.

sewn-card

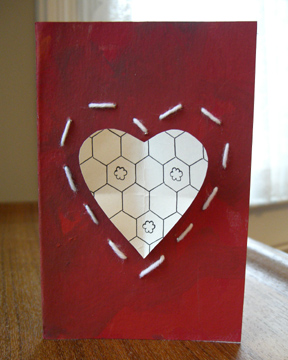
And here’s one for the kids.  A lacing card made from a cereal box.  We simply cut the box, painted it with acrylic paints, poked holes and laced it with yarn.  Good exercise for fine motor skills and fun to boot.  The center heart is a scrap from an old embroidery pattern book.

lacing-card

Soup Can Revisited

valentines-day-recycled-wid1

soup-can1

Here’s a project from your grammar school days.  This Valentine’s Day, there’s no need to buy candy in plastic containers with wasteful packaging or flowers in another unwanted vase.  Use a soup can.  Fill it with candy and nuts, pencils, a handmade toy, flowers, a plant (poke holes in the bottom of the can or use rocks for drainage), money, a gift card or whatever else your sweetie might like.  I’ve made it easy for you by providing these templates for 15 ounce cans.  Be sure to thoroughly wash the can, remove the label and make sure there are no sharp pieces on the rim.

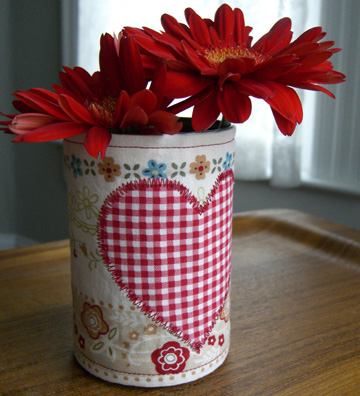
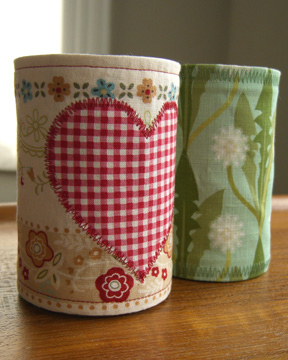
If you sew, you can quickly make a fabric sleeve for your soup can.  I’ve included instructions here (soup-can-fabric-sleeve) for a sleeve with an appliqué heart.  I also made one without the heart from this great Cicada Studio linen blend fabric.  Now for me, using small pieces of fabric from my stash is recycling, but you could also use some old clothing or vintage fabric.

soup-can21

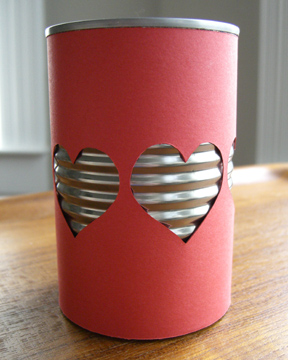
If you don’t sew, here’s a quick template (soup-can-paper-template) using card stock, a craft knife, and some glue.  I really like the look of the steel ridges in the can, so this one exposes them.  Would be even better if you used some paper from the recycling bin.  If you are one of those people like me who is constantly de-cluttering, you won’t feel bad about tossing these cans after Valentine’s Day because they can go right back into the recycling bin.

paper-can

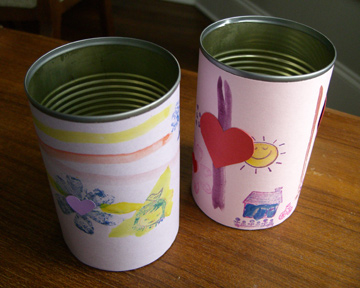
My kids also decorated some cans with stamps and paint.  The possibilities are endless.

kids-soup-cans

See these related tutorials:

Beaded cans from Susan Beal for CraftStylish.

Fabric vase covers from How about orange.

Can covers from Elsie Marley with great embroidery designs.

Silly as it is, I have started a Facebook group for The Long Thread.  Not sure yet what I’ll do with it, but I’d love to have some more members.  Not that 19 isn’t enough — those are 19 quality people there, but you know.

A Recycled Valentine’s Day

valentines-day-recycled-wid

Each Monday over the next month I’ll be posting a new recycled Valentine’s Day project.   Seems like an awful lot of Valentine’s day stuff goes into the landfill or gets dumps into the recycling bin after just a few days.  So skip the plastic hearts and store-bought cards and spread some recycled love this year.

recycled-heart

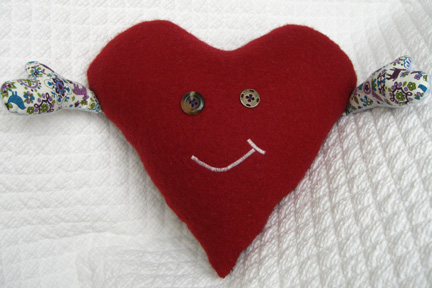
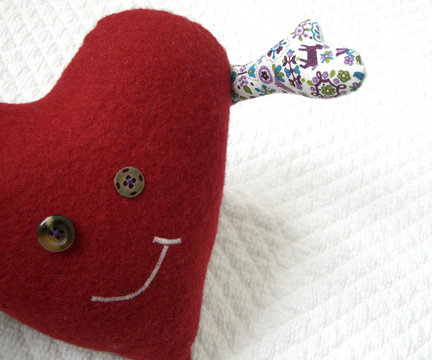
Today’s project is a copy of the IKEA heart.  Have you seen it?  A little heart with arms?  At the bottom of this page.  A huggable heart in a miniature, recycled version.  I added a face too.  For the fabrics, I used a felted sweater, old men’s shirt, vintage fabric and a worn-out baby dress.  The buttons are extras from clothing, and the filling is from an old pillow.

recycled-heart-2

Here are some abbreviated instructions.

  1. Cut heart shapes and arms according to heart template.
  2. Sew buttons and mouth.
  3. Sew arms, right sides together, turn right sides out and stuff them.
  4. Pin it all together as shown below and sew, leaving an opening for stuffing.
  5. Turn right sides out and stuff.
  6. Hand sew opening closed.

howto1howto2

If you make one of these, be sure to post a photo in the Make it Monday Flickr group.  Thanks!

Winter Village

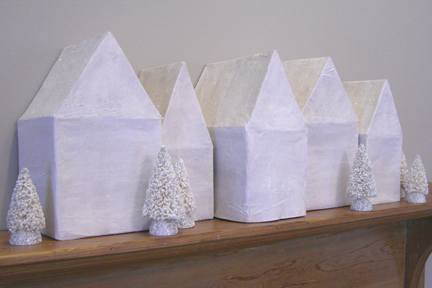
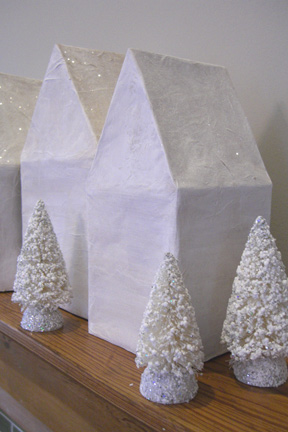
Here are the houses all finished. It’s difficult to see the glitter in these photos, but the rooftops are quite sparkly under the lights.  This project takes several days as you’ll need to wait 24 hours between each coat of paper and glue.  A great project to work on with kids!

I bought the bottle brush trees and plan to make some little snowmen and snowflakes to add to the scene. The houses are about 12″ -15″ tall.  I used leftover packing boxes and found that corrugated cardboard worked best for the bases of the houses.  I really liked the small, square boxes, but wanted them to be different shapes.  Cereal boxes or chipboard will work for the roofs.

Junk mail and glue give the boxes a sturdy feel, but I wanted them to have a better papier-mâché texture, so I added tissue paper as the final layer.  I have tried papier-mâché with flour and water and definitely prefer the glue method as it is much stronger and will not mold.
Supplies:

  • Small cardboard boxes
  • Cereal boxes or thin cardboard
  • Masking tape
  • Scrap paper
  • Tissue paper
  • White school glue
  • Acrylic or tempera paint
  • Paintbrush
  • Glitter

Instructions (see yesterday’s post for more photos):

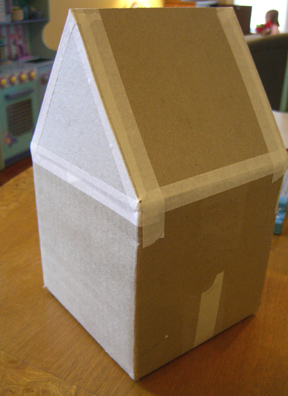
1.  Measure the top of the box and cut the thin cardboard to the correct width.  The length can be as long as you’d like (longer will make a steep roof and shorter will make a squatty roof).

2.  Score the cardboard in the center and fold over to form the roof.  With masking tape, attach the roof to the two sides of your box.
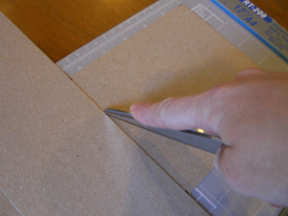
3.  Trace the shape of your roof side onto another thin piece of cardboard.  Cut out two of these triangles and attach to the sides with masking tape.
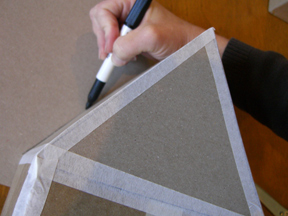
4.  Mix one part white glue to four parts water.  Rip scrap paper into shreds, dip into mixture and apply to the house.  Allow to dry for 24 hours and repeat.

5.  Repeat the process with tissue paper.  Allow to dry completely.

6.  Water down paint and apply a thin coat to the boxes.  Apply a second coat if desired.

7.  Brush glue onto the roofs of the houses and sprinkle with glitter.

Done!  If you make these, I’d love to see a photo in the Make it Monday Flickr pool.
Work in Progress

I guess I should just call this “Make it Tuesday” because here’s another unfinished project.  I started these houses weeks ago.  

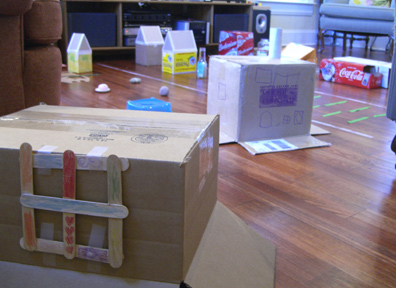
First cardboard, where they were used in the kids’ “Recycled City”.

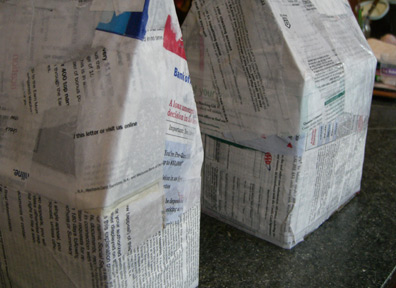
Then covered in junk mail…

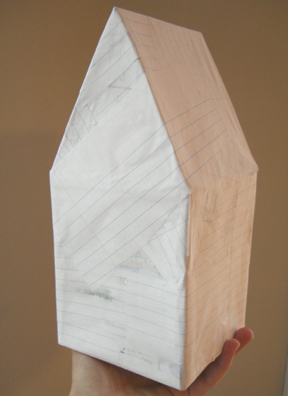
…then notebook paper…

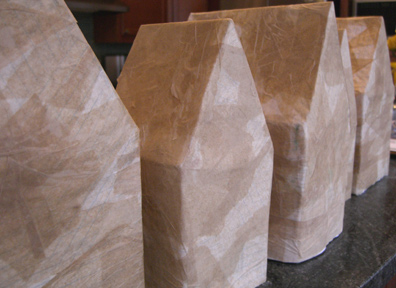
…and finally tissue paper.  

All with a glue and water mixture.  The next steps will be paint and glitter.  So more photos and instructions tomorrow!