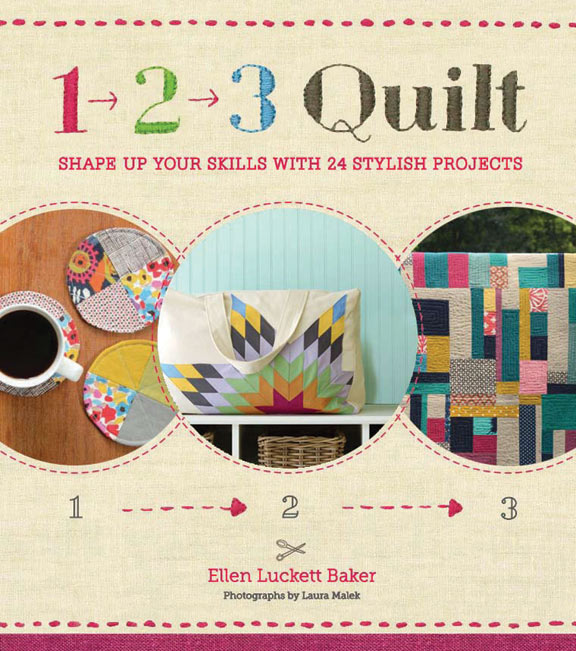
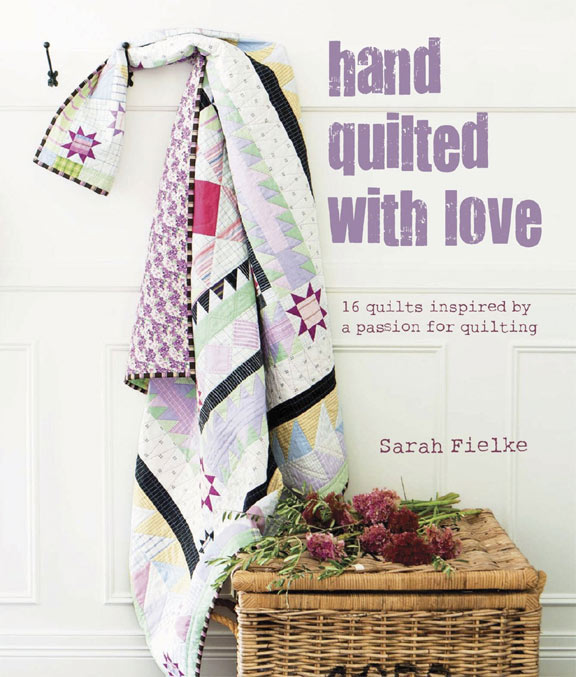
Look! 1, 2, 3 Quilt is available for pre-order! The official release isn’t until September, but you can pre-order now or add it to your wish list. After working on this book for nearly two years, it’s hard to believe that it will actually be printed and done. I was lucky enough to work with the amazing people at Chronicle Books again on this project.
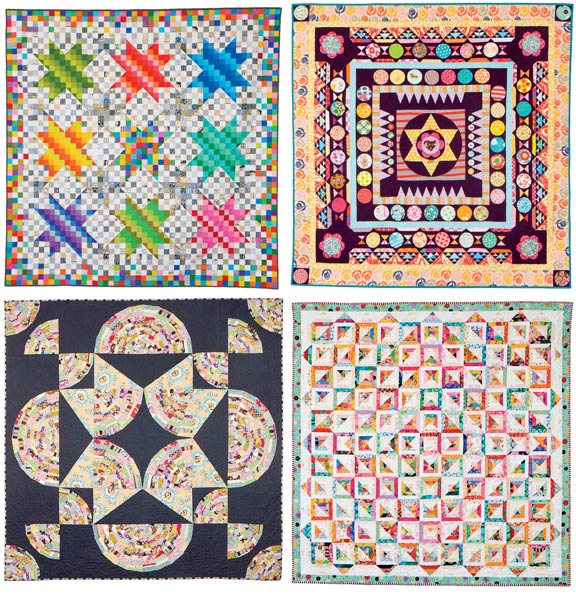
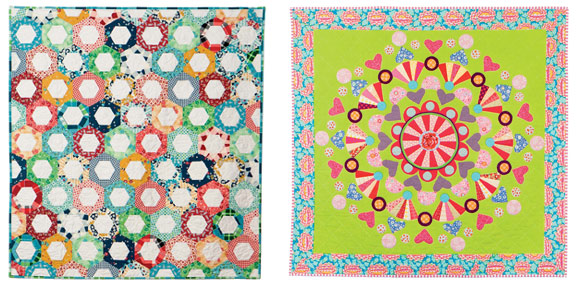
This book, like 1, 2, 3 Sew, has projects organized in groups of three allowing you to build on your skills with each set as you work through the book. In 1, 2, 3 Quilt, the chapters are organized by shapes — squares, rectangles, triangles, hexagons, circles, flowers, stars and diamonds. As you create more complex shapes, the projects get a bit more challenging. So you’ll make a reversible checkerboard game mat, then eventually end up making a cathedral windows quilt.
I tried to cover all of the quilting techniques that I could pack into this book including flying geese made three ways, half-square triangles, needle-turn appliqué, freezer paper appliqué, foundation paper-piecing, English paper-piecing, plus much more. You’ll make projects like a Dresden flower quilt, clamshell pillow sham, and hand-pieced hexagon handbag. In this book, each chapter starts with a small project, then ends with a quilt. There are 8 quilts, 16 other patchwork and quilted projects, plus many more techniques that you can use as you continue your quilting journey. For instance, if you enjoy making the appliqué hand towel, you can take that skill and make a full-sized appliqué quilt later. You’ll also learn some basic sewing skills like how to install a zipper, make mitered corners, and create a stuffed animal. If you’re a beginner, the book begins with some simple projects to get you started. I really think there’s something for all skill levels here. I hope to show you more in the coming months.
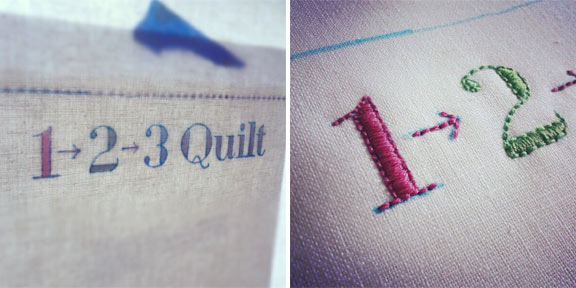
But today I thought I’d show a bit of behind-the-scenes for the cover. For 1, 2, 3 Sew, I digitized and sewed the cover background design using my embroidery software and my embroidery machine. This time, I stitched the cover title and some other details by hand. In my Instagram photos below, you can see how I traced the title sent over by the book designer, and then stitched it. I then photographed the stitching and sent it to Chronicle, where they added the photos and additional text. I love the warmth and handmade feel it gives the cover and I’m thrilled with the way it came out in the end. On the final cover above, you can see a set of coasters from the circle chapter, a bag from the stars chapter and a quilt from the rectangles chapter.
I’m excited about this book and I hope you’ll love it!

