Green Cleaning

make-it-monday

kitchen-cleaner

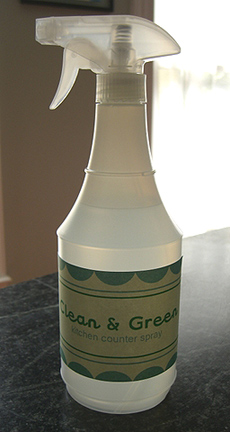
Another repeat today.  I thought I’d share some green cleaning ideas.  Last year I posted about this vinegar spray that works great for glass and stainless steel.  And you can also use vinegar as a weed killer — just pour it directly onto your weeds on a dry day.  My weeds were dead just hours later, but you must be careful not to get it near the plants you want to keep!

I don’t use the vinegar mixture to clean my counters anymore, but prefer to use a little Dr. Bronner’s castile soap mixed with water for kitchen counter tops, sinks and other solid surfaces.  I use baking soda to clean sinks, tubs and toilets.  I have not attempted natural laundry detergent because I’m afraid to aggravate my already temperamental front-loading washing machine, but I’d like to try.  You can save a lot of money on cleaners by going natural.

Pinwheel Quilted Coasters

make-it-monday

pinwheel-1

Sorry I’ve been out of touch for a bit.  Now I need a vacation from my vacation.

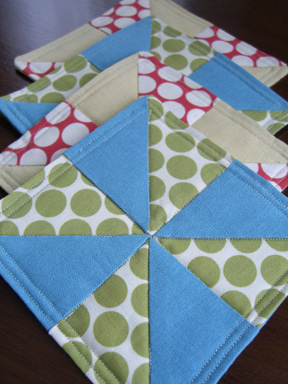
Here are my pinwheel quilted coasters from last summer.  Another re-run!  Click here for instructions.  I think these would be nice for a summer party or as a hostess gift.  Maybe you could make them much larger and turn them into square placemats.  You could have a pinwheel party and make these flower pinwheels too.

Reversible Headbands

make-it-monday

liberty1

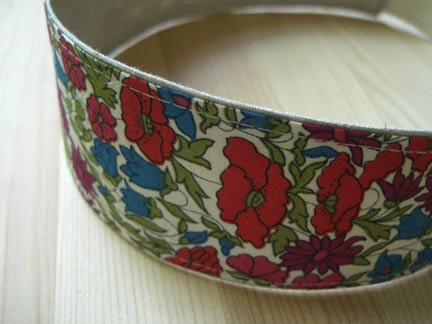
Reversible headbands — again.  You’ll be getting some re-runs this summer.  I just made some more of these yesterday.  Interesting that I made headbands at the exact time last year.  Maybe I should just get a haircut.

Find my tutorial and template here.

I’m still using bits and pieces of this Liberty print (in a different colorway) that I love so much. It reverses to a plain cotton/linen blend.

Linoleum Printing with Kids

make-it-monday2

linoleum-printing1

There are plenty of good instructions for linoleum printing online, so if you want to do it the proper way, you should read the tutorial at Sunberst Illustration or this one from Lizzy House.  But I’ll show you quickly how I made prints with the kids.  My six-year-old and my four-year-old were able to do everything in this process except the cutting.  This is the first time I’ve done this since high school, so I’m certainly no expert!  Do you like it when I tell you that I don’t really know how to do something, but then I proceed to tell you how to do it?  Yeah, I have a problem with that.

There are some essential tools for this.  All can be found at the art supply store or around your house for under $50.

  • linoleum (I bought the cheap kind for experimenting: $1.58 for a 4″x6″ piece at the art supply store)
  • carving tool
  • water-soluble ink
  • brayer (rolling device to spread the ink out)
  • smooth surface for spreading the ink (piece of glass or metal is ideal)
  • baren, or something to press onto the paper (see our method below)
  • smooth paper

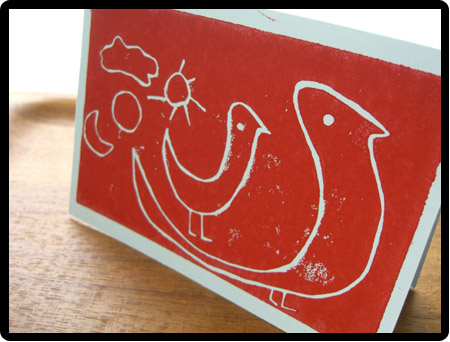
My older daughter drew a duck design directly onto the linoleum.  You’ll be seeing a lot of duck crafts this week, as she is working on a report for school.  My husband asked “Is this a research project or a craft project?”.  Yes, everything is a craft project around here.

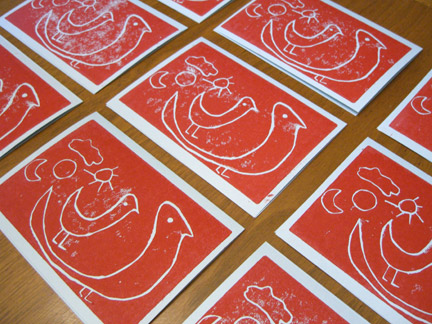
Then I carved the design.  I cut along the lines, but you could also carve out the negative space. You can see that I slipped a bit on my first curve, so it might be a good idea to buy an extra piece of linoleum for practicing.  Then we spread our ink on the metal board, spread it with the brayer until it was even and smooth, then rolled it onto the linoleum.  We placed the linoleum on top of the paper (some instructions say to place the paper on top of the linoleum, but whatever works).  Since we didn’t have a baren, we improvised by using a heavy book and our feet.  The children took turns dancing and jumping on the prints, which was definitely their favorite part of the process.  Then you just pull up the linoleum and there it is.  We made some prints and some notecards for teacher gifts.  These certainly weren’t perfect, but I think we’ll get better with more practice.
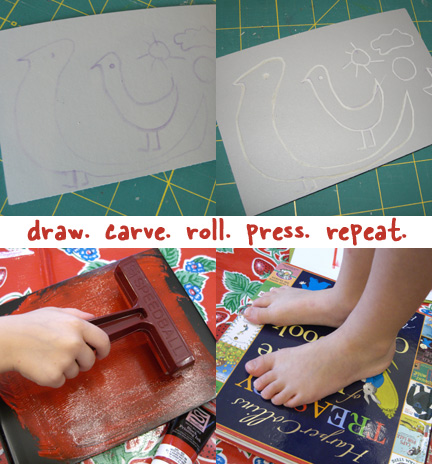
printing-instructions

Try it with your kids and show us the results!  Add your photos to the Make it Mondat Flickr pool here.  Wow, I hadn’t checked that group in a while — lots of butterfly mobiles over there!
linoleum-printing2

10-Minute Mouse Pad Makeover

make-it-monday1

mouse-pad-makeover

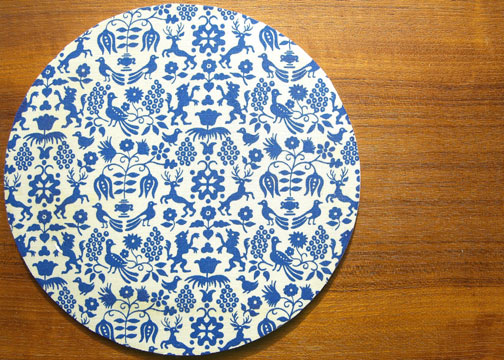
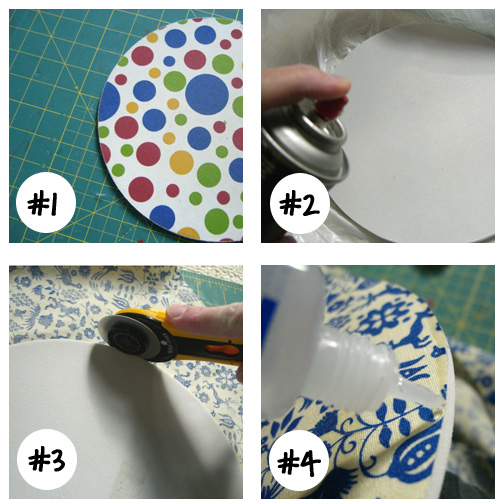
We had a dingy looking mouse pad bought from IKEA for $1.  It was time for a makeover.  I’m sure there are plenty of tutorials out there for this project, but here’s how I covered this old mouse pad with vintage fabric.  So simple and easy.

Supplies:

  • old mouse pad
  • fabric scrap
  • rotary cutter and mat
  • spray adhesive
  • fray check

mouse-pad-makeover-instruct

  1. Remove old fabric from the top of the mouse pad by gently peeling it back.  If it doesn’t pull off easily, you can just add your fabric right over the top.
  2. Spray the adhesive onto the top of the mouse pad and press onto back side of fabric.
  3. Trim around the edges with the rotary cutter.
  4. Squeeze a little fray check around the edges to prevent fraying.  Allow to dry.