Work in Progress

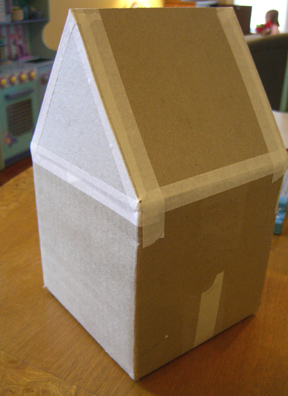
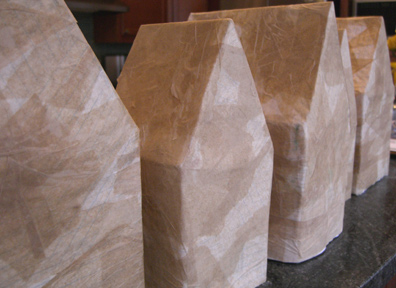
I guess I should just call this “Make it Tuesday” because here’s another unfinished project.  I started these houses weeks ago.  

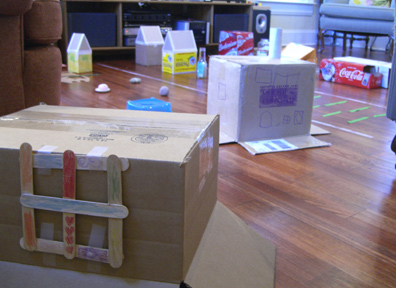
First cardboard, where they were used in the kids’ “Recycled City”.

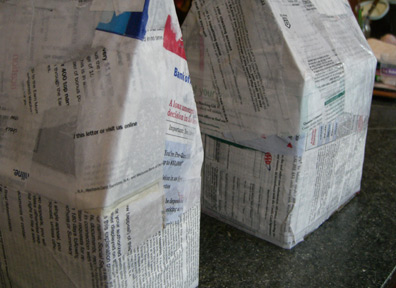
Then covered in junk mail…

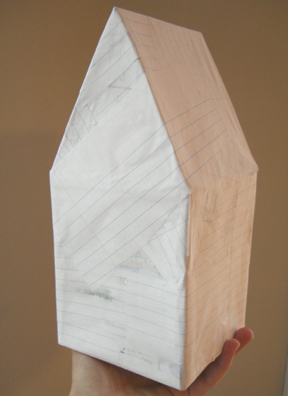
…then notebook paper…

…and finally tissue paper.  

All with a glue and water mixture.  The next steps will be paint and glitter.  So more photos and instructions tomorrow!

Woodland Felt Scene

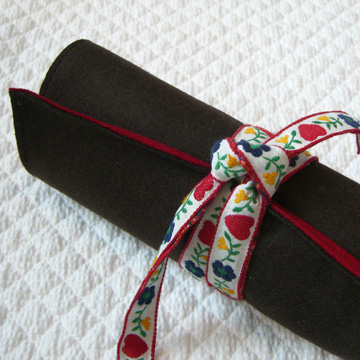
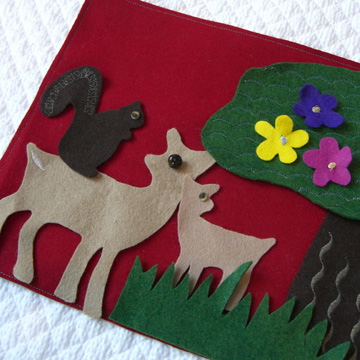
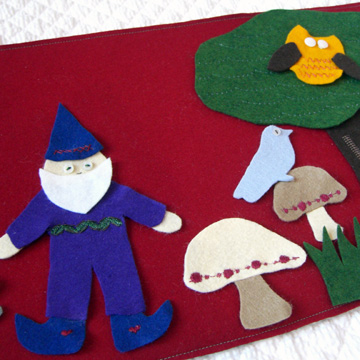
Here’s a woodland felt scene that I made for my daughter’s birthday.  This is simply a red felt background with moveable pieces.  It started as a memory game, then a felt board, but since I’m having a hard time controlling the clutter around here, I wanted something that could roll up and be put away on a shelf.  Here are the templates:

woodland-felt-scene-page-1

woodland-felt-scene-page-2

woodland-felt-scene-page-3

The felt mat is made from two contrasting pieces of wool felt 9 1/2″ x 30″ and sewn with a ribbon in between the layers. I sewed some extra stitching around the figures and sewed the background together, but since felt glues easily, you could do this project without a sewing machine.  You could even make these shapes from paper for a rainy day coloring project.

A quick note about felt:  Always use wool felt or a good quality wool blend.  I buy my large pieces at a big box fabric store by the yard.  The smaller colored pieces I order from various places.  You can’t always get a wide selection of colors by the yard.  If you have a dressmaker’s fabric store, they will also have wool used for suiting that would work well, but might be more expensive.  Acrylic felt will fall apart, so if you care about your project, use wool!

As always, projects shown here are for personal use only.  If you make this, please post a photo in the Make it Monday Flickr pool here.  Thanks!

Thrifted Holiday Trees

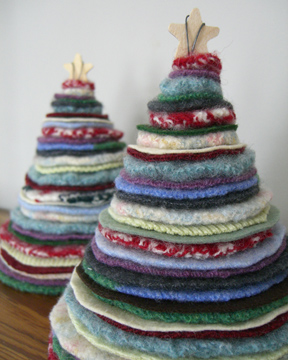
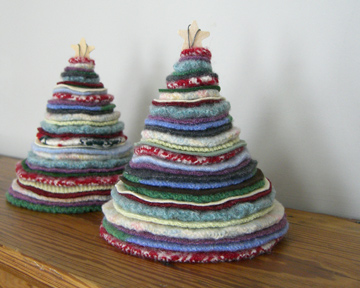
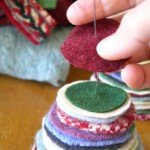
There are a million felted sweater projects out there, but I think it’s a great idea to save money and recycle wool sweaters.  I found some more sweaters on a thrifting excursion the other day, so I made these plump holiday trees.  They are about 7″ tall and each has 32 felted sweater circles.

Supplies:

  • felted wool sweaters (washed and dried 100% wool sweaters)
  • scissors
  • pins
  • wire
  • wire cutters
  • bead or star for the tree top

Instructions (for one tree):

Step 1: Print out the templates below and cut out paper circles.

thrifted-trees-page-1

thrifted-trees-page-2

thrifted-trees-page3

Step 2: Pin paper circles to the sweaters and cut two of each size.  It helps to cut out a square from the sweater and work with that, rather than trying to cut from the whole sweater.

Step 3: Bend the wire at the bottom and begin slipping sweater circles onto the wire, beginning with the largest first.  It helps to find the center by folding the circle in half, then half again.

Step 4:  Wrap a bead or star at the top and bend the wire around.  Snip.

If you make one of these, I’d love to see a photo in the Make it Monday Flickr group.  Thanks!

Elf Skittles

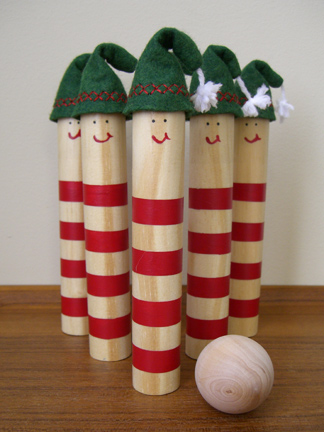
Now who doesn’t want to bowl over those cheery little elves?  Here’s a pretty simple project inspired by the French handmade bowling pins that we bought from Reform School last year.  You could vary this project to create gnomes, fairies, farm animals, monsters, your family…whatever!

Supplies:

  • 36″ dowel rod, 1″ wide (for 6 bowling pins)
  • saw and miter box

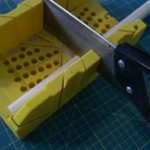
Yes, this project requires a saw and miter box.  If you don’t have these, I’m sure you can find a friend who does and possibly even someone to cut the dowel rod for you.  But it’s easy, I swear.

  • acrylic paints, red and black
  • paint brushes, medium and tiny
  • painter’s tape, 1/2″ wide (may need to be cut from a larger width)
  • spray polyurethane (optional)
  • felt bits cut according to hat-template.
  • white yarn scraps
  • green and red thread
  • pipe cleaners, 2
  • glue gun and glue sticks
  • wooden ball (maybe 2)

Step 1: With a hand saw and miter box, cut wooden dowel rods in 6″ lengths.
Step 2: Sand bottoms until they stand flat.

Step 3: Wrap painter’s tape in 1/2″ increments around each pin and paint red stripes.  Remove tape when the paint it just barely dry by pulling straight up.
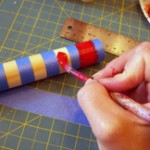
Step 4: Paint faces.

Step 5: (optional) Spray dowels with polyurethane.

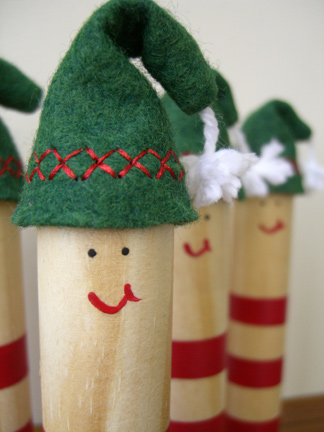
Step 6: Sew decorative stitching onto edge of felt pieces (ric-rac would be nice).

Step 7: Make little pompom by wrapping yard in loops and tying it around itself.  Then trim ends and fray them a bit.
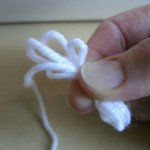

Step 8: Lay pompom on right side of felt, fold right sides together and pin in place.  Sew along seam with 1/4″ seam allowance.  Reinforce the end with yarn.  Turn right side out, using closed tip of scissors to gently push out the tip.
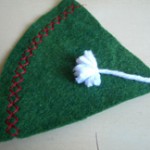
Step 9: Insert a small piece of pipe cleaner into the top of the hat so it will bend.  Adjust all of your hats to the desired position.

Step 10: Put a bead of glue on the top edge of the dowel rod and carefully place the hat.

Now give them to some deserving kid.  These are a present for a super sweet three-year-old boy.  If you make your own version, I’d love to see them!  Please add your photos to the Make it Monday photo pool.