Gocco!

My husband gave me the ingenious little Gocco printer for Christmas and I’m ashamed to say that I just took it out of the box today.  I am intimidated by objects that require me to read instructions (particularly when they are in Japanese), but these great tutorials here and here got me through it and it turns out to be very simple.  I now understand this Gocco craze!  If you have not heard of these, they are basically mini silkscreen printers that burn the image and print it in a couple of simple steps.
gocco1.jpg

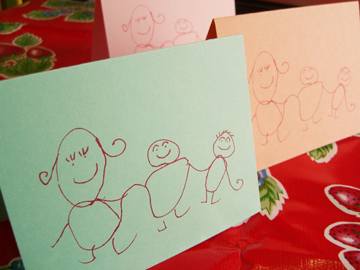
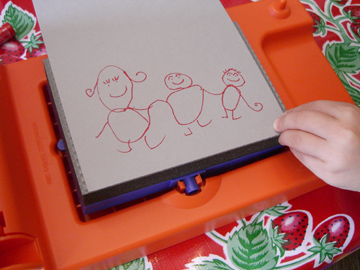
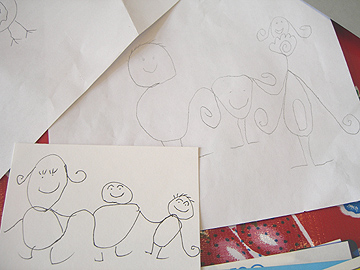
I worked on this with my five-year-old who brought home a Dr. Seuss-ish drawing from school of her name in cursive made into people.  The image needs to be in carbon to transfer to the screen, so I had her re-draw it with the carbon pen provided.  Lost some of the detail of her original drawing as you can see below, but still great.  I guess I could have traced the original.  You can also scan in or create an image on the computer and (from what I gather) print with a laser printer or make a photocopy. 
gocco-drawings.jpg

Anyway, all you do is make a screen of the original, ink it and print away.  I look forward to trying some designs of my own and want to try multiple colors.  Good-ness over at Etsy has a good price on the basic set. 

gocco2.jpg 

Mosaic Painting

mosaic-painting.jpg

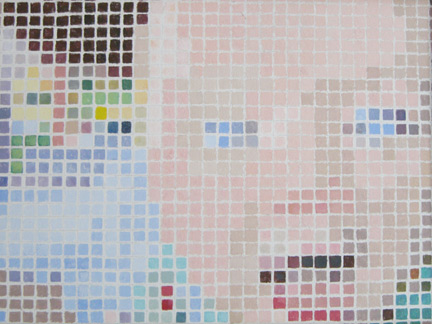
My husband made this painting of our first-born years ago, when she was around 6 months old.  We must have had more free time back then.  He should open an Etsy shop, don’t you think?

I searched through our old pictures and found the photo that he used:

baby-picture2.jpg

He took the photo, created the mosaic effect in Photoshop and then laid it out on a grid.  Sort of a paint-by-numbers thing.  I wouldn’t have the patience for this, but thought I’d share since it turned out so well.  I’ve always loved it.  Our younger daughter got one that was done in Photoshop and sent off to the photo processor to be printed on canvas.  I guess if we had another, she wouldn’t get one at all.  Or any baby toys since I’ve given them all away.

Window Clings

window-cling-heart.jpg

window-cling-drawing.jpg

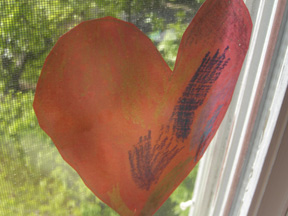
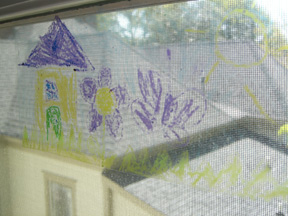
We enjoyed making these window clings from drawings yesterday.  We used the window decal sheets available at office supply stores.  I scanned in the artwork, enlarged it and printed it on the sheets.  You can see that brighter colors work better.  The kids were really delighted with this project.

Vase with Child’s Drawing

make-it-monday-smaller.jpg

bird-vase1.jpg

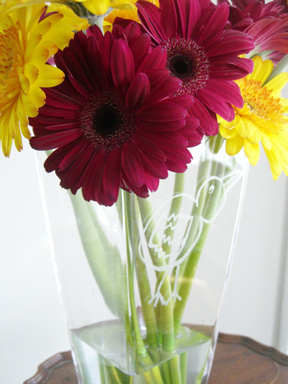
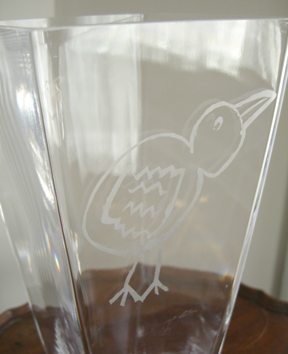
I transferred my five-year-old’s drawing to a vase. I’m posting this as an idea, but I used painter’s tape and I think it would have made a cleaner design with vinyl paper. I think this would also work better with simple shapes all over the vase — maybe flowers or butterflies drawn by the child.

The supplies you’ll need are vinyl paper, etching cream, x-acto knife, child’s drawing, a rotary mat and a vase or glass.  I taped the drawing onto the mat on top of the tape, then cut out the design with the x-acto knife.  I carefully peeled it off and placed it on the vase.  Then I used etching cream to make the design, following the directions on the bottle.  The images below can give you the general idea.

bird-vase2.jpg

step1.jpgstep2.jpgstep3.jpg

Peg Loom

loom.jpg 

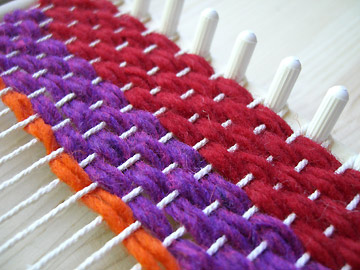
I bought this peg loom a few months back, but was afraid my five-year-old was not ready and would become frustrated.  We pulled it out this afternoon and she did a great job! 

This loom uses a long needle for weaving so it seems easier for little hands to control than the potholder-type loom with stretchy bands.  I had her weaving over and under and she quickly figured out that she could run the needle under the whole row at once and pull the needle through.  She also  enjoyed pulling each row down and making sure that the yarn was neat and not twisted.  We bought our loom here, but they have them all over the place.  This will be a good use for leftover yarn.