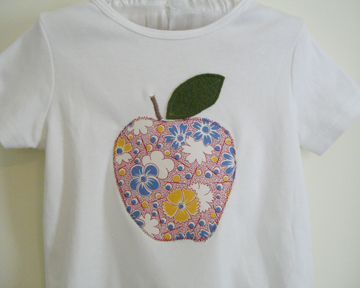
Back to School Tee

Many of you will have kids headed back to school soon (here in Georgia, school begins next week). So here’s a quick appliqué project. I think it would be cute with a matching skirt or pants.

Supplies:

  • cotton tee
  • fabric scrap
  • lightweight interfacing (optional)
  • wool felt (approximately 4″ x 4″)
  • thread

Step #1: Wash and dry felt square. It will shrink considerably.

Step #2: Cut out fabric and interfacing according to back-to-school-tee-template. Iron on interfacing to the back of the apple shape.

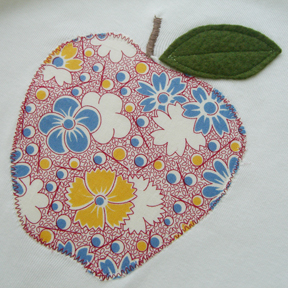
Step #3: Pin apple to center of shirt and sew a zig-zag stitch around the edge.

Step #4: Cut out leaf shape from felt. Pin onto shirt and sew around edges, then through center.

Step #5: Sew a quick stem. Done!

Fake Smocking

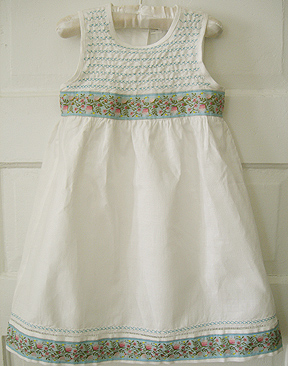
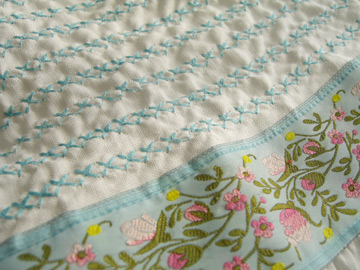
I didn’t make this dress, but I took a plain white linen dress and added the embroidered ribbon and stitching. I stitched around the hem and liked the puckered look it was creating, so I decided to run the decorative stitch in rows along the bodice. It turned out to be a very sweet look, I think.

Fairy Wings

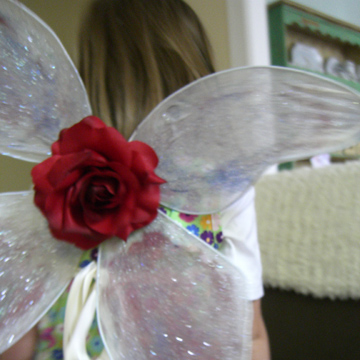
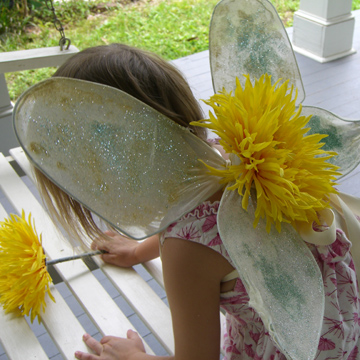
The girls have been very interested in fairies this summer since we’ve been reading one of these fairy books.  So we made some fairy wings today from this Halloween video tutorial at threadbanger.  I clipped the hangers a bit to make them smaller and we could have used knee-high pantyhose since the wings were so small.  Oh, and I used masking tape instead of twine to make sure there wouldn’t be any wires poking the kids.  We also added a flower to the back of each set of wings and used another flower for a wand.  The girls added the glitter and glue (lots of it).

I have discovered that the key to making crafts with kids is proper preparation.  That didn’t work out so well on this project.  The girls were sitting around while I did the wire bending and then they got out the pantyhose and pulled a hole in one (very difficult to sew pantyhose).  But they’ve been enjoying their new wings all afternoon.

Terrarium

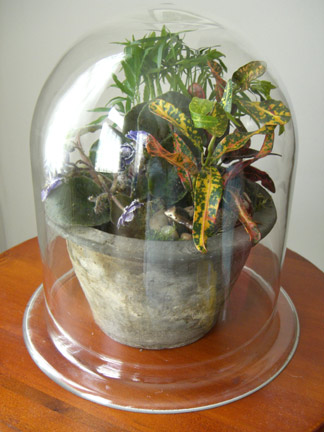
terrarium.jpg

We’ve been meaning to make a terrarium for a while now, but when I found this glass dome in the attic, it seemed like a good time to try.  I couldn’t quite find the right container, but we used a pot that we had around the house.  I just filled it with these water-absorbing rocks from a pet store, then a layer of dirt, then the plants and some rocks and moss.  These instructions were helpful.  There’s also a little three-legged ceramic dog in there too.  He was an attic find as well.  I made sure that I used all tropicals since the closed dome will trap the humidity.  I’d love to make an open terrarium with succulents next.