
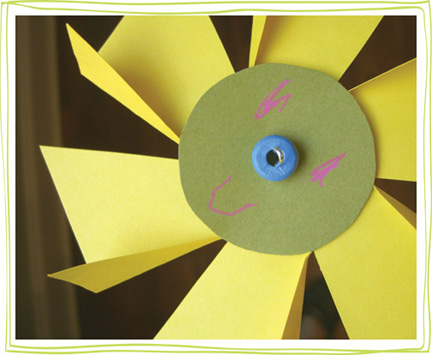
Check out my flower pinwheels craft with printable template over at Alpha Mom.
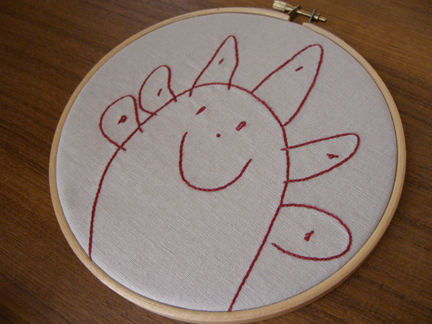
Teacher presents, end-of-the-year school projects, sick kid….there have been lots of occasions for crafting around here.
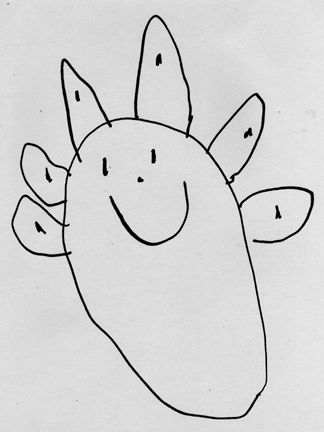
I digitized this drawing by my four-year-old for her teacher gifts. This one I made a little large for the hoop and it seems that kids don’t really appreciate having their artwork cropped, but I like it. The teachers will get the full image, as you can see below. She is going through a drawing phase that we call her “egg people” phase. This one is a flower, but they are generally all shaped like eggs with crowns, arms, or other embellishments and these sweet smiling faces. They reflect her personality so well.
And then more ducks. My six-year-old wanted to make a sculpture for her class project, so she used Sculpey and acrylic paint to make these tiny little ducks. She wanted them to be attached, so I put a piece of wire in between them and baked them together. I think she did a very nice job.
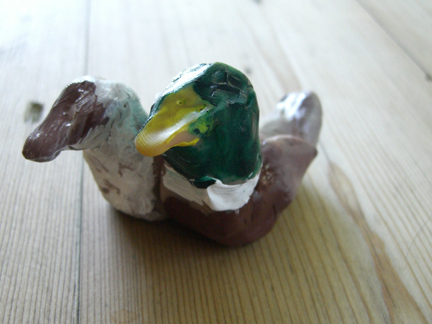
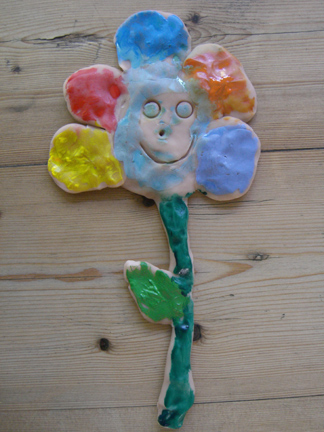
And my four-year-old made her own sculpture, which I plan to mount to a pretty block of wood. You can see her theme repeated here. This is the kind of stuff us moms love.
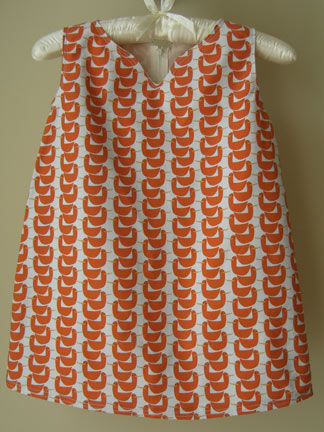
Well, since my six-year-old is doing a project about ducks, she needs a duck dress to wear, right? Maybe I’ve gone a little overboard, but when I saw this incredible fabric from Lizzy House at The Fabric Bar, I knew that my daughter would love it. This clean, graphic design begged for a plain and simple dress. I added a dip in the neckline and double rows of stitching around the neck, arms and hem. I really love this fabric.
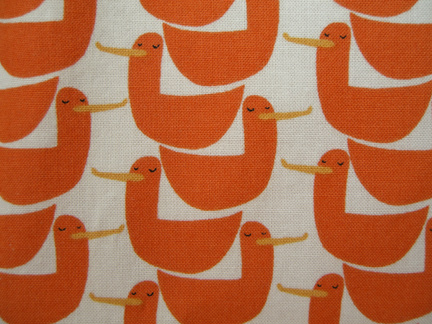
Anyway, on to the importance of looking at your fabric before cutting. My fabric was face down on the floor as I was cutting and I was so concerned with getting the seams to match the design, that (oops) the ducks are upside down on the left side of the back of the dress. Can you tell? Oh well, it adds some interest.
And if you liked that last dress I made with the Lecien fabric, check out this giveaway at Sweet Emmelie. It’s a super-cute reversible dress!

There are plenty of good instructions for linoleum printing online, so if you want to do it the proper way, you should read the tutorial at Sunberst Illustration or this one from Lizzy House. But I’ll show you quickly how I made prints with the kids. My six-year-old and my four-year-old were able to do everything in this process except the cutting. This is the first time I’ve done this since high school, so I’m certainly no expert! Do you like it when I tell you that I don’t really know how to do something, but then I proceed to tell you how to do it? Yeah, I have a problem with that.
There are some essential tools for this. All can be found at the art supply store or around your house for under $50.
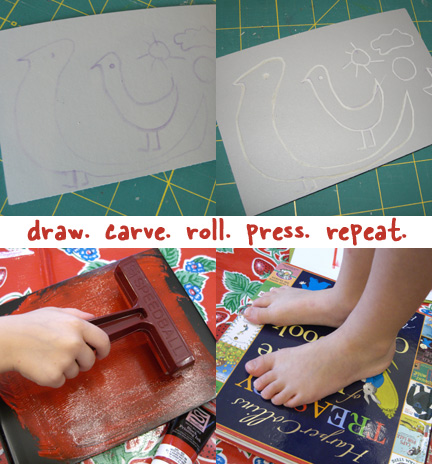
My older daughter drew a duck design directly onto the linoleum. You’ll be seeing a lot of duck crafts this week, as she is working on a report for school. My husband asked “Is this a research project or a craft project?”. Yes, everything is a craft project around here.
Then I carved the design. I cut along the lines, but you could also carve out the negative space. You can see that I slipped a bit on my first curve, so it might be a good idea to buy an extra piece of linoleum for practicing. Then we spread our ink on the metal board, spread it with the brayer until it was even and smooth, then rolled it onto the linoleum. We placed the linoleum on top of the paper (some instructions say to place the paper on top of the linoleum, but whatever works). Since we didn’t have a baren, we improvised by using a heavy book and our feet. The children took turns dancing and jumping on the prints, which was definitely their favorite part of the process. Then you just pull up the linoleum and there it is. We made some prints and some notecards for teacher gifts. These certainly weren’t perfect, but I think we’ll get better with more practice.
Try it with your kids and show us the results! Add your photos to the Make it Mondat Flickr pool here. Wow, I hadn’t checked that group in a while — lots of butterfly mobiles over there!
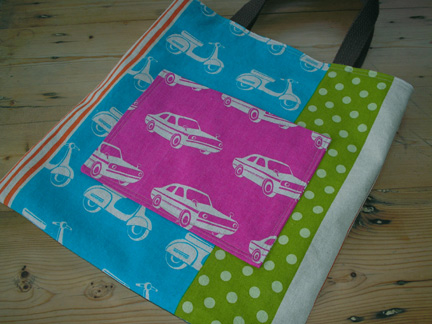
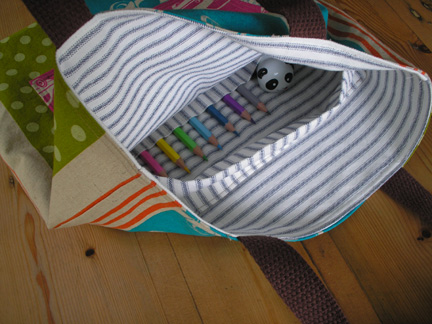
Here’s a child’s birthday gift that I made. It’s a travel doodle bag with an inside pencil pocket.
As I was sewing, I realized that the pencils on the inside of the bag would draw on anything you put in it, so I added the flap. The pencil pouch holds 10 pencils and I made a special pocket for the little panda pencil sharpener. And I included Doodles, by Japanese illustrator Taro Gomi. Love all of his books. And for more Japanese love, I used Echino cars and scooter fabric (like I used here).