Ice Cream Parlour

playdough-ice-cream

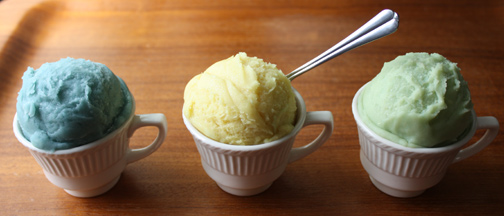
It’s play dough!  I made some homemade play dough with my four-year-old today from this recipe.  We even added some iridescent glitter and fragrance to it.  Even though my daughter knew it wasn’t real, when she first saw it scooped into the tea cup she asked if she could eat some.  I know, tempting.  Luckily we had some actual ice cream in the freezer.  So we enjoyed pretend eating and playing ice cream parlour.

I think this would be a fun craft for an ice cream themed birthday party (for children old enough to know not to eat it).  You could make plain play dough and have the children add color and fragrance to make their own flavor, then you could scoop it into a jar for them to take home.  Oh, and you could make little labels for the jars.  Could be really cute.

Car Mat

car-mat

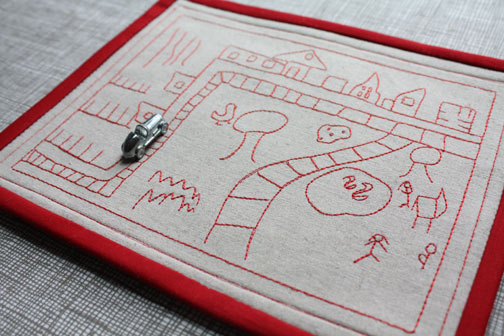
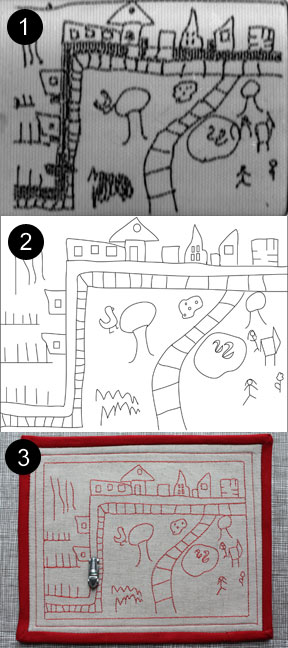
I made this little mini-quilt from one of my six-year-old’s drawings.  She found a Monopoly car and started making roads for the car on her magnetic drawing board.  I particularly liked this drawing, so I scanned it in, traced it in Illustrator and digitized it for machine embroidery.  She also wanted to make coloring pages for her friends from the line drawing, so we printed some out and sent them to school.

car-mat-steps

Cap Stamps

cap-stamps1

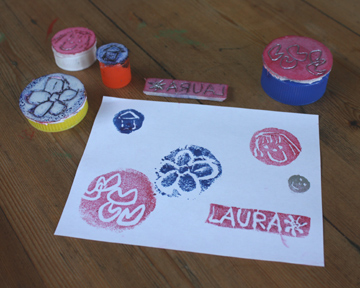
Here’s a recycled project great for a rainy day.  After making these stamps the other day, I wanted to try something that would allow the kids to be more involved in the process.  So, remembering this smart project from glittergoods, I gathered a couple of styrofoam trays.  I added some plastic bottle tops and there you go — custom stamps.
cap-stamps3

Supplies:

  • styrofoam trays
  • plastic bottle caps
  • craft knife
  • cutting mat
  • stamp ink pads
  • pen or pencil

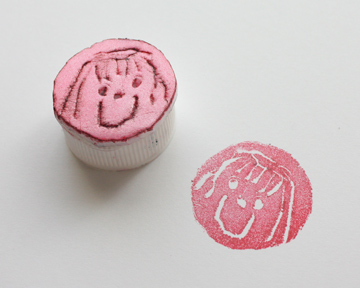
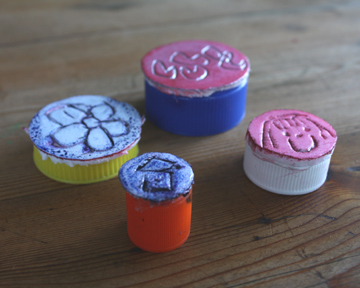
First, I cut off the curved edges from the styrofoam trays with scissors.  Then I traced the outline of a plastic cap onto the foam and let the girls make their drawings within the circle.  I then cut these out with a craft knife because I found that scissors left a jagged edge, but it’s not a precision art here.  Oh, and if you’re going to try to write words, remember to make them a mirror image (I literally had to walk into the bathroom and hold the letters to the mirror because my brain does not work that way).

I talked with the girls about positive and negative space and encouraged them to draw their designs with as little detail as possible.  It probably would have been helpful to have the kids draw their designs on paper first and to show them a sample of a completed styrofoam stamp.  After they drew their designs, I went over them with the pen to make sure the grooves were deep enough to avoid the ink.

Once I cut out the shape, I glued the styrofoam circle to the cap with the hot glue gun.  I’m thinking that these won’t last forever because the styrofoam flattens out a bit, but they are a lot of fun.  My four-year-old wants to make more and more of these, so I guess we’ll have to go back to the farmer’s market and buy more muffins.
cap-stamps2

Kid’s Artwork Stamps

flower-stamp1

I’m always doing projects with my kids’ artwork, so here’s one I’ve been meaning to try for over a year now.  I finally bought Lena Corwin‘s beautiful book Printing by Hand, which has reignited my interest in printmaking. This is such a practical and handy book, by the way.  I look forward to learning to screenprint.  She doesn’t make her own stamps in the book, but here is a great tutorial from Geninne’s Art Blog.

star-stamp1

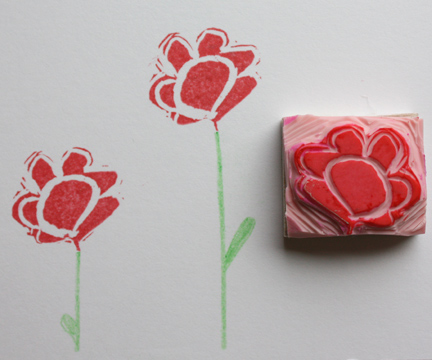
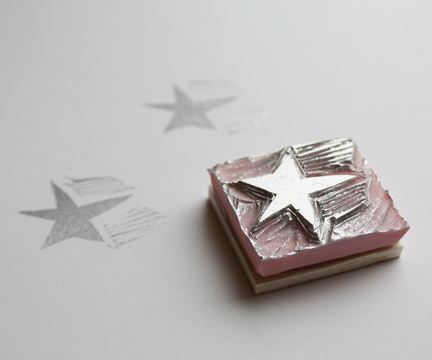
With the right tools, making your own rubber stamps is a simple process.  It took us just under an hour from start to finish.  I had the kids draw with pencil directly on the rubber carving block and I used the  super nifty carving tool from my printing kit to carve out the design (both the tool and a rubber block come in this kit along with other cool stuff).  You can see that I need some practice with the carving tool, but I found it to be lots of fun.  Once I had the stamps carved, I cut some balsa wood and used a glue gun to adhere the stamp to it.  Seems to work fine since all you need is even pressure to make your stamp image.  My older daughter drew the star, but when I was carving it she saw my lines and wanted to turn it into a shooting star.  My younger one drew the flower and I added the lines around it to give it a little movement.  And my kids had so much fun playing with the tiny little pieces cut from the carving block that they had pretty much lost interest in the stamps by the time I was finished carving!

Stay tuned for more stamping ideas in the coming week.