Clara the Chicken Ornament

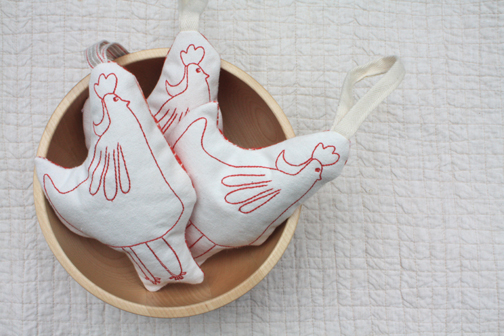
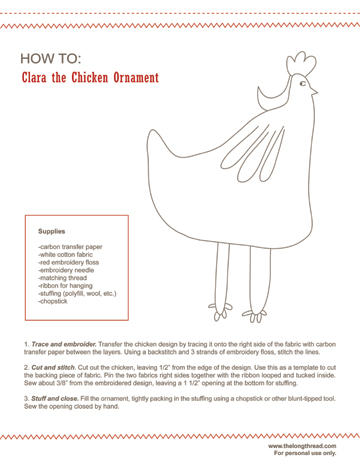
Here’s one of the projects that we made for the craft fair over the weekend. I’ll be writing a wrap-up post about the event tomorrow, but I wanted to pass along this tutorial for “Clara the Chicken”, drawn by my five-year-old. We actually have quite a few of these left, so they will be adorning many of our holiday packages.

Click the image below for the embroidery pattern and full instructions. And I’d love to see photos of your creations in the Make it Monday Flickr group.

Doodle Designs

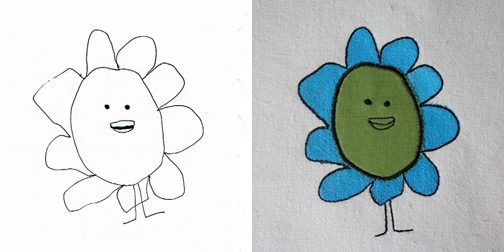
With the Indie Craft Experience Holiday Shopping Spectacular just over a month away, I figured I’d better get started making some things with the kids. So like last time, I took their drawings and digitized them for machine embroidery. This drawing is one that my five-year-old did a while back, and I did move the legs down a bit so they would work better with the color. Here I’ve used appliqué in the center followed by fabric paint on the petals. I think this one will be made into a zippered pouch and we’ll have other things as well. We’ll have some useful items that should be fun for both adults and kids. Look for more designs soon!

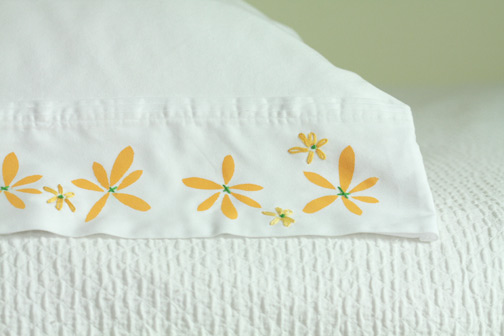
Lazy Daisy Pillowcases

I just bought some organic sheets for the girls’ beds, but wanted to add something sweet to the plain white. So I used a freezer paper stencil and some embroidery to make these cheerful daisies. I’ve been inspired a lot lately by Vera Neumann prints. Here’s what you’ll need:

  • daisy template
  • painter’s tape
  • craft knife
  • cutting mat
  • pillowcases
  • freezer paper (found at the grocery store)
  • iron
  • fabric paint
  • foam or stencil brush (I use the end of a foam roller)
  • scrap cardboard or plastic
  • embroidery floss in yellow and green
  • embroidery needle

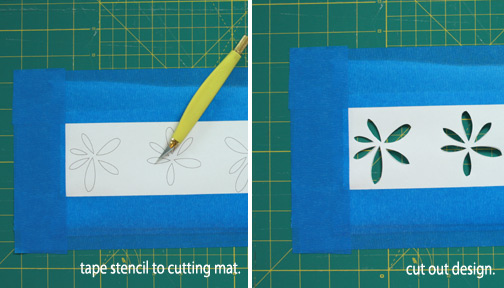
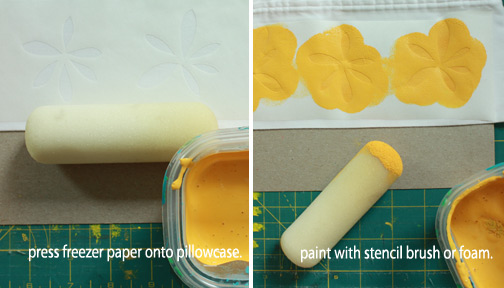
If you’ve never made a freezer paper stencil before, you’ll find that they couldn’t be easier. Just print out the template, cut into two rows and tape it on top of the freezer paper on the cutting mat. Cut out the design with a craft knife, as shown below. Press the shiny side of your freezer paper to the pillowcase edge with a hot iron (no steam). Place scrap cardboard or plastic inside your pillowcase so that your paint doesn’t bleed through. Then paint your design, wait a minute, then carefully peel off the freezer paper.
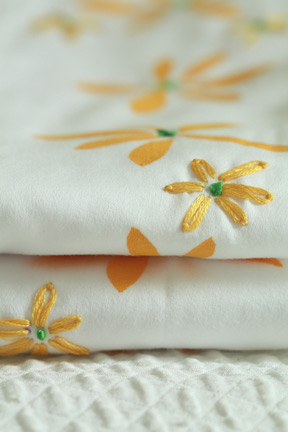
Allow the paint to dry for at least 24 hours, then start the embroidery. I used a lazy daisy stitch, french knots and a simple cross stitch. If you aren’t familiar with these easy stitches, there are lots of video tutorials for the stitching available on YouTube (here and here). I made my daisies a bit wonky to match the stencil design. You could also use this stencil for curtains, bags, skirt hems, dish towels, aprons or whatever you can imagine.
Car Mat

car-mat

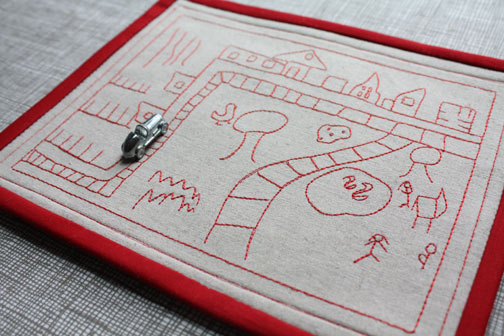
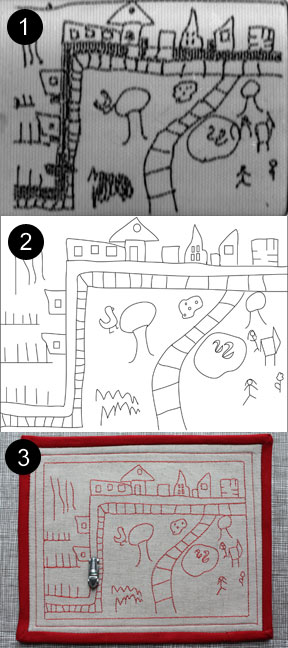
I made this little mini-quilt from one of my six-year-old’s drawings.  She found a Monopoly car and started making roads for the car on her magnetic drawing board.  I particularly liked this drawing, so I scanned it in, traced it in Illustrator and digitized it for machine embroidery.  She also wanted to make coloring pages for her friends from the line drawing, so we printed some out and sent them to school.

car-mat-steps