Customized Lampshade

lampshade

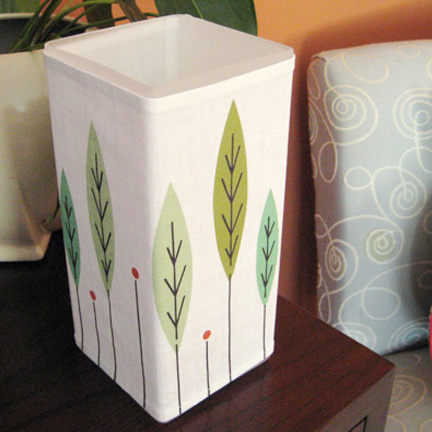
Here’s a great tutorial from Cicada Studio.  I’ve mentioned her fabric designs before, but wanted to share this quick and easy project for how to cover an IKEA lamp.  The square shape makes it much easier!  More IKEA ideas at IKEA Hacker.  I found the link for this project via Apartment Therapy.

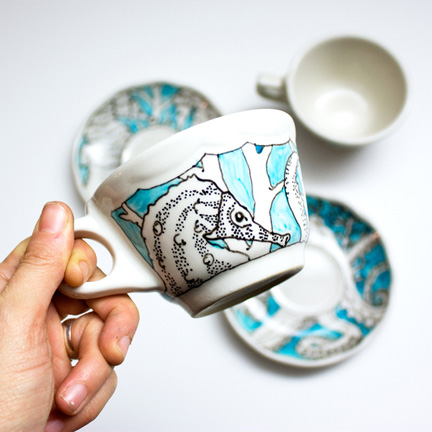
And check out the contest sponsored by Apartment Therapy and Etsy:  Do It Now!  The Small Projects DIY Month.  Some inspirational projects posted already.  And a $250 gift certificate to Etsy?  You’d better get to it.  I particularly like this project (pictured below) from Aya Rosen on how to decorate a tea set.  Lovely!

teacup

It’s a t-shirt…it’s a dress…

it’s a t-shirt dress!
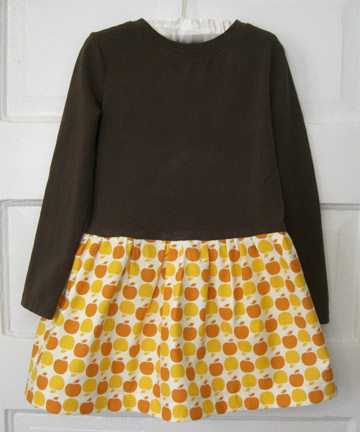
I saw an adult a-line version of this in a catalog and decided to make some for the kids.  Are they back in style?  This was pretty easy and inexpensive.  You could add a matching appliqué to the top.  And I think it would be extra cute in plaid.  This will work for adults or kids.
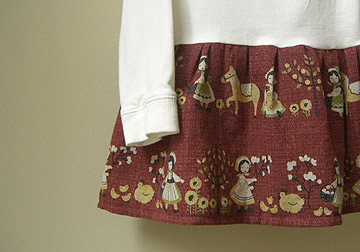
Here are the basic instructions:

Supplies:

  • tee
  • 1/2 yard fabric (for kids)
  • thread
  • scissors
  • measuring tape

Step #1: Wash and dry tee and fabric.

Step #2: Try the tee on to see where you want it to hit.  Mark that spot and cut neatly across the bottom.

Step #3: Measure the width of the hem of your t-shirt.  Double that and cut your fabric to that width in two pieces.  You can decide the length according to your needs.  (I used about 10″ for my three year-old and 12″ for my five year-old).

Step #4: Turn under bottom of one piece of fabric 1/2″ and press.  Fold 1/2″ again and sew hem.  Repeat for the other piece of fabric.

Step #5: Right sides together, pin the two pieces of fabric together and sew one of the side seams (1/2″ seam allowance).

Step #6: Sew a basting stitch along the top for gathering, leaving bobbin thread long.

Step #7: Right sides together, sew the other side seam, starting at the bottom and leaving about 1/2″ at the top so that you can still adjust the gathers.

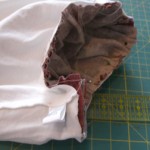
Step #8: Turn tee inside out and insert skirt section into the inside of the skirt upside down, with right side of skirt facing right side of tee (see photo below).
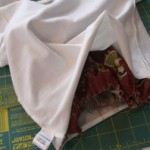
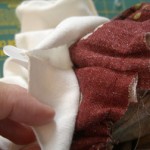
Step #9: Pin seams of skirt to seams of tee.  Pins should be on the inside of the skirt.  Then pin around, adjusting the gathers evenly as you pin.

Step #10: Sew in place along the basting stitch.

Step #11: Sew overcasting stitch along all seams.

If you make this project, be sure to post a photo to the Flickr Make it Monday page.
Fabric Mat

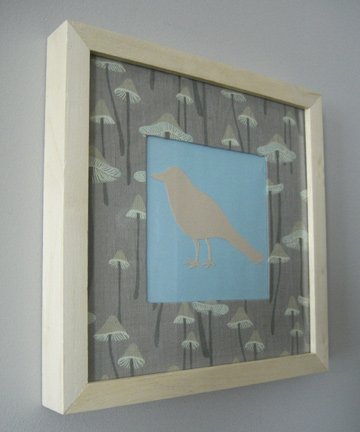
I had a small piece of this great fabric from Cicada Studio, so decided to make a fabric mat.  I read these instructions, but used the mat that came with the frame, then just used spray adhesive and tape to affix the fabric to the mat.  Once I made the mat, I wasn’t sure what to put in the frame that wouldn’t look too busy because the fabric is really beautiful all on its own.  Then I saw these bird silhouettes (via how about orange).  I used a robin for this silhouette that I made by drawing an image onto card stock and cutting it out with a craft knife.

And our five-year-old has become very interested in the different species of birds after reading this book.  So she’s planning a watercolor project.  We’re definitely on the bird bandwagon.

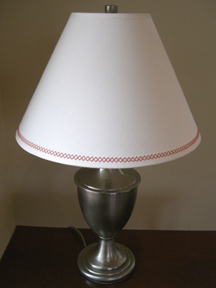
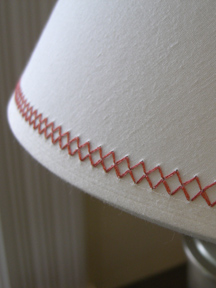
Embellished Lampshade

CAUTION: Do not try this at home. Somehow I managed to stitch this by machine without even breaking a needle. If I haven’t mentioned it before, I have a strong aversion to hand sewing.

If you want to try this, I would suggest doing a sample bit on the back of the lampshade to get the tension correct and make sure that you aren’t going to break your machine! I used a paper lampshade, had to decrease the tension, and went around very, very slowly. Oh, and you’ll need to load the thread color you want into the bobbin as you’ll be sewing on the reverse side.