Peek Inside

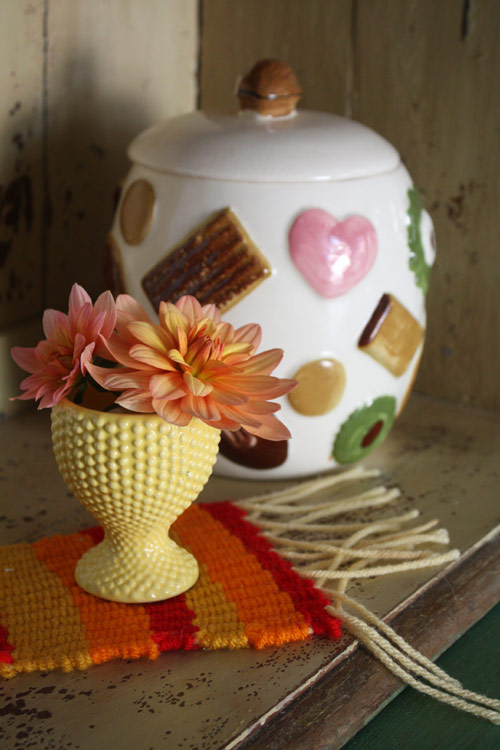
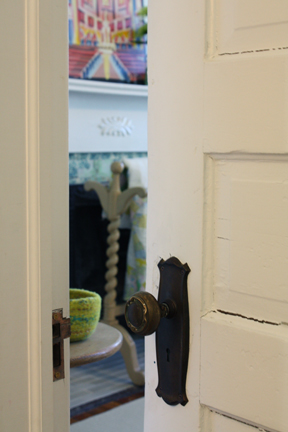
I don’t often post photos of our house because it always seems like a work in progress. But you can take a peek over at Stumbles and Stitches as part of their Feather Your Nest series. Things I did not show in these photos: pile of stuff that needs to be sorted at top of the stairs, the giant, teetering stack of papers and books on my desk, dust in various spots, tangle of cords from my husband’s eight million routers, pee-stained closet carpet from months of sometimes unsuccessful dog training, and the stack of things to be donated that has been blocking the pathway to my closet for months now. Just so you know.

Guest Post from Keen & Fitting

Continuing our wedding theme, today’s post is from my friend Sarah Moye, who has started a lovely new design blog called Keen & Fitting, where she writes about simple and elegant spaces. Sarah and her husband Will had a beautiful wedding in a small beach town, despite the arrival of an uninvited tropical storm. Here are some inspirational ideas from Sarah:

______________________________________________

Hello! I’m delighted to stop by The Long Thread for a visit today. And what a fun topic. I’m going with a twist on tradition (as today’s brides and grooms often do): Something bold, something true, something billowed, your own brew.

Something bold:
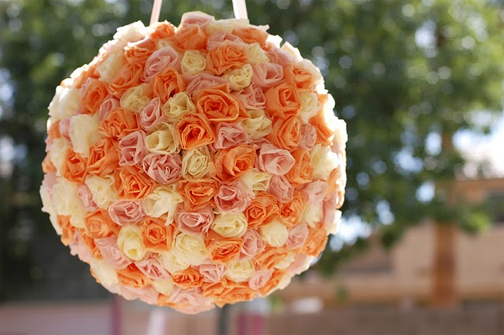
I love the idea of a bold, colorful piñata in the midst of an otherwise subdued wedding. What a fun touch for guests (especially the kiddos) and, perhaps, a great stress buster for weary party-planning brides and grooms. With a piñata in play, everyone will have a smashing good time!

Click here to learn how to make this tissue rose piñata from Kate Landers Events. Note: If you’ve got a disco theme going, check out Confetti System’s metallic fringe piñatas for more flashy DIY inspiration. And visit the Martha Stewart site (fourth video down) to watch Confetti System’s Julie and Nick make fringed favor boxes.

Something true:
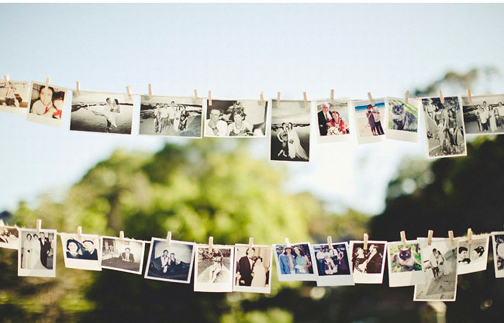
Australian couple Megan and Ross incorporated a clothesline of photos of friends and family members in their garden wedding décor. I love this DIY wedding project because as you’re putting it together, you enjoy the added benefit of reflecting on fun times. The most challenging (but rewarding) part of this project is gathering up the photos; the only supplies needed are twine and wooden clothes pins.  Be sure to include a few photos documenting the true love of you and your mate! Alternatively, you can make it a wedding day DIY project for your guests: Megan and Ross had a Polaroid camera on hand and asked guests to snap their own photos and pin them to the line.

This couple seemed to understand the true meaning of the day—they played croquet and badminton with their guests before the wedding! See more of their celebration here.

Something billowed:
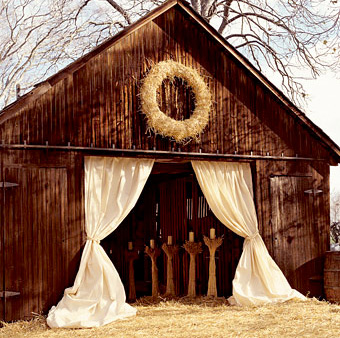
I love rustic weddings that make use of just a few simple elements to soften the scene. At this barn wedding (featured in Modern Bride magazine), billowed, muslin curtains at the entry doors lend a dramatic and romantic effect and are reminiscent of a beautiful, billowy wedding gown. Muslin happens to be an inexpensive fabric that is widely available at fabric stores and craft shops; click here for a no-sew muslin curtains tutorial from The Feathered Nest.

Your Own Brew:
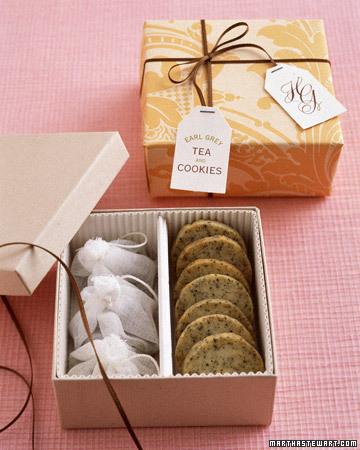
Consider your own special tea recipe as a wedding favor or to serve at a high tea-themed wedding. As a nod to the “something old” tradition, you could box your signature tea blend gift with a vintage silver tea strainer. Or, send guests home with tea and cookies. Click here for instructions on crafting this charming tea favor from Martha Stewart Weddings. Get started on your custom brew with this indoor herbal tea garden from Living Whole Foods.

Another bespoke brew option: beer! This DIY project requires advance planning but can be fun—you can even design your own labels. Learn more here.

Best wishes and happy planning!

Sarah

handMAYde

Each week this month I’ll be featuring ways to incorporate handmade projects into your life. This week it’s all about weddings! And not the royal kind. So whether you’re getting married soon or just looking for party ideas, I’ll be sharing tutorials, hosting guest bloggers and giveaways, and linking to wedding ideas all week long. I may even dig out my wedding album (husband gasps).

Incorporating handmade ideas into your wedding can sometimes save you money, but I think more importantly, it adds meaning to your special day. Today my resourceful intern Gigi has helped compile this list of ideas and inspiration. Enjoy!

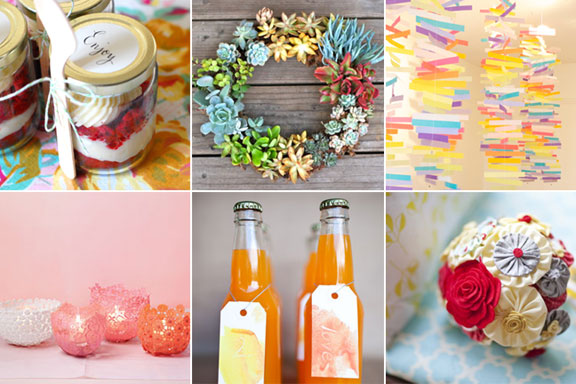
  1. Colorful Paper Mobiles from Project Wedding.*
  2. Lace Photo Backdrop from Martha Stewart.
  3. PomPom Vines from Once Wed.
  4. Fabric Flower Garland from Once Wed.
  5. Succulent Wreath from Prudent Baby.*
  6. Lace Votives from Martha Stewart.*
  7. Mason Jar Lanterns from Intimate Weddings.
  8. Wedding Wands from One Stylish Bride.
  9. Cupcake in a Jar from Cakies.*
  10. Bride and Groom Cake Topper, excerpt from Handmade Weddings for My DIY Wedding Day.
  11. Wedding Menu Wheel from Design Sponge.
  12. Make Your Wedding Cake from Project Wedding.
  13. Birdcage Veil from Project Wedding.
  14. Rubber Stamp Carving Tutorial from Geninne’s Art Blog.
  15. Watercolor Tags from Project Wedding.*
  16. Watercolor Wedding Invitations from Once Wed.
  17. Printable Seed Packets from Vale Design.
  18. Yo-Yo Decor Ideas from Emmaline Bride.*
  19. Cake Pop Wedding Favors from Bakerella for Etsy’s The Storque.
  20. How to Make a Boutonniere from The Knot.

Feel free to share more ideas and links of your own wedding photos in the comments below. And stay tuned! Next week I’ll be doing a round-up of divorce crafts (kidding). Baby projects, of course!

*pictured above.

Fabric Covered Table

sewing-room5

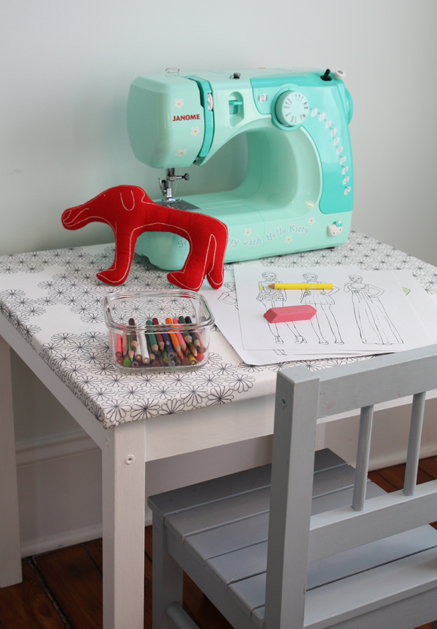
A few of you asked about the children’s table in my sewing room that was featured over on Craft. I recently painted the table and covered it in fabric. No one likes to put together IKEA furniture, but the benefit of this table was that I was able to take it apart to attach the fabric. For $40 plus some fabric and paint, I think it turned out to be a pretty cute table and chairs.

We had been using this table for a while and it was painted pink, but became covered in paint, glitter and glue. So I removed the table top, laid it out on the fabric, cut the fabric about 2″ wider than the table on all sides and stapled it to the underside. Now we’ll try to use this table mostly for drawing and sewing, but I’m sure one day we’ll manage to spill glue or paint on it, so then we can simply remove the fabric and replace it or paint the table again. I used some IKEA fabric leftover from our bathroom shades, and at $6 per yard I’m not too worried about ruining it. You could also try an oilcloth or polyurethane-coated cotton to withstand spills.

Oh, and the drawings on the table are from Erin McCamant, the budding talent who is helping me test patterns for the book. Thank you, Erin! My girls are enjoying playing fashionista with her designs.