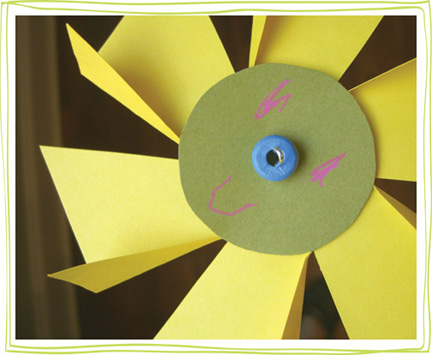
Check out my flower pinwheels craft with printable template over at Alpha Mom.
Teacher presents, end-of-the-year school projects, sick kid….there have been lots of occasions for crafting around here.
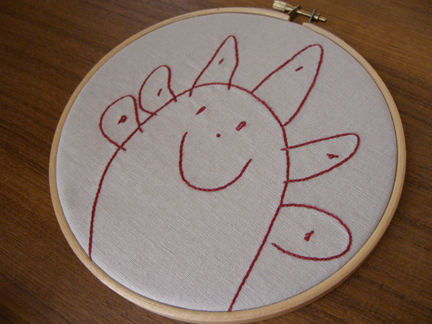
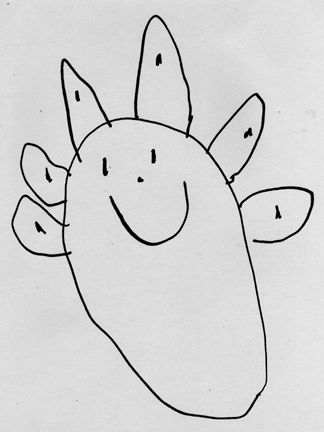
I digitized this drawing by my four-year-old for her teacher gifts. This one I made a little large for the hoop and it seems that kids don’t really appreciate having their artwork cropped, but I like it. The teachers will get the full image, as you can see below. She is going through a drawing phase that we call her “egg people” phase. This one is a flower, but they are generally all shaped like eggs with crowns, arms, or other embellishments and these sweet smiling faces. They reflect her personality so well.
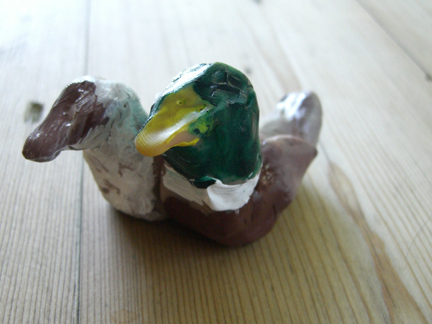
And then more ducks. My six-year-old wanted to make a sculpture for her class project, so she used Sculpey and acrylic paint to make these tiny little ducks. She wanted them to be attached, so I put a piece of wire in between them and baked them together. I think she did a very nice job.
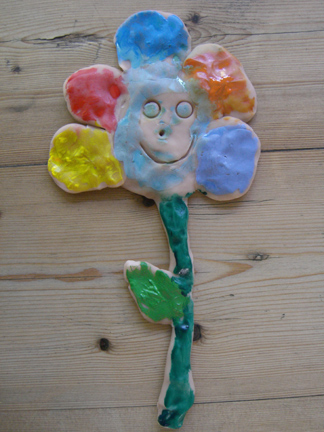
And my four-year-old made her own sculpture, which I plan to mount to a pretty block of wood. You can see her theme repeated here. This is the kind of stuff us moms love.
May is a crazy busy month for us. But if you live in Atlanta, be sure to mark your calendar for the Indie Craft Experience on Saturday, May 30 and Sunday, May 31 at Centennial Olympic Park. Two days of indie crafts, live music and craft workshops. Check out the list of vendors here.

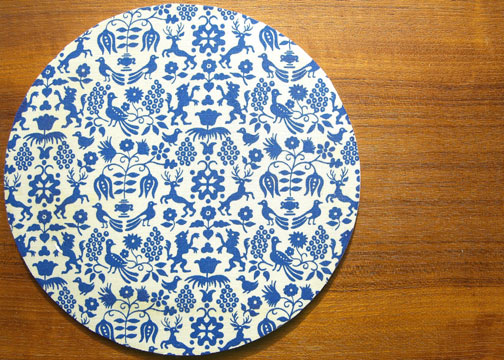
We had a dingy looking mouse pad bought from IKEA for $1. It was time for a makeover. I’m sure there are plenty of tutorials out there for this project, but here’s how I covered this old mouse pad with vintage fabric. So simple and easy.
Supplies:
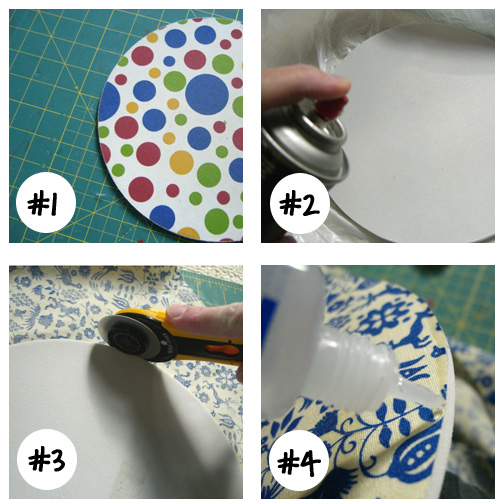
Image above from Vintage Wallpaper.
Happy Mother’s Day! My sweet children made some beautiful gifts for me. With Dad’s help (and his memories of Cub Scouts), they made this popsicle stick bowl.
At school, my four-year-old made this lovely pressed flower bookmark and the six-year-old made this embroidery wall-hanging. What a bunch of sweeties. And Happy Mother’s Day to my mother! Wishing all the mothers out there a happy, relaxing day.