Here’s a woodland felt scene that I made for my daughter’s birthday. This is simply a red felt background with moveable pieces. It started as a memory game, then a felt board, but since I’m having a hard time controlling the clutter around here, I wanted something that could roll up and be put away on a shelf. Here are the templates:

The felt mat is made from two contrasting pieces of wool felt 9 1/2″ x 30″ and sewn with a ribbon in between the layers. I sewed some extra stitching around the figures and sewed the background together, but since felt glues easily, you could do this project without a sewing machine. You could even make these shapes from paper for a rainy day coloring project.


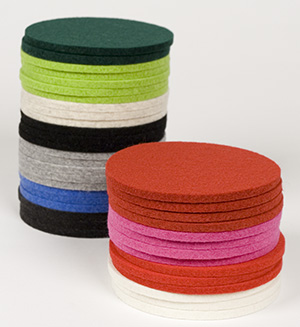
A quick note about felt: Always use wool felt or a good quality wool blend. I buy my large pieces at a big box fabric store by the yard. The smaller colored pieces I order from various places. You can’t always get a wide selection of colors by the yard. If you have a dressmaker’s fabric store, they will also have wool used for suiting that would work well, but might be more expensive. Acrylic felt will fall apart, so if you care about your project, use wool!
As always, projects shown here are for personal use only. If you make this, please post a photo in the Make it Monday Flickr pool here. Thanks!