
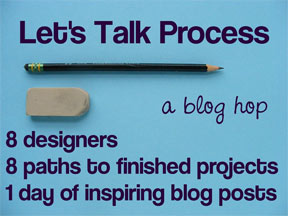
Today I’m participating in a blog hop about the design process. Wendi from Shiny Happy World asked each of us to talk about a recent project, along with the design decisions that went into it. So I thought I would talk about the design process for the Lopsided Squares Quilt in my upcoming book 1, 2, 3 Quilt.
This quilt ends the first chapter of the book and it’s the first quilt that I started to make. I’d already given rough sketches of all 24 projects, which were submitted in my book proposal. I love having this outline with my general ideas already worked out, but I frequently change fabric and sometimes make minor changes. A couple of projects in the book were scrapped altogether during the design process.
Most of my designs are worked out for weeks or even months as I go about my daily activities. I contemplate sewing construction dilemmas while I’m waiting in carpool line, get a sudden creative idea in the shower, or work out a design in my sketchbook at bedtime and ask my husband for advice. My design process also includes making blocks and squinting at them from across the room for a few days. Sometimes I take photos and squint at the computer screen too. I guess when things are blurry, I can see the basic shapes and contrast. I never really thought about this much, but now I realize that I do an awful lot of squinting at my works in progress!
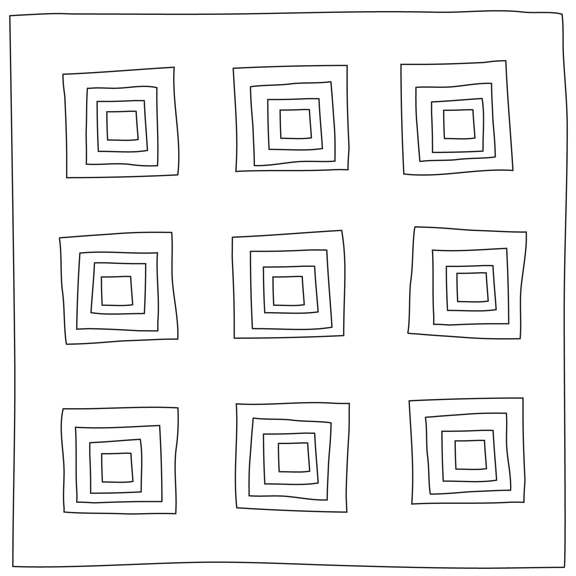
For this quilt, I knew I wanted to make a simple log cabin quilt in a wonky style as sort of a tribute to Gee’s Bend and Denyse Schmidt quilts that originally inspired me. And I think this is just the first kind of quilt anyone should make. So I submitted the drawing below in my proposal. At this point, I had already named it Lopsided Squares Quilt, but I had a lot of negative space in the design here.
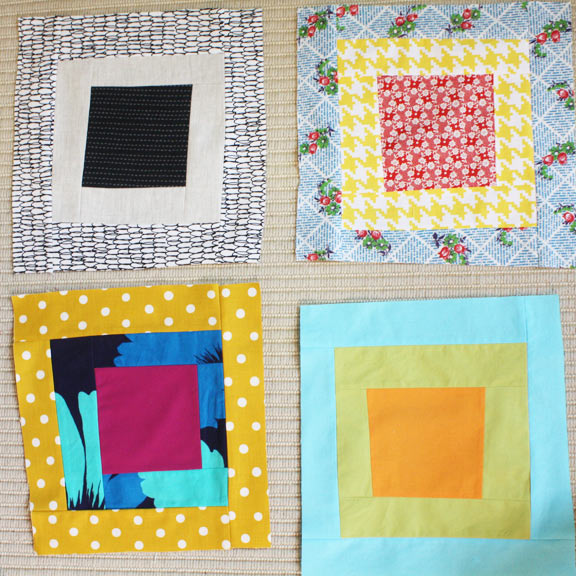
I was pretty certain that I wanted to use all or mostly solids, but I also wanted to experiment with pattern and different color variations to see how they might look. Here’s a quick photo of some sample blocks on the floor of my sewing room. I really wanted to include fabric variations for each quilt in the book, but there just wasn’t time or space. For this quilt, I did include measurements for an alternate block to make a perfectly accurate log cabin block, with no wonky lines.
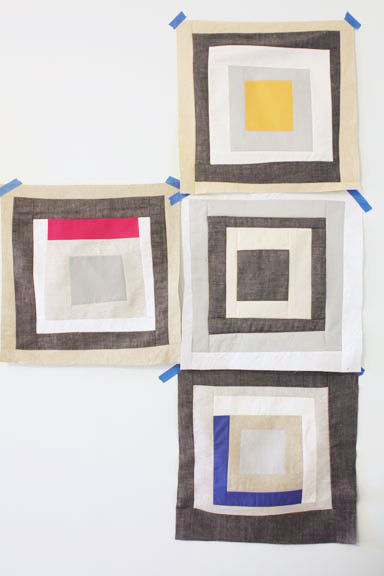
Then I decided on neutrals with pops of bright colors, as shown below.
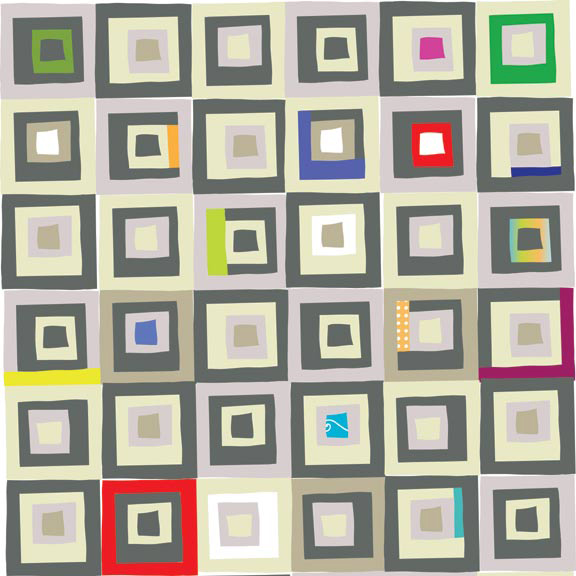
So I made this quick and sloppy digital image to see what the full quilt might look like, though I must have been thinking of adding a few patterned pieces here and there, which I didn’t do in the end. I guess this is the point when I decided to eliminate the negative space. You may notice that I don’t use any sashing or borders on my quilts in the book. This wasn’t really a conscious decision, but is probably a reflection of my style.
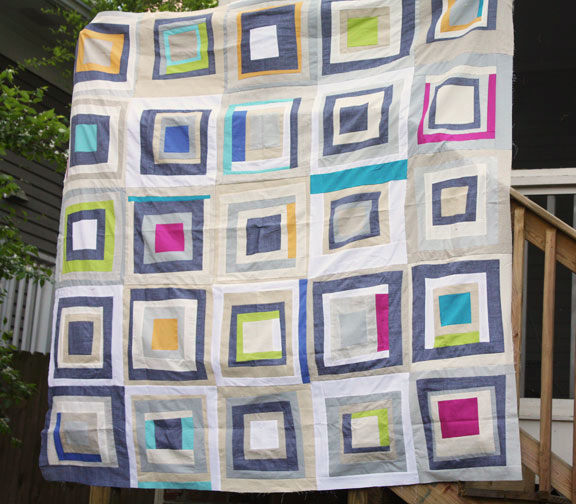
And then a finished quilt top. My husband is holding it up here.
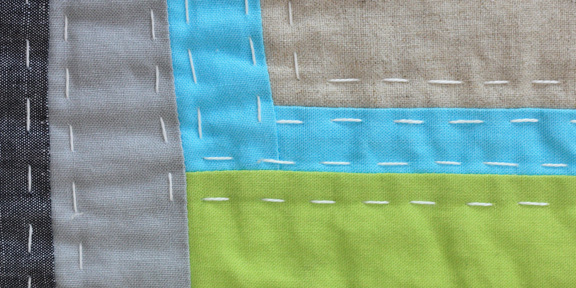
And then it was clear to me that my deadlines were fast approaching and I was going to need help! I wanted to hand quilt this one, so I enlisted the help of Diana Taylor, who worked at Whipstitch and now owns Fabricate Studios here in Atlanta. She hand quilted the entire thing and also basted and did the binding. I know she spent many, many hours with this quilt on her lap. Thank you, Diana! Here’s the finished quilt.
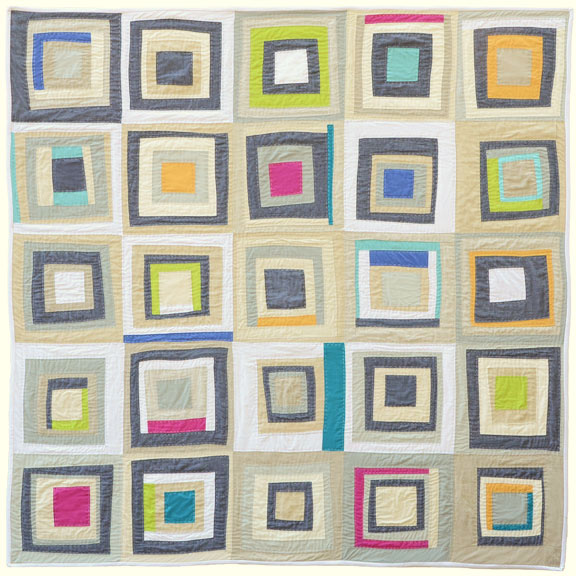
Photo by Laura Malek.
Honestly, it makes me a little tired to think about the process of making this book! I wonder where I found the time. But I hope this gives you a peek into my design process. I look forward to reading about how everyone else goes about making things. Do they squint at their designs too? You can visit the other participants on the Blog Hop below. And please feel free to comment and share your own design process!


Yes I squint! I even wrote about it today.:) I love how your final quilt turned out and can’t wait to see your book.
One day I walked by my design wall without my glasses on – bingo! it was the perfect amount of blurred! No more squinting for me 🙂
Great post, I’m off to find the rest of the hop because this is such an interesting topic.
Ellen – I loved seeing the test blocks in different fabrics! And I’m a big fan of digital mock ups. I used to do all my design playing on a felt design wall but my studio now has more windows than walls. And then I discovered PicMonkey – the best tool ever for digital mock ups. I set the spacing to 0 (I also tend not to use any sashing or borders) and can arrange and rearrange blocks for a full quilt until I like what I see. I love it!
This quilt is gorgeous! I’m in the process of making the projects for my next book right now, and you’re right – a great deal happens between the sketch and the fabric. I actually love that process of departing from my sketch a bit. Thanks for sharing your process with this quilt with us!
Wow…that is just beautiful. I ? how the squares are not perfectly the same widths on all sides. Whimsical and fun!
P.S. That ? was supposed to be a {heart}
Ellen, I’m curious about what made you decide to go with all neutrals. I do like the result, but I wonder how you got to that idea — that’s the mystery of the design process — not just the “what’s” but the “whys” as well. Thx.
Claudia, I believe I had that in mind from the beginning. I knew I wanted it to be about contrast, but didn’t want to just do black and white. I felt like the grays and whites would provide some contrast, then the colors added more visual interest. I like how the color pops make your eye move around the quilt.
This was such a lovely and inspirational peek into your creative thought process. Thank you for sharing and I can’t wait until your book comes out!
Ellen!!! So excited for your book! All I have is a pocket full of exclamation points for you —> !!!!!!!!!