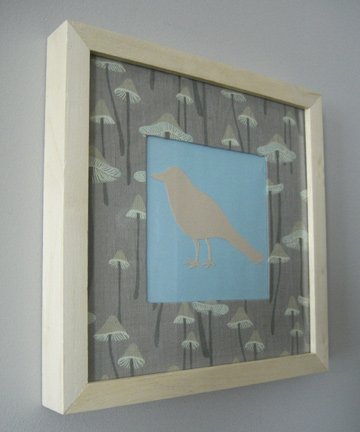
Fabric Mat

I had a small piece of this great fabric from Cicada Studio, so decided to make a fabric mat.  I read these instructions, but used the mat that came with the frame, then just used spray adhesive and tape to affix the fabric to the mat.  Once I made the mat, I wasn’t sure what to put in the frame that wouldn’t look too busy because the fabric is really beautiful all on its own.  Then I saw these bird silhouettes (via how about orange).  I used a robin for this silhouette that I made by drawing an image onto card stock and cutting it out with a craft knife.

And our five-year-old has become very interested in the different species of birds after reading this book.  So she’s planning a watercolor project.  We’re definitely on the bird bandwagon.

One Last Summer Dress

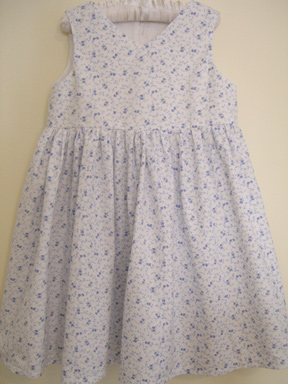
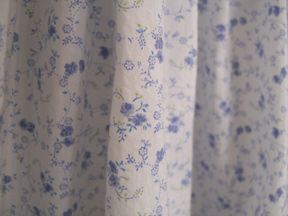
This is how long it takes me to get to projects: I bought this fabric to make a baby romper for my now five-year-old.  But she saw it the other day and requested a dress. She had a very specific design in mind, but I talked her out of sleeves (oh yeah, I’m in charge around here).  So here it is, the last of the summer dresses. On to corduroy!

Etsy Finds Friday

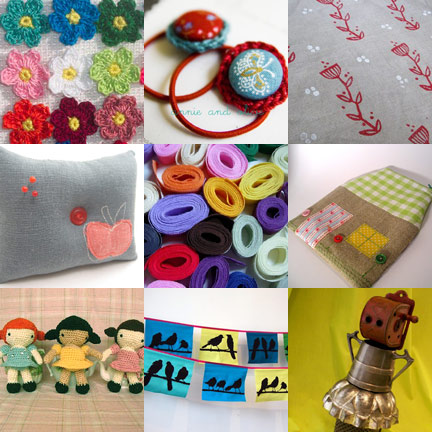
Crochet flowers from Crane Crochet, $4.20 for a set of 14.

Veronica Crochet & Button Ponytail Holders, $10 for 2 from annie and olive.

Hand Block Printed Fabric, $13 for a 20″x29″ piece from june craft.

Pin Cushion La Pomme on Linen, $12 from Chet and Dot.

Italian Cotton Ribbons Sampler, $18 for an assortment of 10 from Carta, Inc.

Plonkas house zippy, $26 from plonka by dalinda.

Gretel Doll Crochet Pattern, $5.75 from eureeka’s window.

Blackbird Flags in Cool Colors, $45 from blackbird letterpress.

Mad Marge, sculpture made from recycled material, $95 from ReClaim2Fame.

Animation Project

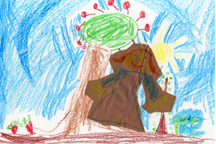
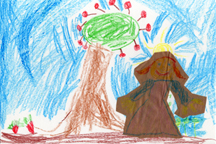
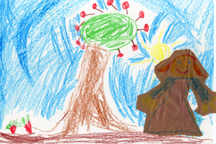
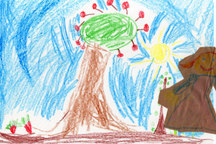
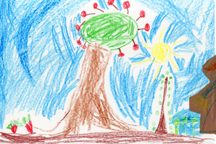
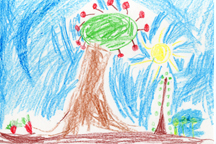
Maybe my five-year-old should have her own blog.  She has come up with the idea to create a cartoon and this is the first scene.  She made the moveable character and asked me to scan each image after she positioned the character in the scene.  Her plan is to make different backgrounds and more characters for the story, which she named “Garden’s Garden”.  We drink this juice sometimes, but I’m not sure that she’s ever noticed the name. She just thinks it sounds silly.

Anyway, she plans for her Daddy to make these images animated with the computer.  I think she wants some voice over sounds too.  Daddy — I hope you can do this!

Ribbon Hair Clips

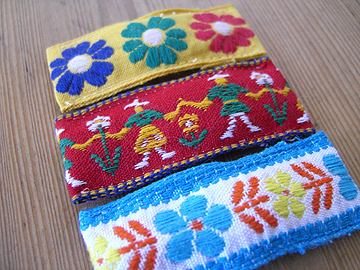
You might have noticed that I love this embroidered ribbon (especially vintage).  So I decided to make some hair clips with my scraps.  Here are some quick and rather vague directions for how to make them. Sorry if this is confusing, but you all are so smart!

Supplies:

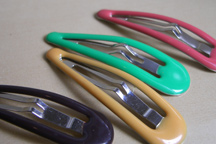
  • Hair Clip (like these pictured below)
  • Ribbon (6″ or less)
  • Thread

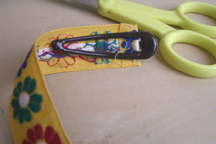
Step #1: Turn under one end of the ribbon and sew it down.  Clip off the excess.  Tuck it inside your hair clip to get the desired length.  Then fold it over and sew so that you have a pocket for your clip.

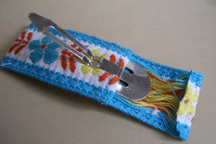
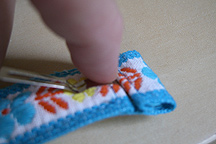
Step #2: Check to see how long your finished hair clip cover will be by wrapping it back around, keeping a small hem allowance in mind (approximately 1/4″).  Cut the ribbon, turn down the unfinished edge and sew it under. Then insert the hair clip into the ribbon pocket.

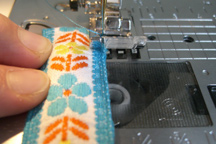
Step #3: Wrap the other end around the hair clip and sew in place down either side.  Note: If you are afraid to put the hair clip in your machine, you could probably just glue down this last bit with a hot glue gun.