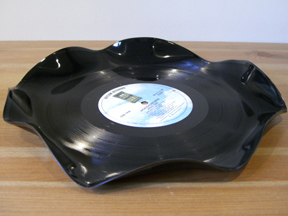
Melted Vinyl Bowls

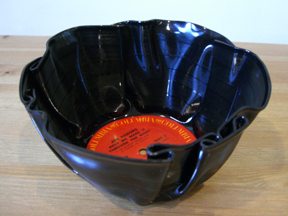
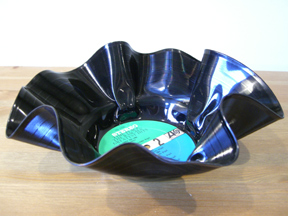
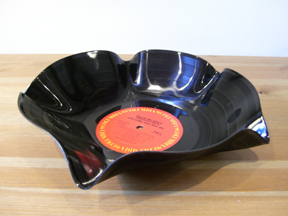
It’s becoming more difficult for me to actually buy gifts, but it’s not easy to come up with crafty ideas for men.  So I made these bowls for my husband.  It might be kind of a lame dorm room project, but he appreciates frugality.  And the kids enjoyed watching me melt plastic.  I’m going to try to feature more recycled craft ideas since we’re all tightening the purse strings.

For these record bowls, I used the edges down directions found at wiki-how.  I totally love this site by the way, and think that everyone should learn how to make balloon animals.

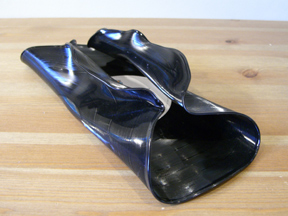
Note: records were bought at the thrift store and not taken from my husband’s collection! To make a deeper bowl shape for some of them, I added another bowl on top after a couple of minutes in the oven.  I played around with shapes and ended up with one that could be used as a mail holder, some wider ones, and some more narrow.  You only have about ten seconds to do any additional shaping after you get them out of the oven.  I found that putting your hand in a 200-degree oven to shape it is not actually that bad.  I think 45s or 10 inch records would be even better with this project.  And colored records would be the best.

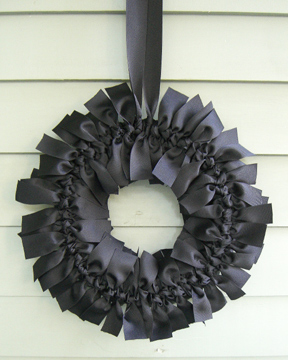
Halloween Ribbon Wreath

Our friend Sarah gave me a couple of spools of this black grosgrain ribbon, presenting me with a challenge.  So here is this quick and easy Halloween wreath.  Since it takes a lot of ribbon, try buying in bulk online rather than at the craft stores.  I really like this site for ribbons and trims.

Supplies:

  • 12″ foam wreath form
  • 24 yards 1 1/4″ black grosgrain ribbon (or less if using a wider ribbon)
  • Scissors
  • Measuring tape

Steps:

  1. Cut 45-50 16″ pieces of ribbon.
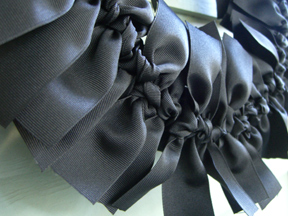
  2. Tie one strand of ribbon in a knot around the wreath.  I used a “messy knot” — right over left, then right over left again, pulling in the opposite direction.  It doesn’t really matter how you do it as long as you are consistent all the way around.  Repeat with the knots, pushing them close together, until you fill the wreath.
  3. Cut one long piece of ribbon (48″) and tie one end to form a knot.  Leave a long loop for hanging and tie another knot onto the wreath.
  4. Trim any frayed or long ends.

Done!  If you make one of these, I’d love to see a photo in the Make it Monday Flickr pool here.  There are lots of great new photos over there, so take a look.

Bias Tape Crown

I love bias tape.  Not really into making it, but I like the kind you can buy.  I made this little crown in about 20 minutes using iron-on interfacing and double-fold bias tape.  And it’s reversible.  I’d like to try one without the interfacing so that it lays down like a kerchief — a crown for everyday.  This little princess would like that.

Etsy Finds Friday

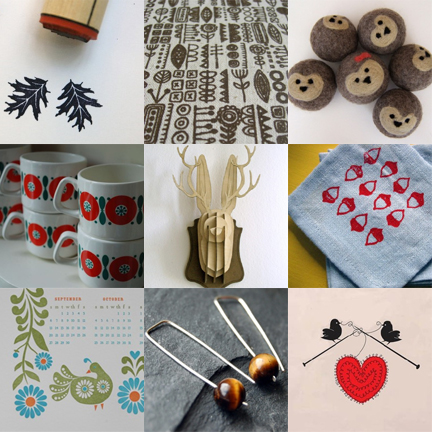
Black Oak Leaf Rubber Stamp, $3 from Norajane.

Totem: Hand Screenprinted Fabric, $6.50 (9.5″x14″), from summersville.

She-Hedgie Hedgehog Ball, $10 from Beneath the Rowan Tree.

Anfora Teacups, set of 6, $30 from Peacock Modern.

Wooden Jackalope Head, $55 from trees with knees.

Gocco Printed Coasters, set of 2 for $8 from feltcafe.

Folky 2009 Letterpress Calendar, $30 from dutch door press.

Tiger’s Eye Earrings in Sterling Silver, $24 from kusu.

Knitting Love Birds Natural Tote Bag, $10 from Rainbow Swirlz.

More Soap

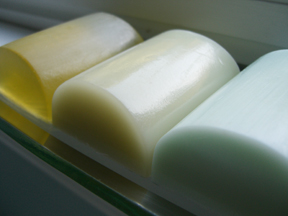
I made some more of this soap yesterday (see previous post here).  Note to self: do not try to make soap with a three-year-old again.