Etsy Finds Friday

3-5-10

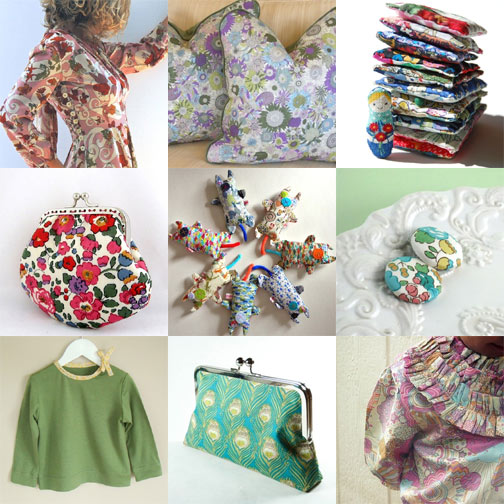
Liberty of London! Yes, I am getting excited about the new Liberty line coming to Target. No, I am not being paid to talk about it. Tana Lawn prints always make me think of spring. Here are some Liberty finds on Etsy:

Dusty Pink Silk Dress, $200 from 13 Threads.

Pair of Liberty Pillows from Plum Cushion, $125.

Princess and Pea, $48 from Dolittle Design.

Liberty of London Coin Purse, $24 from Sew Lola.

Pram Kittens, $16 from Dotty Monkey.

Large Buttons, $3.50 from Notions by Polly Danger.

Toddler Merino Sweater, $54 from Sew Katiepie.

Liberty of London Clutch, $75 from Pretty Lulu Bridal.

Wonderland Top, size 6m to 7 years, $60 from Maison de Lucille.

Scratch Foam Printing

peachtree-plaza

Sorry I’ve been absent from the blog for a while. I’ve been working on the book but made some time to help my daughter’s first grade class with their auction project. The theme of the auction is based on Van Gogh’s The Starry Night painting, which I have to say didn’t excite me too much since this painting has taken on a life of its own through commercialization. Yes, I am jaded. But when thinking of it from the perspective of a seven-year-old who may not have ever seen it, it’s a pretty cool painting.

I talked to the kids about Van Gogh, totally unprepared to discuss the serious stuff.  But of course a kid pipes up and says “Didn’t he cut off his ear?” So I clumsily responded  by saying that he was in a fight with a friend and was so upset that he hurt himself. How do you explain that? I left out that he gave the piece of his ear to a prostitute. They were aflutter with more questions. And then, the question “How did he die?” I discuss all kinds of stuff with my own seven-year-old, but am not prepared to talk about these things with other kids, so I responded that I didn’t know. Those first-graders really made me sweat.

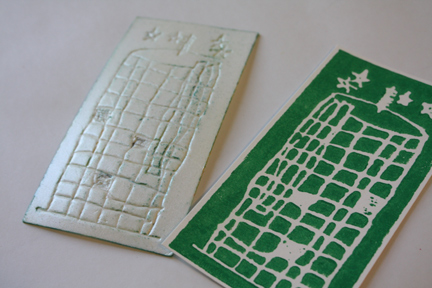
Anyway, so for the auction project we decided to make a night time scene of Atlanta using scratch foam printing. I got the idea from Glitter Goods, so you can read her helpful tutorial. But of course, I somehow managed to make this more complicated. Rather than having the kids make their drawings directly on the foam, I had them do preliminary sketches, then scanned these on the computer, reduced the size, taped them onto the foam and had the kids trace to make the indentations. An important thing to remember(one that I forgot), is that when you are printing, text will need to be in mirror image so that it prints the right way. I had to go back and fix those with words in them, but luckily I had scanned in the drawings so it wasn’t too difficult.

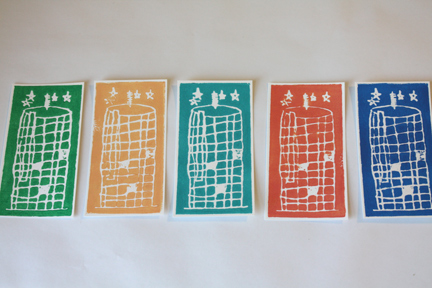
I’ll show you the finished project after the auction, but the prints above are from my daughter’s drawing of the Peachtree Plaza. She loves this building because it is a circular building with a rotating restaurant on the top floor that offers a full view of the city. It was damaged by the tornado in 2008 and they are still replacing windows, so she included some blacked out spaces. I made this series of her drawing to frame. I’m enjoying happy spring colors right now even though it’s still quite cold here.
peachtree-plaza2

Kidcraft

pillow

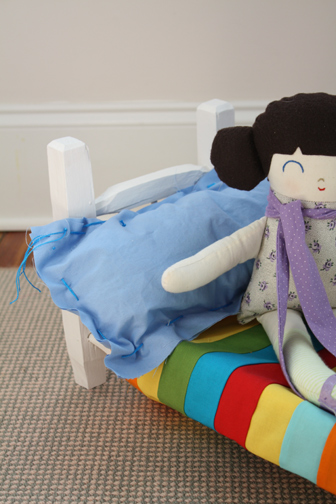
My seven-year-old made this pillow for her doll bed over the weekend. I was impressed by the fact that she made this herself from start to finish including cutting the fabric, sewing the stitches and stuffing. I did help her pin it closed for the final stitches after the stuffing. But seriously, she hid behind a chair to surprise us. I think she did a great job. The doll is from Project Grab Bag (looks like her shop is temporarily closed, but you can find the dolls here). The blanket on the bed is a patchwork scrap from a project I was working on a few weeks ago.

Spring Pieced Coasters

make-it-monday

spring-pieced-coasters

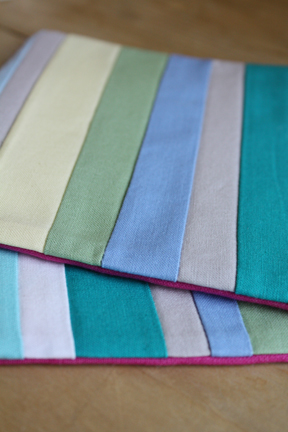
I know it’s not spring yet, just wishful thinking. I happen to have a large number of scraps in my sewing room at the moment in these lovely beach-inspired colors. And I just received a review copy of Alabama Studio Style, which has a lot of string-pieced projects (more on that later in the week).

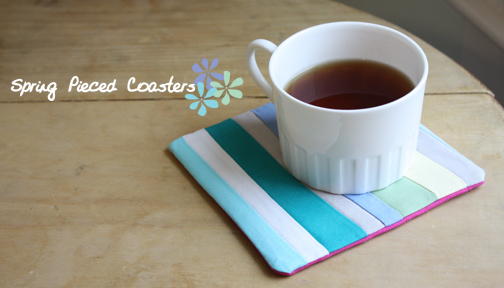
So here’s a quick tutorial for string-pieced coasters. It seems that I do a lot of coaster tutorials here, but I’m a fan of quick, easy and useful things. And this is a great project for fabric scraps.

spring-pieced-coasters-3

Supplies (for 4 coasters):

  • Fabric scraps: min. 24″ length
  • Backing fabric: 5 1/2″ x 22″
  • Quilt batting: 5 1/2″ x 22″
  • Matching thread
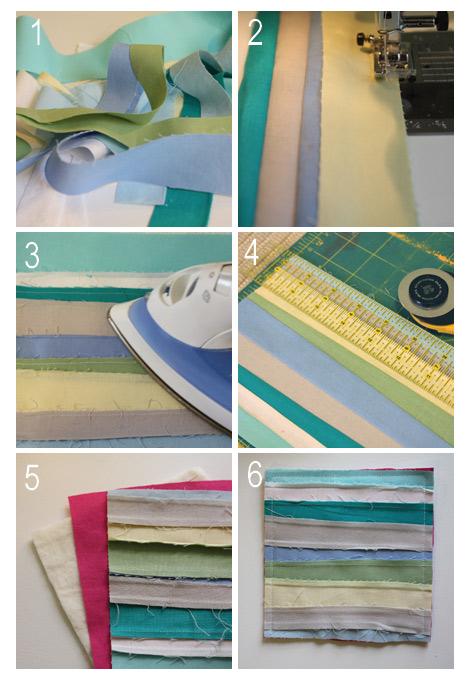
  1. Cut fabric scraps with minimum 24″ length. Cuts should not be straight.
  2. Sew right sides together until you have a width of 6″ or more.
  3. Press.
  4. Cut off sides and top to form a rectangle 5 1/2″ x 22.
  5. Cut out tops, batting and backing fabric in 5 1/2″ squares.
  6. Sew around, leaving an opening to turn right sides out. Opening should be on a side with one continuous piece. Clip off the corners.
  7. Turn right sides out, press and hand stitch the opening closed.

spring-pieced-coasters2