Boat Tote

make-it-monday

boat-tote-image1

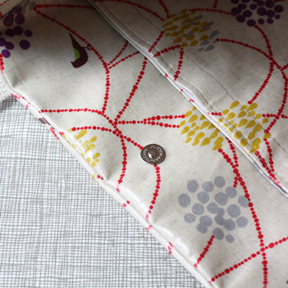
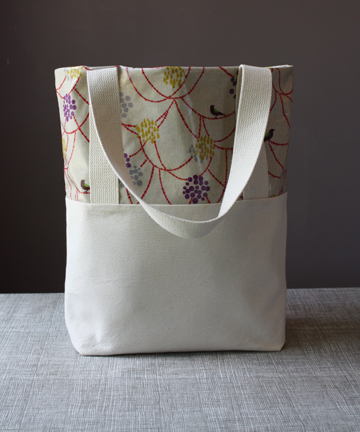
Today’s project is a tote bag that I’ve been meaning to make all summer.  I really wanted a bag that could hold wet bathing suits and all of our pool gear.  This one is made with Echino polyurethane coated cotton and plain canvas.  This bag is lined and includes a magnetic closure and detachable pouch option, which is nice for storing a small camera or wallet that you can take with you without bringing the whole bag.  The finished size is approximately 15″x11″ and 5″ deep.

If you are a beginning sewer, you might find working with this coated cotton to be somewhat difficult, so you could try a patterned canvas or twill fabric.  If you do try the coated cotton, I recommend setting your tension very low (loose) and using a long stitch length.  Since it is kind of rubbery, you have to pull it through your machine a bit.

You can download the tutorial here.  If you make a bag, I’d love to see it.  Be sure to add your photo to the Make it Monday Flickr pool here.

boat-tote-image2

A Little Skirt

flowers-and-stripes1

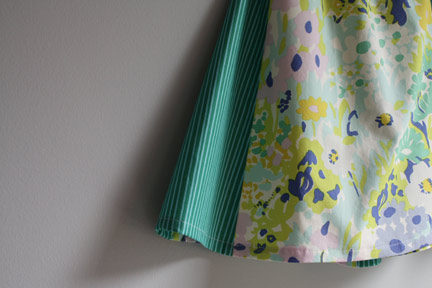
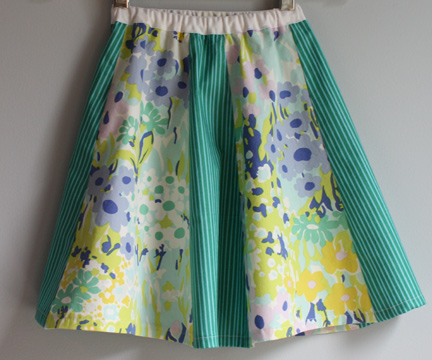
I made this little skirt for my six-year-old.  She’s the picky one, but she actually likes it.  I cut the pieces in straight lines so then I used double fold bias tape to make the waistband easier.  Love ready-made bias tape.  The pattern was sort of an accident as I cut 6 pieces and realized that wouldn’t be big enough, so I made one larger piece for the front (above) with the smaller pieces in the back (below).  The striped fabric is from Lizzy House’s Red Letter Day collection and the vintage-inspired floral is Alexander Henry’s My Secret Garden.  I might try this skirt design again for my little one.

flowers-and-stripes21

Little Red Riding Hood

make-it-monday2

little-red-riding-hood-doll

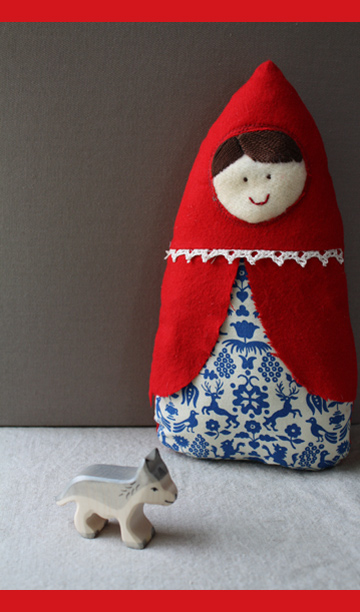
It’s all about the fairy tales this week.  Today I made a simple Little Red Riding Hood stuffed doll.  Just a few pattern pieces cut from scraps plus a little embroidery and you’re set.  I used red flannel for the cape, wool felt for the face and some vintage fabric for the dress.  Here are the instructions:

Supplies:

  • fabric scraps
  • embroidery thread and needle
  • stuffing
  • matching thread
  • small sewing needle
  • crochet trim (optional)
  1. Print out templates page 1 and page 2.
  2. Embroider the face onto uncut felt or fabric of your choice according to size of the face on the template.  Then cut the face piece to the size of the outside template circle (or a little larger to give some extra sewing space).
  3. Cut out the rest of your fabric according to the templates.
  4. Fold the hood piece in half lengthwise and cut a half-circle at least 1/4″ smaller than your face piece.  Pin the face to the underside and topstitch around several times.
  5. Sew the front pieces together: place the cape pieces aligned with the top of the dress front, then place the hood piece right sides together with hood pointed down and sew along the top, using a 1/4″ seam allowance followed by an overcasting stitch.  (If you are using the crochet trim, you’ll want to insert it in this step.)
  6. Beginning at the bottom, sew front piece to back, right sides together.  Be sure to leave a 1″-2″ opening at the bottom for stuffing.
  7. Stuff and hand sew bottom closed.

If you make one of these, I’d love to see it!  Be sure to add your photo to the Make it Monday Flickr group.

Circle Skirt

circle-skirt2

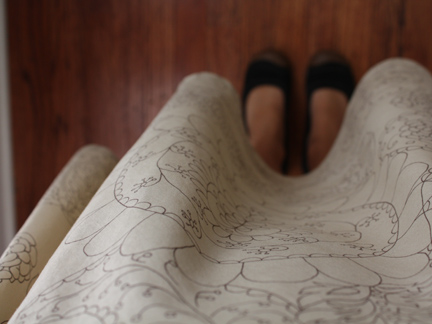
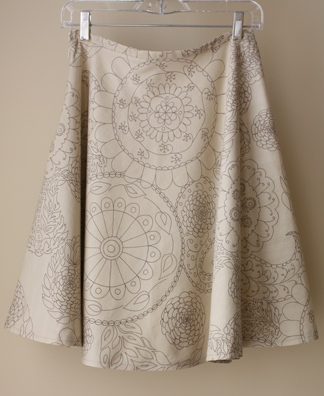
This might be the first piece of clothing that I’ve made for myself.  I’ve had somewhat of a mental block about making my own things, but thought I’d give it a go. I used the New Look 6433 pattern (view E), but veered a bit from the pattern by taking lots of inches off the length.  I think it turned out pretty well, but there is definitely a lot of fabric here.

The fabric is Del Hi by Valori Wells for Free Spirit.  I’ve seen lots of patterns for circle skirts out there.  Maybe you could try this one?

circle-skirt1