The Week in Sewing

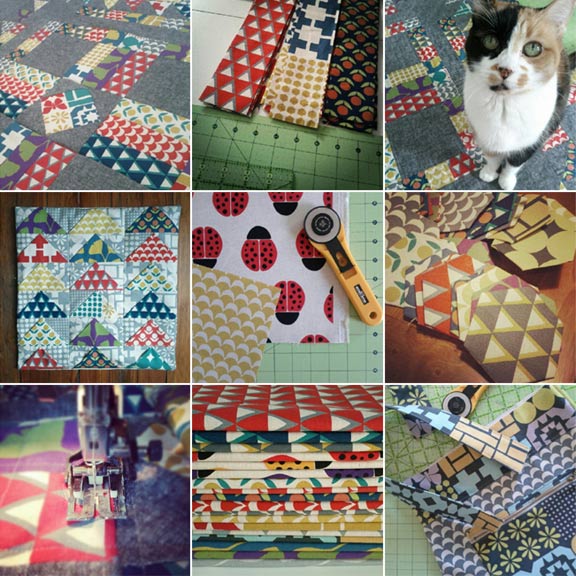
I’ve been making samples from my new Stamped fabric collection for Quilt Market over the past couple of weeks. Quilt Market is a buyer’s market where representatives from fabric stores all over the world come to shop for fabric to sell in their stores. Here’s a peek at what I’ve made. If you follow me on Instagram, you’ve seen these snapshots and I just didn’t get a chance to take photos this morning. I sent the samples off with Melody Miller to head to the Kokka booth, but I didn’t have time to take photos. By the way, Melody’s new book, Ruby Star Wrapping, is shipping now!

Oh, and rumor has it that my Stamped collection may be shipping as early as November! I can’t make it to Quilt Market this time around with so much going on with the kids this weekend, but if you’re there, please stop by the Seven Islands booth and check out my fabric. I’ll try to get photos of the projects in the next couple of weeks so you can see them in more detail. I made two projects from my book 1, 2, 3 Quilt, so you’ll get  a sneak peek of what to expect next year.

Printable Masks

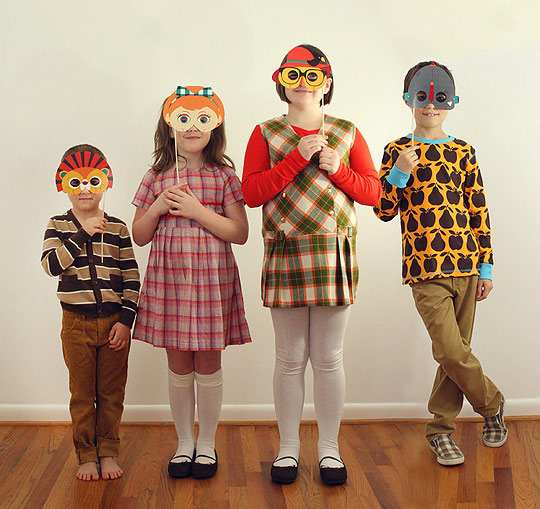
Looking for a last-minute Halloween costume idea? Or pretty wall decorations for a child’s room? Photo props? Danielle of Kitschy Digitals wrote to me about her new line of printable masks. They are so cute!

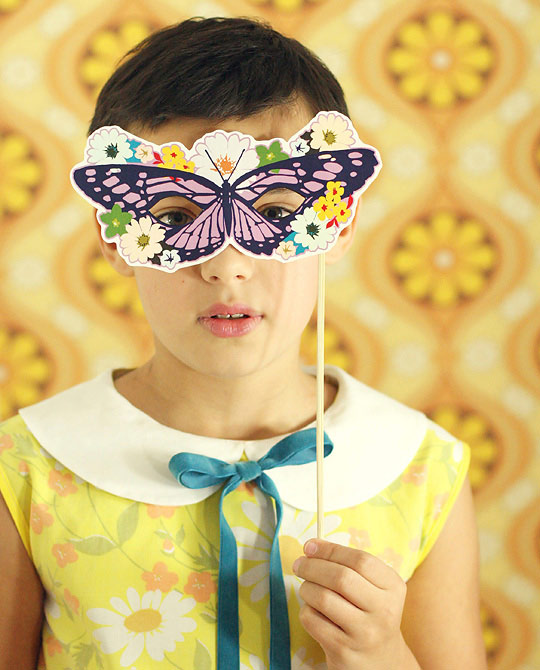
Dress up your kid as a scarecrow (flannel shirt, overalls, hay coming from arms and legs) and use the  mask from the Wizard of Oz set (designed by Chelsea Ann Redinger) or try the sweet butterfly mask below (designed by Melody Miller) and whip up a pair of these wings. Done!

I don’t know how these holidays always sneak up on me and I am in awe of you organized folks out there who make Halloween costumes in August! This year my seven-year-old is dressing as Ginny Weasley from Harry Potter and my nine-year-old is going as a recycling bin. You might be able to tell that my girls have slightly different personalities. I decided not to make any of the Harry Potter attire because it is so easily available, but we are dyeing her hair red! For my older daughter’s costume, I cut the bottom out of a recycling bin and also cut arm holes, then we’ll attach paper and cans to it. The irony of this costume is that by destroying the recycling bin, it’s not very environmentally-friendly. But we are planning ways to re-use the bin and my daughter already made a coaster from the armhole plastic piece by gluing felt to the top.

You can see my kids’ costumes from last year here and read more about my costume advice here. My favorite costume that my older daughter wore is still the Violet Beauregarde as a blueberry from Willy Wonka. Loved that one. Good luck to everyone who will have late-night Halloween sewing to do!

Stamped Fabric Preview

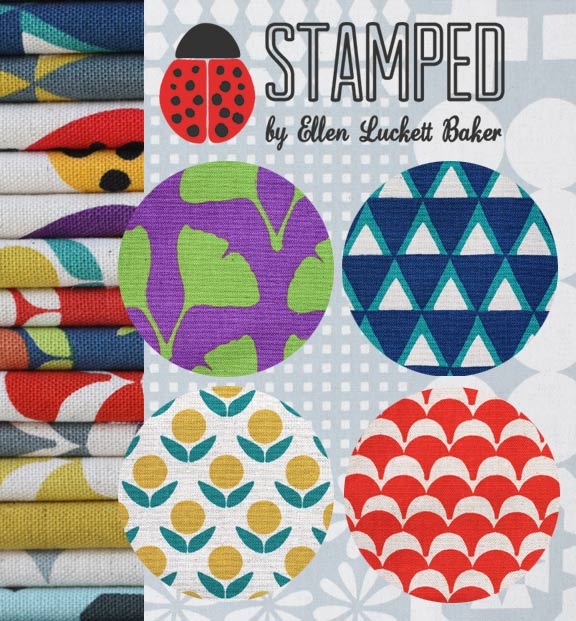
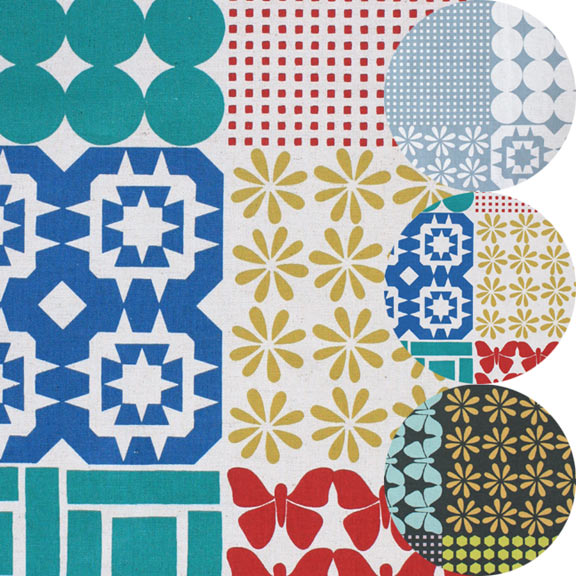
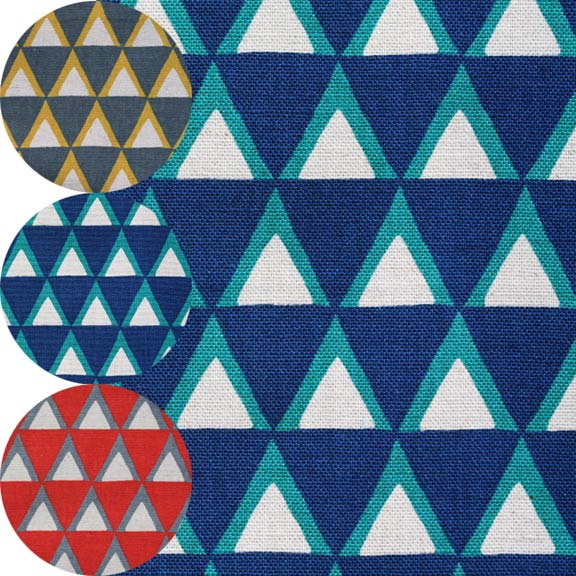
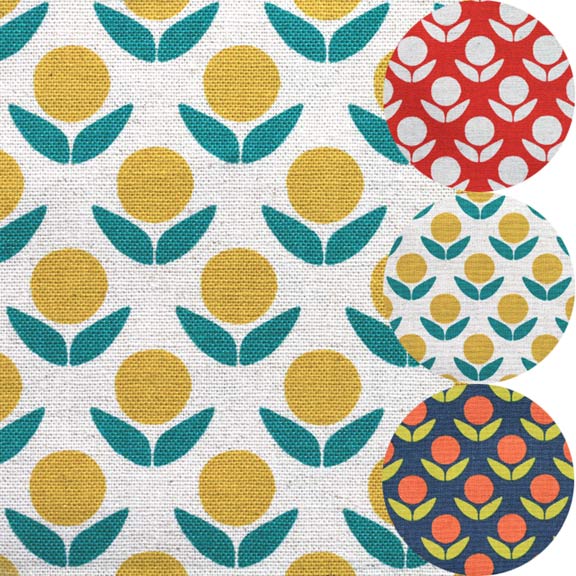
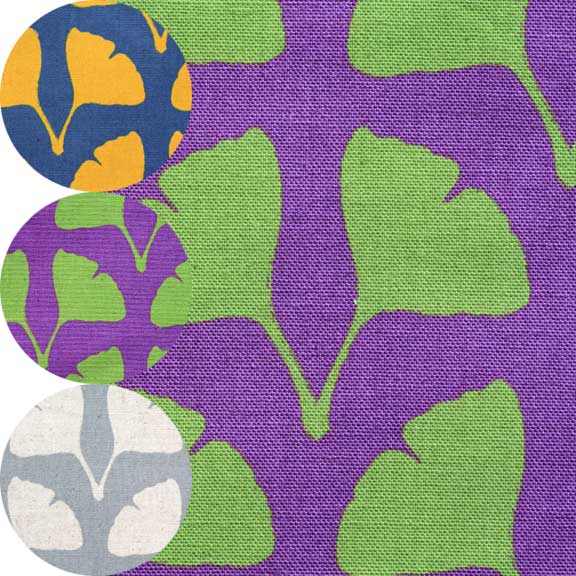
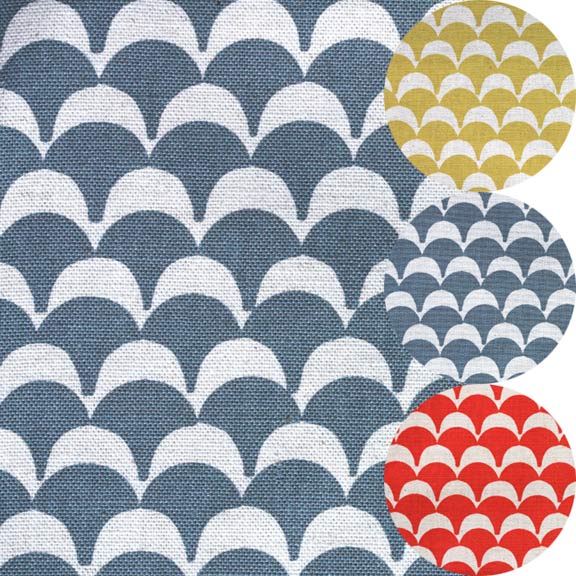
I finally got around to taking some photos of the fabric from my new Stamped collection for Kokka. The texture of the linen/cotton blend makes the fabric look so different from the digital images that I wanted to make sure I had photos of the actual fabric to show you. I’m really excited about this collection and hope you like it too!

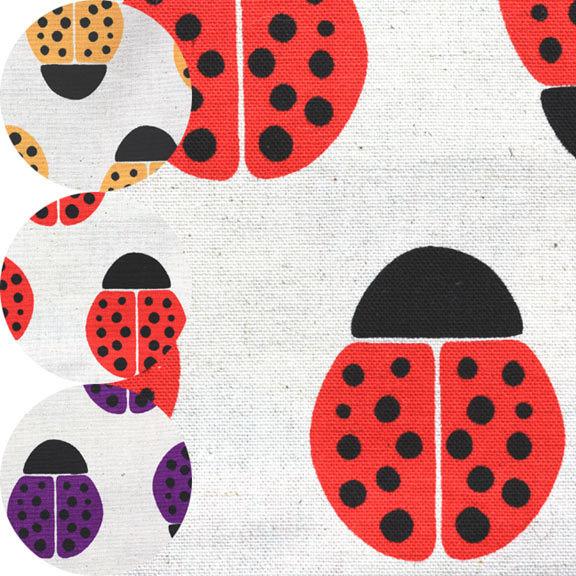
You can see all of the prints and colorways below. There are six prints in the collection, each in three colorways. To give you an idea of scale,  the cheater print pictured just below is a large-scale design, with squares that are about 6″ and the ladybugs are about 2 1/2″ tall. The other prints are perfect for smaller piecing projects, but not tiny in scale. You can see more of the collection in the Seven Islands booth next week at International Quilt Market. I think it will be shipping to stores in early 2013. The prints are, as pictured below: Cheater, Triangles, Circle Flowers, Ginkgo Leaves, Scallops and Ladybugs.

Quick Crafty Round-Up

Here’s a post that’s had me thinking a lot lately: 10 Great Ways to be an Unhappy Mom. This post led me to discover Beth Berry’s blog, Revolution from Home, which I find real and refreshing. I particularly like this post. A reminder to take the time to slow down, focus our energy on what’s really important and remember not to compare ourselves to the perceived perfection that we see online (which does not exist, I can assure you).

So, I’m giving you a round-up of project tutorials, none of which I am going to make! Ha. But I’m going to finish my final round of book edits today, get some photos taken and make a trip to the grocery store. Success! And if you have the time and feel inspired, go make something from these tutorials. There are so many creative and inspiring projects out there, but maybe you need to go do something more important. Like feed the kids.

Reading Pillow from Melissa Mortenson.

Boatneck Tutorial from Dana of Made.

Sewing Round-up on How about Orange.

Easy Watercolor Portraits from Grow Creative.

And some Halloween ideas:

50 Halloween Crafts (from my previous round-up).

Halloween Craft Round-Up from Hello Lucky!

25 Projects from Better Homes & Gardens.

Plus a round-up of my crafts over the years. Here’s another round-up of candy corn crafts, and still another round-up of projects.

DIY Lunch Bags

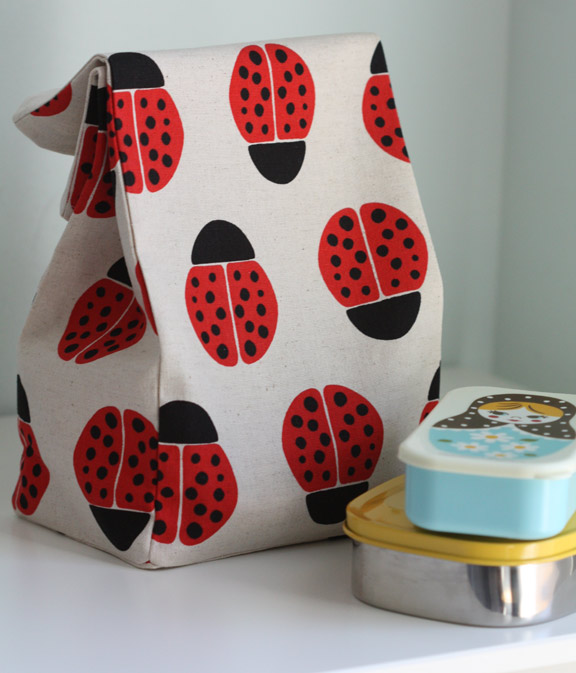
Ready for the kids to get back to school? Here’s a quick and simple tutorial for a basic lunch sack. I used my ladybug fabric for Kokka for this project. The cotton/linen blend works really well for these kinds of projects because it is soft, but also holds its shape.

Better Than Paper Bag

Supplies:

Brown paper lunch bag (7-by-13-by-5 inches)

1/2 yard thick fabric (such as cotton canvas or twill)

Pencil or tailor’s chalk

Straight pins

Pinking shears

Matching thread

Assembly:

1. To use the brown paper bag as a template, cut it into five pieces: front and back, two sides and the bottom.

2. Trace these five pieces onto the wrong side of the fabric, adding ½ inch on all sides for the seam allowance. Cut out the pattern pieces.

3. Next, sew the front, back and side pieces to the bottom piece: With the bottom piece and the front piece placed together with right sides facing, sew a seam ½ inch from the edge, beginning and ending ½ inch from the corners. (You might want to mark the ½ inch point before sewing.) As you sew, use a backstitch to lock the stitches in place at each end. Repeat this step with the back and side pieces, until you have all pieces sewn to the base.

4. Create the bag shape by sewing the side pieces to the front and back pieces with right sides together. Again, begin ½ inch from the bottom corners and use a ½ inch seam allowance, stopping and starting with a backstitch. Sew all the way to the top of the bag.

5. Fold down the raw edge at the top by about ½ inch and sew a hem along the top, topstitching on the right side of the fabric, ¼ inch from the folded edge. Turn the bag right sides out, and press along all the seams.