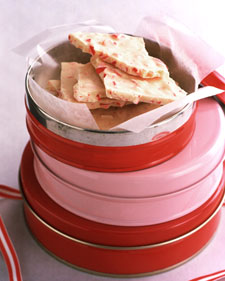
I have been craving this! Here‘s a good recipe from Martha Stewart. Planning a birthday party for both girls tomorrow, but hope to make some after that. Stay tuned for photos from the Alice in Wonderland Celebration.

I have been craving this! Here‘s a good recipe from Martha Stewart. Planning a birthday party for both girls tomorrow, but hope to make some after that. Stay tuned for photos from the Alice in Wonderland Celebration.
I made this snowflake today and was really pleased with the results considering all I needed was six pieces of paper. The beauty of this project is that it looks complicated, but was so easy! You can find the instructions on wikiHow here. This could be used as a treetopper, a wreath, or would look lovely hanging in front of a mirror. Smaller versions could be used to make a great mobile or as tree ornaments.
I used red and green construction paper that we had on hand, but it would be really pretty with double-sided origami paper. I cut the standard-sized paper into squares (8″x8″), which turns out to be a very large snowflake (about 16″). Double-sided tape would be helpful for this project. I measured the cut lines in 1″ increments and marked with a ruler.
This time of year we’re having lots of family time indoors and always looking for new projects. Some less-complicated snowflake instructions can be found here. My almost five-year-old loves folding, designing and cutting these snowflakes and there are so many possibilities. These would make a lovely garland when strung together and made from origami or foil paper. We end up with them all over the house.
Try this site and let the kids “cut” a snowflake on the computer here.
So we’re a little behind here and just got our tree yesterday. I was putting the lights on and thinking about how I learned to light trees when I was working at a flower shop after college. I have not-so-fond memories of lighting artificial trees in casinos at 4am. Yet I still use this method and have gotten many compliments over the years, so thought I would share. This is assuming that you are using small white lights — we add the large colored bulbs for the kids as well, but you don’t need many of those. The white lights give your tree a nice glow and add dimension if you use a lot of them.
This year, I used about 10 strands of 100 bulb lights for a narrow 7′ tall tree, so that’s almost 150 bulbs per foot of tree height. I wouldn’t even fool with the strands of 50. This is a ton of lights and it takes some time to do, but here’s how if you’re interested:
Step 1: Having an extension cord designed for Christmas trees like this one (in green!) can be handy. Seems like you can put 3-4 strands of 100 in each socket, although you should read the package directions to be sure.
Step 2: Start from the bottom and wrap each branch from the inside of the tree to the outside.
Step 3: When you get to the tip, make sure that you have a light positioned for the end of the branch and twist the cord around and weave back down the branch.
That’s pretty much it. Of course you’ll want to make sure that your plug ends are all tucked neatly into the interior of the tree. But you basically just wrap each individual branch and use a ton of lights. It really does make a difference and creates a glowing tree full of holiday cheer!
.jpg)
Well, I haven’t been posting in a while because we’ve been in Hawaii! We apparently managed to be there for the rainiest weather the islands have seen in 20 years. There was still some sun and lots of rainbows. So I thought I’d do a post about Hawaiian quilts. Since I didn’t want to drag the kids around looking at quilts, I’m showing this photo from Roseberry Quilts in the UK, which shows a nice variety of designs.
I love the graphic, organic designs of the traditional quilts and the use of solid colors. The amazing thing is that the quilt designs are cut in one piece and then hand appliqued. I bought a pattern for pillow covers that requires something similar to snowflake-making in that you fold the fabric over and cut through 8 layers! I thought that I might try a winter version with wool felt. I would have to just trace the design and machine applique.
Here are some other nice designs from Quilts Hawaii.

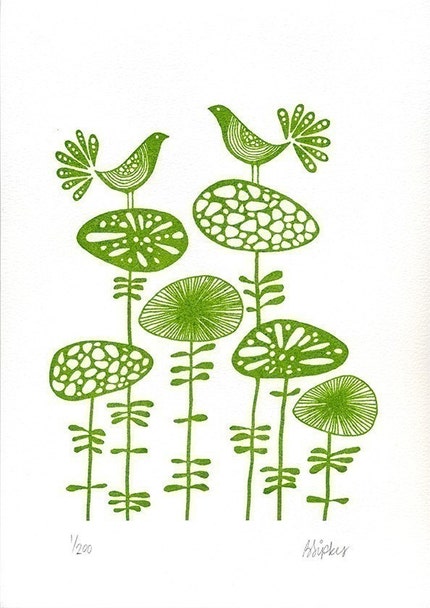
Green Birds on Flowers by Sugarloop. 8 1/2″x 11″, $25.

E is for Elephant by Strawberry Luna, 10.5″ x 13″, $15.
Ceramic tiles by Xenia Taler. Available at Rare Device for $32, $38 and $45. Also available at 16 Hands.
Old School Stationers letterpress bird prints (8″x8″) available for $42 each at Hazel Wood Children.