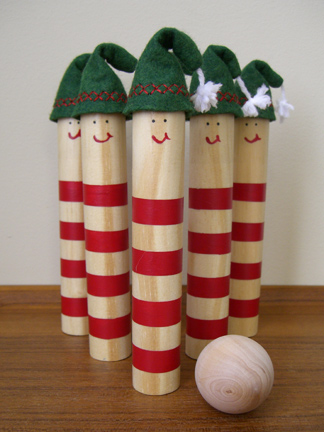
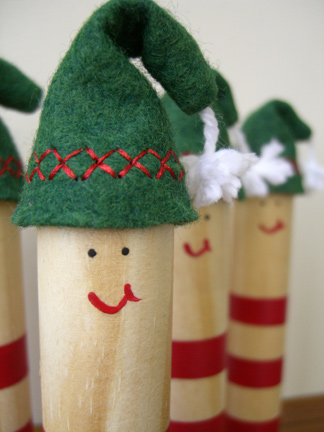
Now who doesn’t want to bowl over those cheery little elves? Here’s a pretty simple project inspired by the French handmade bowling pins that we bought from Reform School last year. You could vary this project to create gnomes, fairies, farm animals, monsters, your family…whatever!
Supplies:
- 36″ dowel rod, 1″ wide (for 6 bowling pins)
- saw and miter box
Yes, this project requires a saw and miter box. If you don’t have these, I’m sure you can find a friend who does and possibly even someone to cut the dowel rod for you. But it’s easy, I swear.
- acrylic paints, red and black
- paint brushes, medium and tiny
- painter’s tape, 1/2″ wide (may need to be cut from a larger width)
- spray polyurethane (optional)
- felt bits cut according to hat-template.
- white yarn scraps
- green and red thread
- pipe cleaners, 2
- glue gun and glue sticks
- wooden ball (maybe 2)
Step 1: With a hand saw and miter box, cut wooden dowel rods in 6″ lengths.
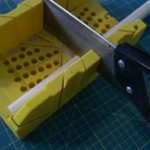
Step 2: Sand bottoms until they stand flat.
Step 3: Wrap painter’s tape in 1/2″ increments around each pin and paint red stripes. Remove tape when the paint it just barely dry by pulling straight up.
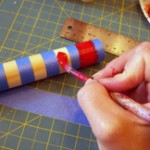
Step 4: Paint faces.
Step 5: (optional) Spray dowels with polyurethane.
Step 6: Sew decorative stitching onto edge of felt pieces (ric-rac would be nice).
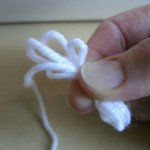
Step 7: Make little pompom by wrapping yard in loops and tying it around itself. Then trim ends and fray them a bit.
Step 8: Lay pompom on right side of felt, fold right sides together and pin in place. Sew along seam with 1/4″ seam allowance. Reinforce the end with yarn. Turn right side out, using closed tip of scissors to gently push out the tip.
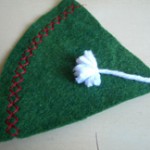
Step 9: Insert a small piece of pipe cleaner into the top of the hat so it will bend. Adjust all of your hats to the desired position.
Step 10: Put a bead of glue on the top edge of the dowel rod and carefully place the hat.
Now give them to some deserving kid. These are a present for a super sweet three-year-old boy. If you make your own version, I’d love to see them! Please add your photos to the Make it Monday photo pool.
