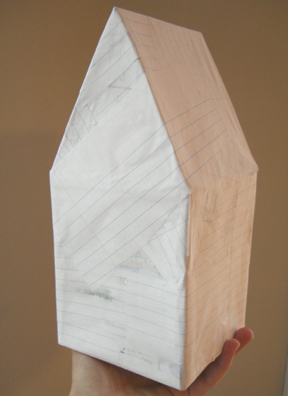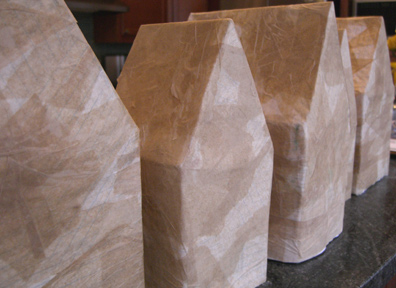
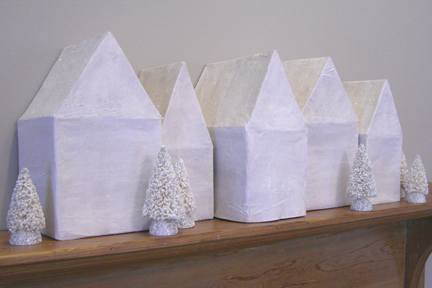
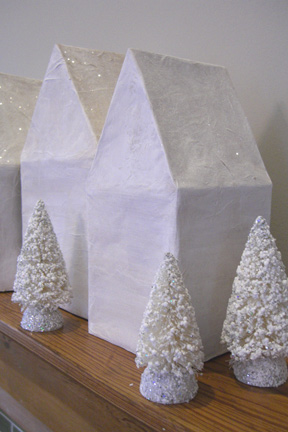
Here are the houses all finished. It’s difficult to see the glitter in these photos, but the rooftops are quite sparkly under the lights. This project takes several days as you’ll need to wait 24 hours between each coat of paper and glue. A great project to work on with kids!
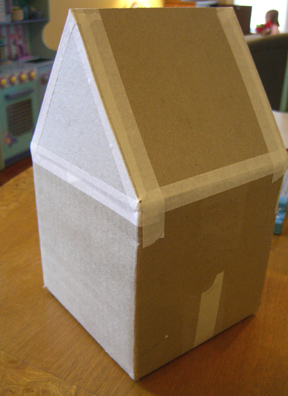
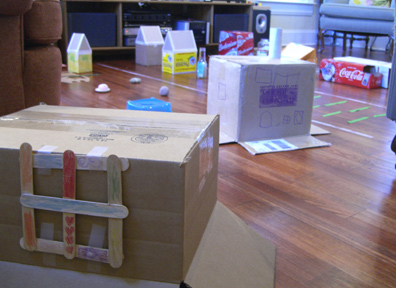
I bought the bottle brush trees and plan to make some little snowmen and snowflakes to add to the scene. The houses are about 12″ -15″ tall. I used leftover packing boxes and found that corrugated cardboard worked best for the bases of the houses. I really liked the small, square boxes, but wanted them to be different shapes. Cereal boxes or chipboard will work for the roofs.
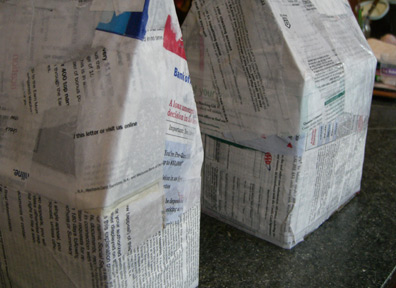
Junk mail and glue give the boxes a sturdy feel, but I wanted them to have a better papier-mâché texture, so I added tissue paper as the final layer. I have tried papier-mâché with flour and water and definitely prefer the glue method as it is much stronger and will not mold.
Supplies:
- Small cardboard boxes
- Cereal boxes or thin cardboard
- Masking tape
- Scrap paper
- Tissue paper
- White school glue
- Acrylic or tempera paint
- Paintbrush
- Glitter
Instructions (see yesterday’s post for more photos):
1. Measure the top of the box and cut the thin cardboard to the correct width. The length can be as long as you’d like (longer will make a steep roof and shorter will make a squatty roof).
2. Score the cardboard in the center and fold over to form the roof. With masking tape, attach the roof to the two sides of your box.
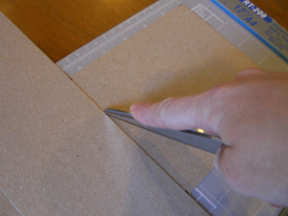
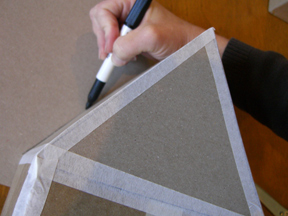
3. Trace the shape of your roof side onto another thin piece of cardboard. Cut out two of these triangles and attach to the sides with masking tape.
4. Mix one part white glue to four parts water. Rip scrap paper into shreds, dip into mixture and apply to the house. Allow to dry for 24 hours and repeat.
5. Repeat the process with tissue paper. Allow to dry completely.
6. Water down paint and apply a thin coat to the boxes. Apply a second coat if desired.
7. Brush glue onto the roofs of the houses and sprinkle with glitter.
Done! If you make these, I’d love to see a photo in the Make it Monday Flickr pool.

