Congratulations to lucky #72, Karine! You’re the winner of the Hello!Lucky giveaway. And now we all have a reminder to send someone a handwritten note.
Tattoo Valentines
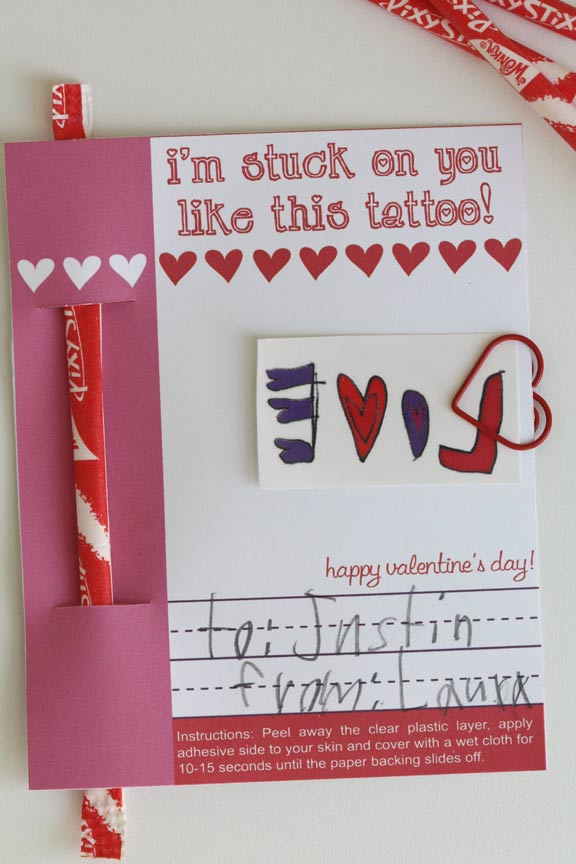
And here are the ones we made with my seven-year-old. She drew the designs for these tattoos and we printed them on tattoo paper.
I ordered this Silhouette tattoo paper after reading the reviews on amazon, but you don’t need to have any special cutter to use this paper. Just an inkjet printer. I scanned my daughter’s drawings, reversed them (important!) and printed them on the paper. Then you have to wait for it to dry (which took almost an hour) and then ever so carefully apply the adhesive paper on top, and finally rub any air bubbles out. I was nervous since I only ordered two sheets, but it turned out fine and we were able to get 40 tattoos on two sheets.

So I took her drawings and added some typed text as I wasn’t sure how legible her writing would be on a small tattoo. Then of course she wanted to attach candy to the cards, and knowing how much parents love their kids to eat a teaspoon of colored sugar, I acquiesced and bought Pixy Stix, cut some slits in the card and my daughter attached one to each card. The heart paper clips came from Paper Source and were a bit of a splurge for me. As you can see below, the quality of the tattoo is just OK, but about what you normally see with temporary tattoos.
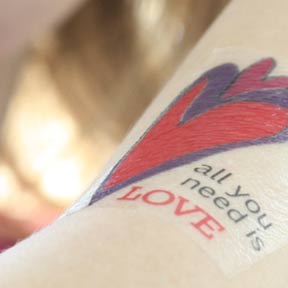
If you’d like the printable for this one, you can download the .pdf file here.
Recycled Paper Globes
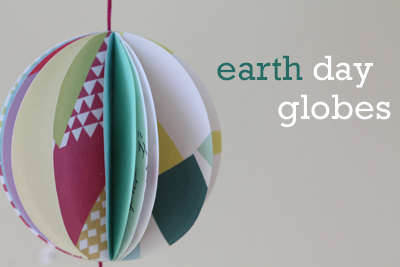
Celebrate Earth Day tomorrow with these paper globes. I shared a quick tutorial over on Alpha Mom. And if you look closely at my recycled paper, you can see that I’ve been working on a new design project. If all goes well, you’ll see the results in 6 months. I know, that’s annoying to tell you that I have something that I can’t tell you. That would make my six-year-old crazy if I did that to her.
Paper Daffodils
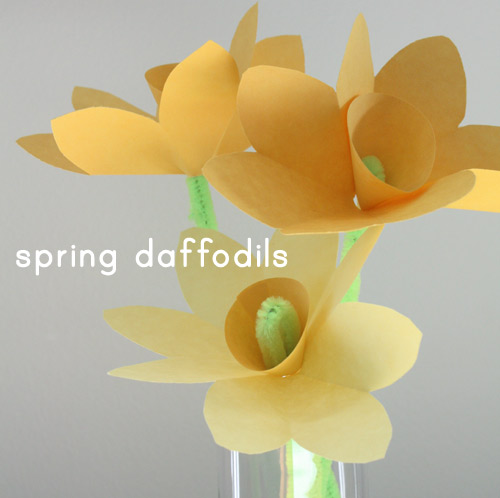
Make some paper daffodils to celebrate spring! This project for kids (and adults) is quick and easy with no mess. Check out my post on Alpha Mom for details.
Handmade Paper Valentines

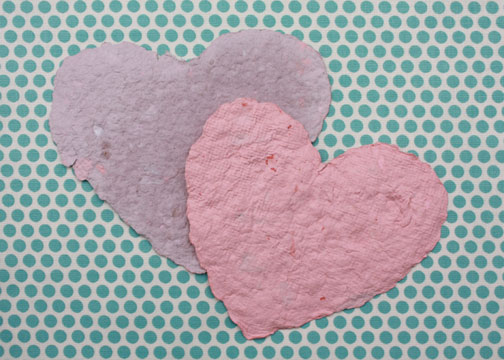
My eight-year-old made paper on a Brownie field trip last weekend, so she wanted to do it again for her Valentine cards. We’ve made paper before, but with a slightly different method. This time we poured the pulp mixture into a heart-shaped cookie cutter for the mold. She is planning to draw faces on these. My eight-year-old did almost this entire process herself, but I did operate the blender.
Below are the supplies we used, but you may be able to find things that work just as well around your house. For the paper mixture, we used recycled office paper, toilet paper tubes, a few sheets of pink paper and some red acrylic paint added for color when needed. Recycled paper is best of course, but if you have too much writing on it, the mix will turn gray. You also can not use shiny paper (magazines, food packaging, etc.).
- recycled paper
- blender
- water
- heart-shaped cookie cutter
- small bowl (just larger than cookie cutter)
- screens (2 cut larger than your cookie cutter)
- plastic screen (We used plastic canvas, but you could use a sturdy wire mesh.)
- wooden block for pressing out water
- felt, quilt batting or paper towels for drying
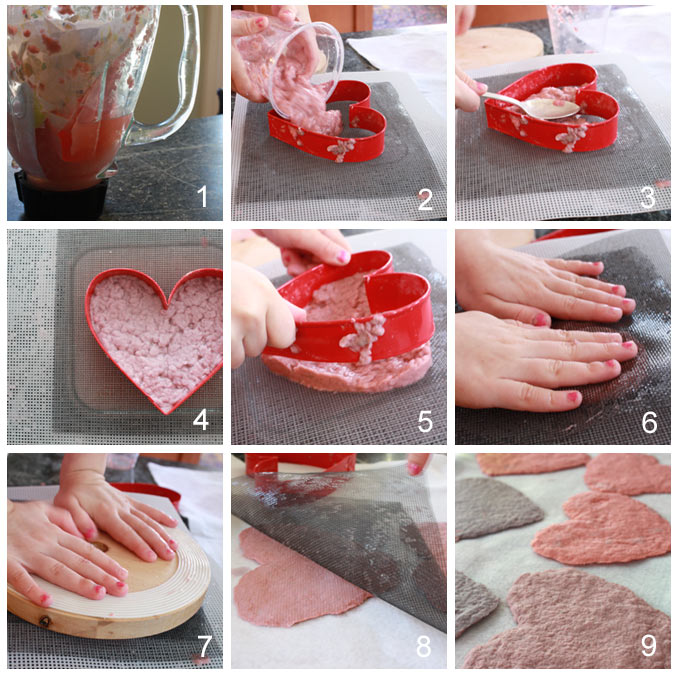
1. Rip the paper into small pieces and blend it with water. Add paint if needed.
2. Have a bowl set up with the heavy plastic mesh on top and one screen on top of that. Place the cookie cutter in the center. Pour the paper mixture into the cookie cutter.
3. Spread it around with your fingers or the back of a spoon.
4. Allow the water to drip in the bowl while you count to 20.
5. Carefully pull off the mold.
6. Place another screen on top and gently press out more water.
7. Place a wooden block on top and press again.
8. Remove the screen and turn the heart onto the felt to dry. Blot again with the felt (if very wet, you can again apply pressure with the wooden block).
9. Allow to dry at least 24 hours before decorating.
Happy Valentine’s Day!

