Eco-crafting with Kids

kids-recycled-crafts

Aside from planting a tree, starting a compost bin or creating a vegetable garden, there are lots of crafty ways that you can share Earth Day with your children.  Here are some nice tutorials for eco-friendly crafts for kids:

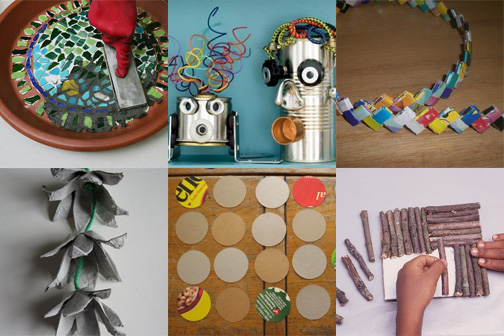
Mosaic Bird Bath from The Seattle Times.

Tin can projects from Family Fun.

Gum Wrapper Chain from Wee Folk Art.

Egg Carton Flowers from Supercozy.

Cereal Box Matching Game from Plum Pudding.

Twig Trivet from How Stuff Works.

And here are more simple ideas for crafting with recycled materials.  Really, it’s just a matter of working with what you have.  Since I’ve started making a concerted effort to do this in our home, we spend considerably less on craft supplies and my children look at every object with a creative eye.

Paint rocks.

Make a cardboard box house.

Turn a glass jar into a snow globe.

Make a fairy house with natural materials.

Stamp with potatoes.

Make your own paint.

Camp Creek Blog has a nice post about saving materials for recycled craft projects here.  And as always, The Crafty Crow has links to tons of great ideas for crafting with kids, like this post about things you can make from an egg carton.

Sketch Box

sketch-box1

sketch-box2

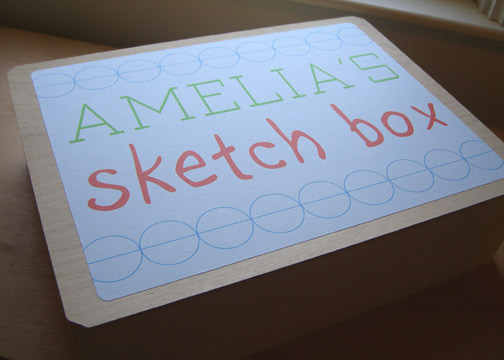
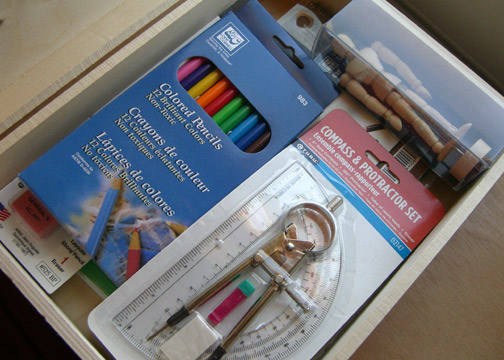
Here’s a quick little gift that I made for a five-year-old budding artist.  I used a plain wooden box and filled it with drawing materials.  Some of you long-time blog readers may remember the Craft Can.  I definitely like giving art and craft supplies to kids.  Here’s a blank template for the sketch box.  The background color is in fact a bit different from the image above.

sketch-box-image

You can print the design on sticker paper or card stock and affix with spray adhesive.  For the corners, I used a corner rounding punch (my favorite new craft supply).  In the box I included a sketch pad, colored pencils, graphite pencils, a compass and protractor, letter stencils, a pencil sharpener and a small wooden figure model.

First Sewing Project

patchwork-pillow

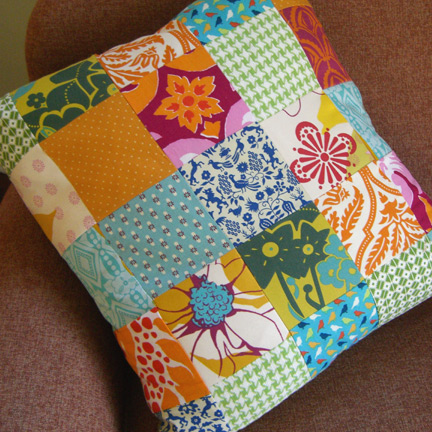
I bought this Hello Kitty sewing machine for my older daughter last year, but it seemed that she wasn’t yet ready.  So we gave it another try last week and she made the patchwork top for this pillow!

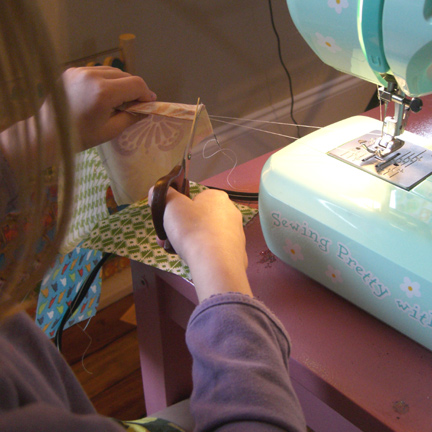
I cut the fabric into squares and she folded the scraps to put back on the shelf (which is a step I usually omit).  Then she started sewing and really did it by herself.  Of course I sat next to her and handed her the pieces to make sure everything was in order.  This was a good first project because you don’t have to use the back stitch.  The back stitch on this little machine is somewhat tricky for a six-year-old.

eva-sewing