Oompa, loompa…

violet-costume

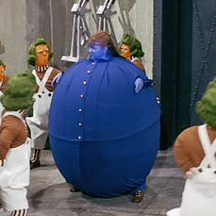
…doopedee doo.  I don’t know how to spell that.  Here’s the best I could do for my six-year-old’s Violet Beauregarde costume.  I think it has cellulite.  I’m making a pair of pants to go with it and we’ll paint her face blue.  People are going to have no idea who she is, but she’s going to be thrilled.  Oh, and she gets to chew gum too.

See, do you remember Violet?  Now that’s a Halloween costume challenge.  What was your craziest costume experience?

violet-beauregarde

Paper Bag Bowls

recycled-halloween

pumpkin-and-ghost-bowls

pumpkin-bowl

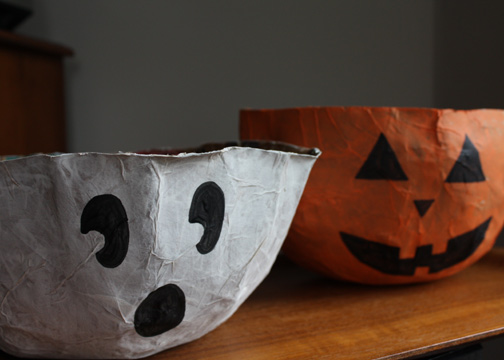
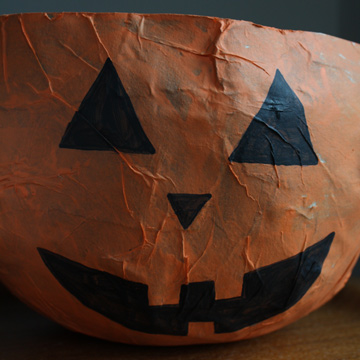
Here’s a fun project to make with the kids.  These are papier-mâché bowls made from paper bags and tissue paper.  We plan to use our bowls for Halloween candy.

I’ve never had much luck with the flour mixtures (maybe because of the humidity here), so I used a mixture of equal parts white glue and water.  I used a full bottle of glue for each bowl.  For the pumpkin bowl, I cut off the top of an actual pumpkin and used that as our base, but we just used a metal mixing bowl for the ghost bowl.  If you do use a pumpkin, be sure to cut it at the widest point so that you can remove the paper bowl when dry.

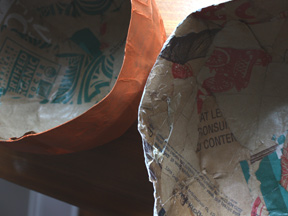
For both, I first covered the base with a plastic grocery bag (you could use plastic wrap), dipped strips of paper bags in the glue mixture, squeezed off the excess and laid the strips across the top until the bowl was covered.  Oh, if you’re working with kids, you will definitely want to do this project outside.  We let the bowls dry for a day, then brushed them with more glue mixture and laid tissue paper (cut into strips) on top.  We then brushed more glue on top of the tissue as we laid it around the bowl.  Once dry, you can trim your edges or leave them ragged.  We painted our bowls with acrylic paints and left the insides unfinished.  If you used colored tissue paper, you wouldn’t need to paint at all.  I just used some brown tissue paper leftover from packaging.  Now the kids are ready to fill up the bowls!
inside-of-bowls

Halloween Jars and Cans

recycled-halloween

pumpkin-jars2

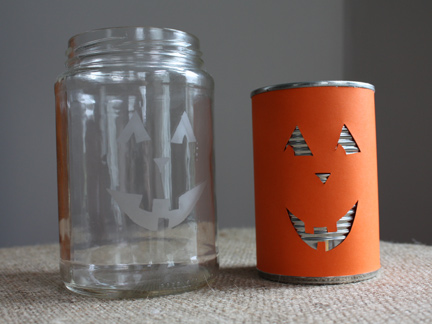
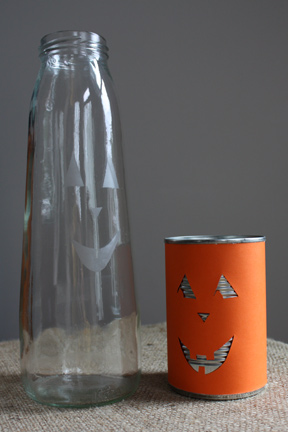
A couple more ideas to add to your list of Halloween decorations using recycled materials.  Here, I used etching cream to create a jack o’ lantern face on the jars.  It’s a subtle effect, but would be pretty with an orange votive.  I simply put masking tape on the jar, cut out the shapes with a craft knife, and let the etching cream sit for about twenty minutes (not a kid-friendly project, obviously).

And for the jack o’lantern cans, I cut out the face with a craft knife and glued the paper onto the can.  A quick tip for holding the paper in place while you wait for the glue to dry — painter’s tape.  I love painter’s tape and use it all the time in my crafting.

pumpkin-jars

More Halloween crafts with bottles and cans (just clap your hands).

Bat Mobile

recycled-halloween

bat-mobile

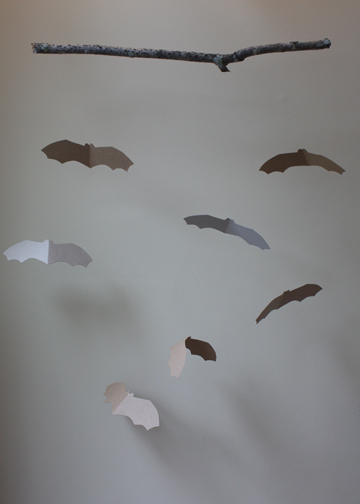
This is not a vehicle for the caped crusader, but rather a hanging mobile!  I’ll be periodically featuring recycled projects for Halloween over the next month.  In addition to my disdain for plastic crap made in China, I am just frugal.

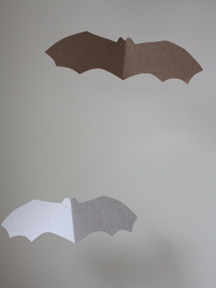
So here’s an easy project made with thin cardboard.  You can use cereal or cracker boxes, or save chipboard from packing materials, like I did here.  I think these would also be pretty cut from patterned paper, if you are so inclined.  I just cut these from cardboard, poked holes where the eyes should be and hung them to a branch using clear thread.  This clear thread looks completely invisible and is light enough for the bats to fly around a bit.

bat-mobile-detail

I’m feeling for bats these days after hearing about the decline in the bat population along the east coast.  We need these little critters.  I’ll try to post some more batty projects over the weekend.

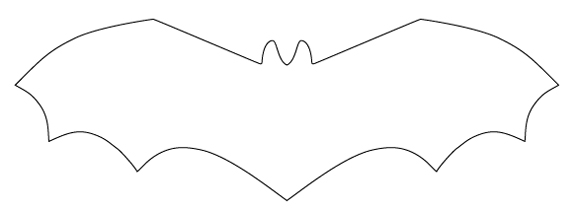
Just click on the image below and print out the template.

bat-template