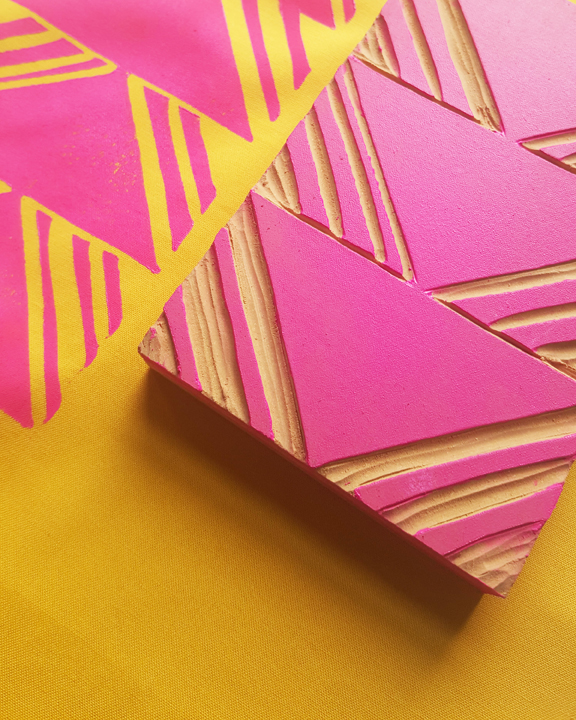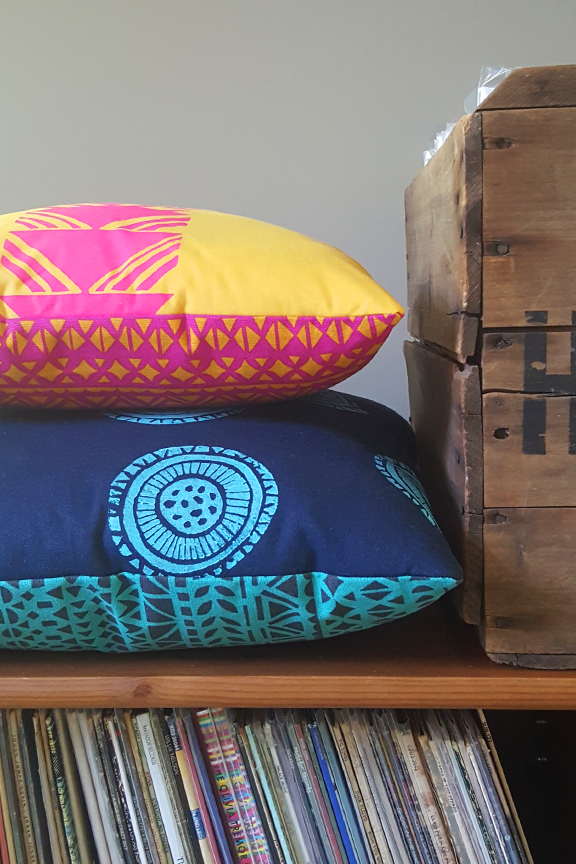
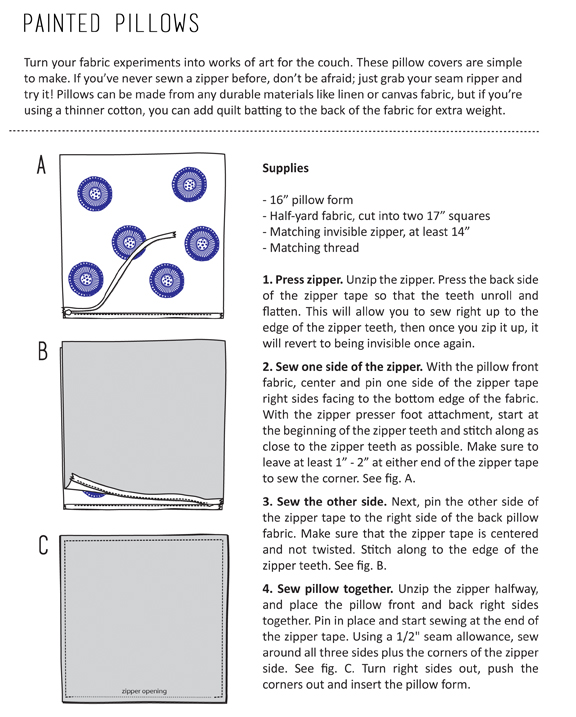
These block printed pillows allow you to get messy with paint, then sew your unique fabric into pillows. The instructions are for pillows with an invisible zipper closure, which you’ll find is surprisingly simple to install if you’ve never done it. Click on the image below for printable sewing instructions, then read on for quick directions for linoleum printing.
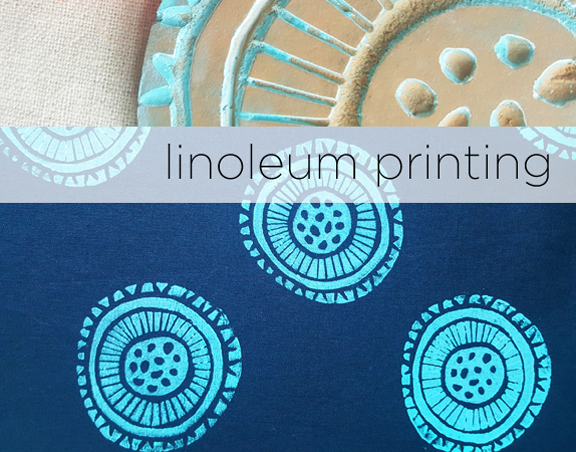
Block printing is a great introductory printing technique. With a few printing materials, you can make repeat-ready prints. Linoleum printing is a good exercise in negative space because the spaces you carve will not receive the color. Warming the linoleum with an iron will help soften it before you begin carving.
Suggested Materials:
- Rubber or linoleum (wood-mounted block or linoleum sheets)
- Carving tool with multiple blades
- Fabric paint (or oil-based printing ink which will require cleaning solvents)
- Brayer (ink roller)
- Flat surface for rolling paint (old cookie tray, plexiglass, cardboard, etc.)
- Fabric (tightly woven fabrics will produce a crisper print, prints on looser weaves will be less defined)
- Sketch a design on paper, then draw the design onto the linoleum block.
- Using the blade tools, cut out the negative spaces; remember that the design will be on the uncut raised surfaces of the block.
- Squeeze paint onto a flat surface and roll the brayer in the paint. When you have the right amount of paint, it should make sort of a crinkling sound. Too much paint will lose detail on the image and too little will not print well.
- Roll the ink onto the carved stamp and try some test prints on scrap fabric.
- Print onto the fabric. You may want to measure and mark the fabric with a pencil beforehand if you are trying to create a pattern.
- Allow to dry, then press if needed, following the instructions on your paint container.