Hope you had a great Thanksgiving! Head over to Facebook to enter a quick giveaway of fat quarters from the linen prints in my Charms fabric collection, which will be shipping to stores next month.
Hope you had a great Thanksgiving! Head over to Facebook to enter a quick giveaway of fat quarters from the linen prints in my Charms fabric collection, which will be shipping to stores next month.

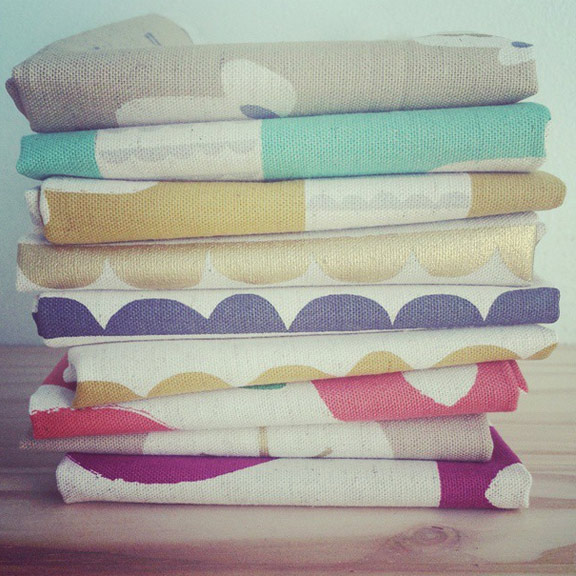
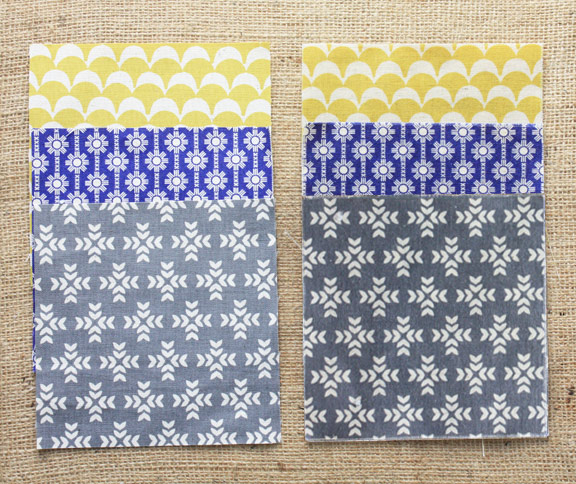
Last week I experimented with making waxed canvas using my Kokka linen/cotton blend fabrics. It was a simple project and I love the results. Why would you want to wax your fabric? Well, this is how people waterproofed fabric for outdoor use many years ago, but the natural waterproofing and the distressed look of it is appealing to me. I am not a hunter or an outdoors person, but I do like the idea of a natural, waterproof tote bag. Most of the waxed canvas bags I’ve seen are made with solids, so I wanted to try it out on my patterned fabric.
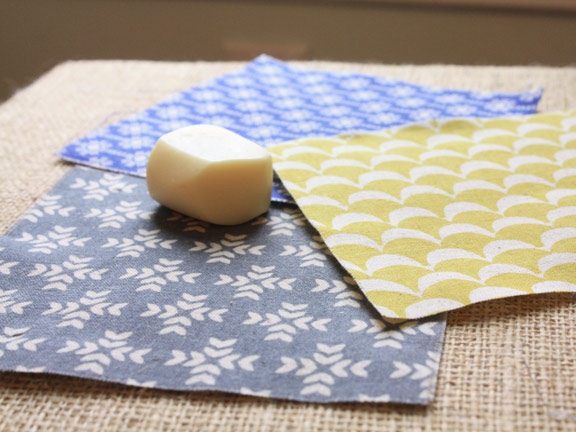
First, I ordered wax bars from Otter Wax. You can read here about their petroleum-free natural ingredients. Note that it’s made from beeswax, so not vegan. I bought three small bars and used almost one full bar for about a half yard of fabric. According to the directions, all you have to do is rub it on and let it cure. I applied the wax using a bit of elbow grease, rubbing the bar back and forth in both directions to get it into the weave of the fabric.
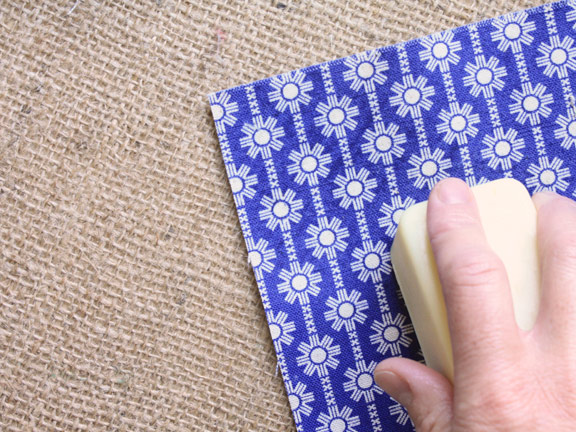
Then I let it cure for a day, but it still felt sticky to me. There are quite a few tutorials out there that suggest using a hairdryer, which I tried. But naturally I was impatient. So I ironed on the wrong side of the fabric which instantly melted the wax completely through both sides of the fabric. Just make sure you protect your ironing board from the wax, but it didn’t gum up my iron at all. The wax definitely has a smell, which filled up my sewing room for a day or so after the project, but it’s just a beeswax pine type of smell that was perfectly acceptable to me.
You can see the before and after below. The wax does make the fabric look darker, almost like it’s wet. And it feels a bit stiffer, but still soft enough to sew or wear. Next up, a tote bag for all my outdoor adventures! Or just for a trip to the grocery store.
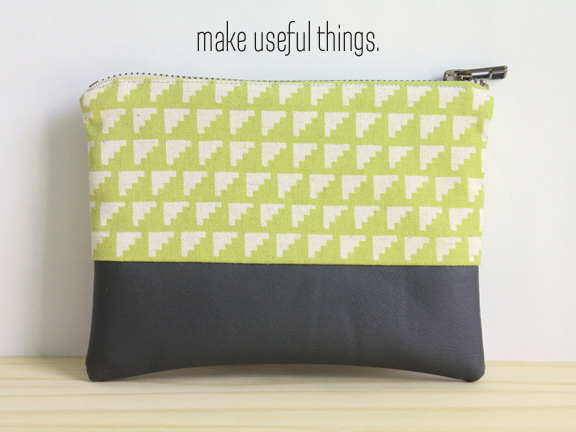
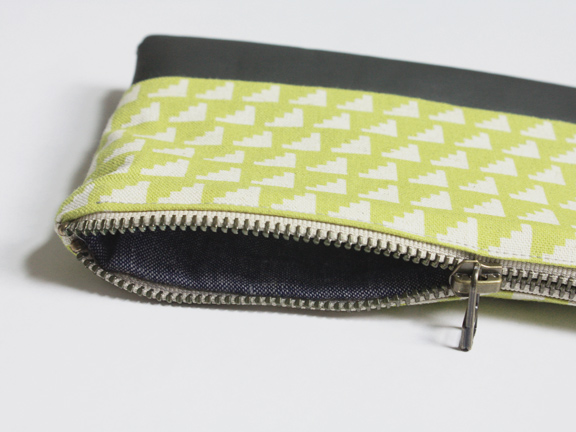
Head over to Skip to My Lou for this quick pouch tutorial as part of the Bake, Craft, Sew, and Crochet holiday series. This holiday season, I am going to try to make only useful things!
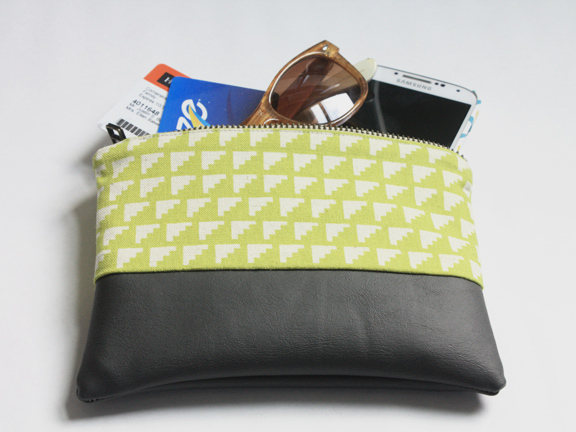
This pouch’s finished size is 5″ x 7″, so it will hold your phone and cards. You could add a wrist strap to take it with you and skip the purse. I used some faux leather and my Framework fabric that you can buy here and here, among other places.