Valentine’s Craft-a-Day!

craft-a-day3.jpg

Well, since I have many things to procrastinate and my house is a mess, I thought that it would be a good idea to craft more! Ha. So I am going to try to make a new little Valentine’s craft every day between now and February 14. I think that I can at least manage to make a card or bake some cookies, right? We’ll see how it goes. Anyone want to join me?

hair-clips.jpg

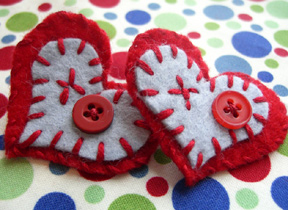
So I made these hair clips today.  I just cut out a couple of hearts (hair-clips-template.pdf) and sewed them together with embroidery floss.   I have never really done any hand embroidery before, so I had to draw dots with a fabric marker to evenly space the stitches.  Do you see that those are supposed to be an x and o?  I didn’t think I could sew a nice circle, so I used a button instead.  Then I used a glue gun to attach them to the clip.  All in all, a pretty simple and quick project.  You can search Etsy for all kinds of hair clip ideas.  

Pincushions

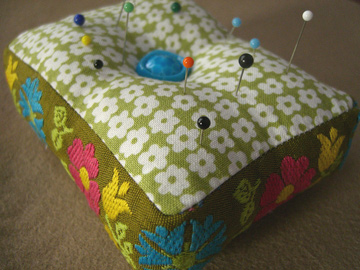
I decided to see what all the fuss is about with these pincushions. Entire books dedicated to pincushions, tons of Etsy sellers featuring pincushions in every imaginable shape, and blogs with photos of….pincushions! So I gathered some stuff off the sewing room floor and made an easy one with some vintage ribbon:

vintage-ribbon-pincushion.jpg

Personally I am a fan of the magnetic pincushion because I can just snap them up when they are strewn all over the floor and you can throw your pins back on while you are sewing. So I will try my new pincushion and see if form beats function. But I’ll be thinking about creating a pattern for a pretty magnetic pincushion!

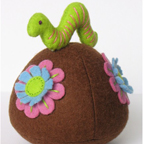
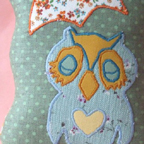
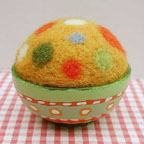
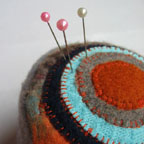
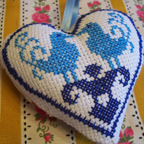
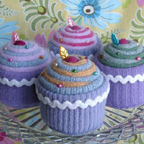
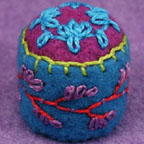
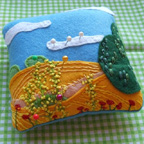
I found so many lovely and inspiring pincushions around craftland that I had to show you. Oh, and there are so many more! Click on each image for a link.

inchworm-pincushion.jpgrabbits-moon.jpgspeldenkussen-02.jpg

handmade-pretties.jpgportmade.jpgbetz-white1.jpg

very-big-jen.jpgbella-dia-bird.JPGwardi.jpg


Lucy Goosey

make-it-monday3.jpg

goose1.jpg

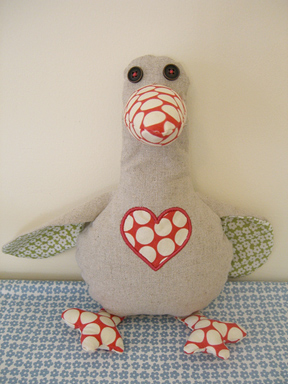
I call my five-year-old a goose all the time, so I made her one. And then I made another for my three-year-old with some of the fabric I bought at Reprodepot. Below is a picture of Lucy and Gertrude. The template below is for the smaller goose, but feel free to play around with the design. I appliquéd a heart onto the goose’s tummy (which I did not include in the instructions below); but you could embroider it, use heart fabric or fabric stamps, or just leave it plain. I think this would make a nice Valentine’s or Easter gift and I found this book of the same name that looks really sweet.
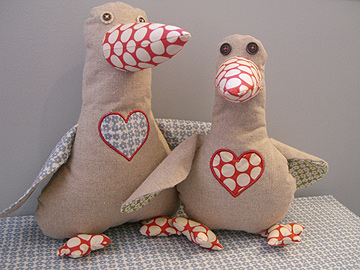
geese2.jpg

Supplies:

1/4 yard fabric (canvas, heavyweight cotton, tweed, wool felt, etc.)
scraps of contrasting fabric for wings, nose and feet
stuffing material (bamboo filling, polyfill, buckwheat hulls, etc.)
scissors
thread
two buttons

Step 1: Cut out fabric according to template: goose.pdf. Draw a 1 1/2″ vertical line where you want the nose to be, fold over your fabric and cut a half-circle shape.

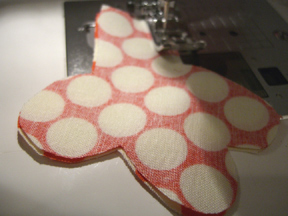
Step 2: Sew nose, wings, and feet right sides together (see photo below). To turn them right-side out, it might be helpful to have one of these tools. But I use the technique of safety pinning a piece of string into the top of the tube before I sew. Then I pull on the string to turn the fabric tube right-side out. (Caution: this technique can pull delicate fabrics and sometimes the safety pin comes open). Some people sew the string directly into the tube and then cut it.
instructions1.jpg

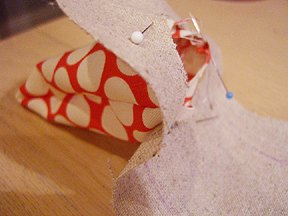
Step 3: Pin nose to body (see picture below). Tack on by hand and then machine sew like you would attach a sleeve. Since this is so small I found that pins got in my way, so had to do the hand tacking.
instructions2.jpg

Step 4: Sew buttons or use embroidery floss for eyes.

Step 5: Stuff feet with polyfill.

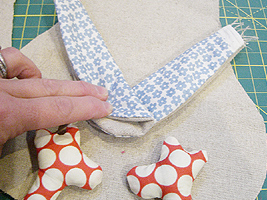
Step 6: Place body fabric pieces right-side together and insert wings and legs (as shown in photo below). Wings should be folded in half lengthwise. Pin. Sew around the edges, leaving an opening between the legs.
instructions3.jpg

Step 7: Turn goose right-side out by gently pulling (I found it helpful to get the wings and feet out first).

Step 8: Stuff the nose and neck, then the body. Hand sew bottom securely. I stuffed the head and nose with polyfill, the body with buckwheat hulls, then a little more polyfill to keep the hulls from falling out as I sewed it together.

All done! If you make this goose and you’d like to share your photos, please add them to the flickr group here.

Needlepoint

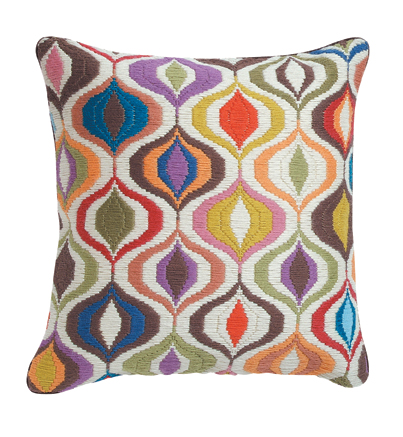
My crafting goals for the year are to learn to crochet and needlepoint. Oh, and to make lots of quilts. Let’s see how it goes. I love these Jonathan Adler Bargello needlepoint pillows (shown below). I guess these are handmade by someone somewhere and not made by a machine, but I can’t seem to find out where these are made. There is a mention of Peru on his site. Anyone know?

adler-pillow.jpg

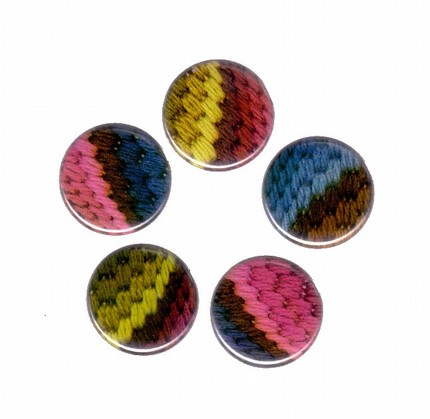
So I thought I would find a lot of contemporary needlepoint on Etsy, but no. Too time consuming? Too boring? Seems to me like needlepoint gives you a lot of freedom to come up with your own designs easily. Here’s a needlepoint sampler for a nursery from 66 stitches. Some bracelets from Carrie Wolf, and some cool magnets from Eclectic Selections (pictured below).

needlepoint-magnets.jpg

Want to learn? This looks like a good Bargello needlepoint book and with the right colors, the designs could be very modern. Or this one for basic needlepoint.