Glitter Globe

glitter-globe

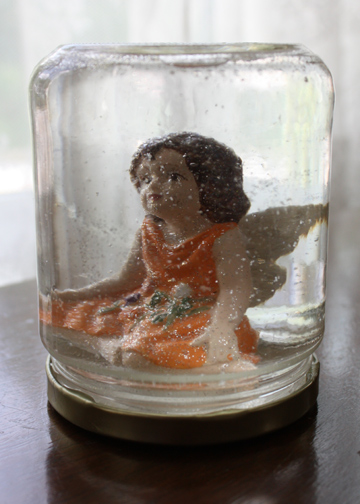
I have a love/hate relationship with glitter.  I can’t deny my children of the mess because I can understand its appeal.  This glitter globe is a simple recycled project because you can use an empty glass jar and a knickknack picked up from the thrift store.  We’ve had this little fairy for a while now intending to make a snow globe.  I looked at quite a few tutorials, but ended up following this one from Robert Mahar over at the Junior Society.  I used a plastic cap to elevate the little fairy so she wouldn’t be flat to the jar top (or bottom, depending on your perspective).  I think I’d like to add some satin ribbon around the base.

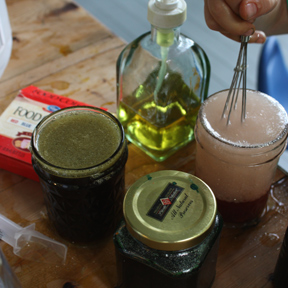
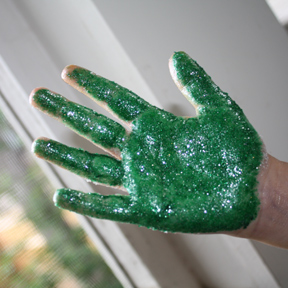
So naturally when you leave tiny little glitter (thanks, Martha) on a table within a kid’s reach, this might happen.  My six-year-old did some experimenting with “magic potions”.

potion-making

Then it turned into this.  Then it was time for a bath.
glitter-hand

Summer Reading Craft #2

summer-reading

the-very-lonely-firefly2

I know, it seems like I’ve forgotten about the summer reading crafts, but here’s a project!

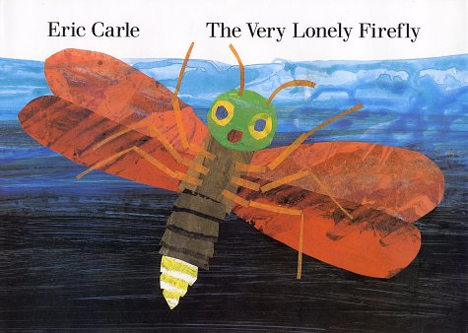
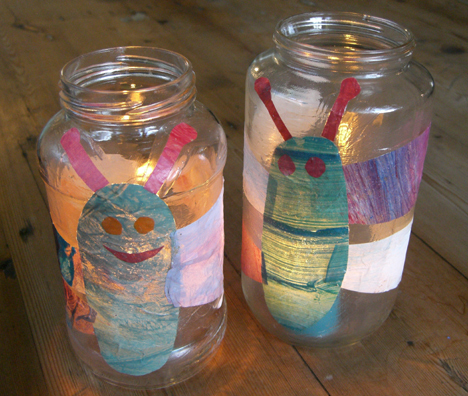
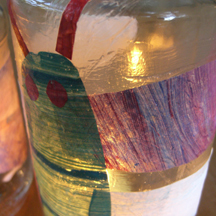
Eric Carle naturally comes to mind when thinking about children’s book illustration, so we decided to make these firefly lanterns based on The Very Lonely Firefly, the story of a firefly in search of friends.  You can learn more about Eric Carle’s process here.  I modified the process to make it simpler for the kids.  This is a two-step project because your tissue paper will need time to dry before you make the collage.  And you’ll want to work on a surface that is easy to clean.  Here’s how we made our firefly lanterns:

firefly-lanterns

firefly-lantern-detail1

Supplies:

  • recycled glass jar
  • plain tissue paper
  • paints (we used kid’s poster paints)
  • brushes
  • decoupage glue (mod podge)

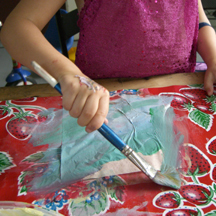
1.  First, cut the tissue paper into small squares to make it easier to handle.  Then have kids paint the tissue paper.  To achieve the multi-layered effect of Carle’s work, I encouraged my kids to use several colors on their brush.

painting-tissue-paper

2.  When the kids finish a square, an adult can gently peel the paper from the surface since it tears easily.
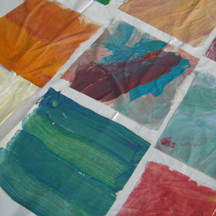
3.  Set aside and allow the tissue paper to dry.

painted-paper
4.  Once the tissue paper is dry, cut it into shapes to make a firefly or anything else you can imagine.
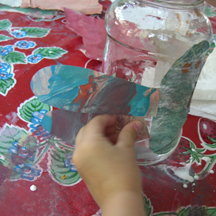
5.  Coat the front of the glass jar with mod podge and apply the tissue paper shapes.

gluing-together
6.  Add another coat of glue on top to seal it.
7.  Light a candle and watch your fireflies glow.  Careful: hot glass!

More Cereal Box Journals

cereal-box-journal-fabric

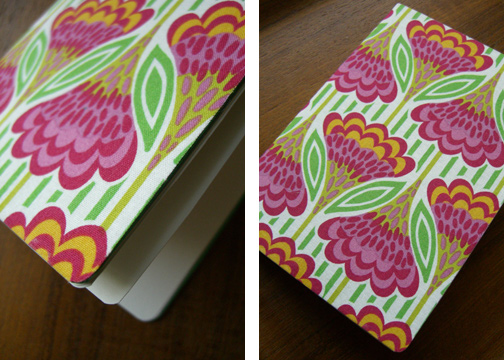
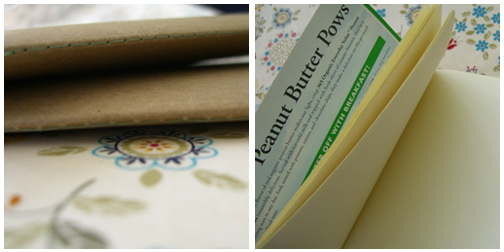
So I loved the plain journals, but thought that a more decorative journal might make a nice gift. I made one with fabric and one with paper.  The fabric covered version (pictured above) will be a gift for my mother-in-law with some photos of the children.  I used three sheets of card stock rather than paper, which will hold six photos.  I also lined the inside with green paper.  I first cut the cereal box down to size, then cut the fabric about 1/2 larger.  I sprayed the adhesive on the cardboard and pressed down the fabric.  Then I trimmed the excess with a rotary cutter and made the rounded corners with scissors.  I added some Fray Check to the edges to keep it from unraveling, which seems to be working.  I have never used this before, and it’s likely toxic.  My older daughter said to the younger one “Look, ear drops for you.”  Glad I was in the room.

cereal-box-journal-paper

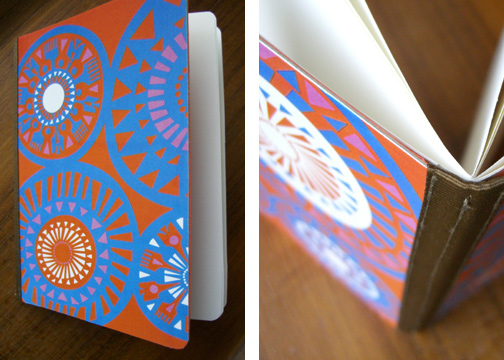
The second journal is covered with paper from a Marimekko catalog and I affixed it with spray adhesive also.  The color on the glossy paper stretched some when it was creased, so I added a grosgrain ribbon binding, which I wrapped around the inside.  I sewed down each side, then added the paper and sewed in the center.  It was a little tricky to get it straight, but I taped it in place.  The inside is lined with orange paper.

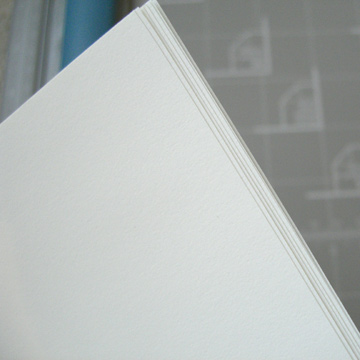
And, to solve the issue of having the papers not aligned when you fold the book:  Stagger the papers, as shown below.  Then cut the other end straight across with a paper cutter.  Then arrange arrange them so that they are evenly fanned out on either side, with the slightly shorter papers on the inside on the book and the longer ones by the cover.  Does that make sense?  You still need to cut all your papers a bit shorter than the cover because cardboard is thicker than paper, so takes up more space in the bend.

paper-staggered

Cereal Box Journal

make-it-monday1

cereal-box-journal

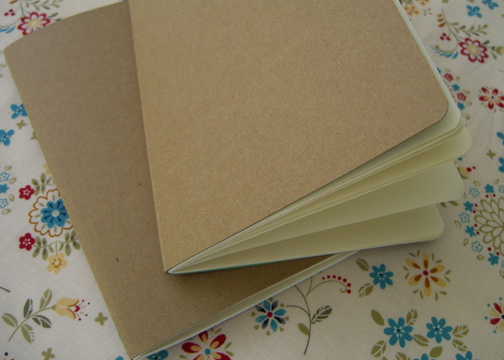
Here’s a quick and easy way to re-use a cereal box and make a useful journal from it. Ever use the Moleskine notebooks? I love them, so thought I’d make some of my own with materials that I had around the house.  There are lots of possibilities for this project. You could stamp or print the cover, paint it, add a collage or a simple drawing, or use decorative paper to cover the inside. This would also make a fun project for the kids – they could decorate the covers and write a story.

cereal-box-journal-2

I made this on my sewing machine, but I can’t be held responsible for broken needles! I set the tension to a very low setting and made the stitch long. I used 8 pieces of paper (for a 16-page journal) and wouldn’t recommend many more than that.

Supplies:

  • cereal box
  • paper (recycled or handmade would be even better)
  • thread
  • rounded corner punch
  • paper cutter
  • painter’s tape

cereal-box-journal-steps1

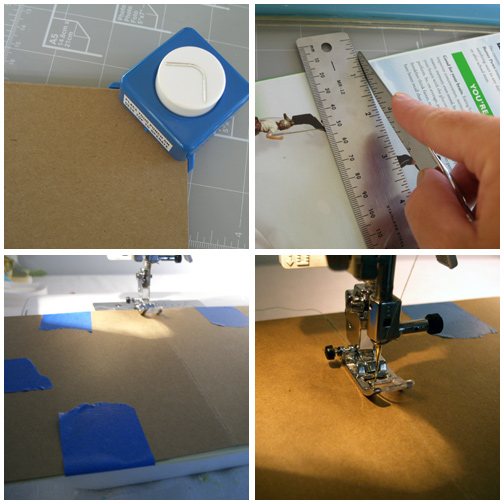
Step 1: Cut cardboard box down to desired size. I made mine 10”x7” (for a 5”x7” journal).

Step 2: Cut journal paper down to size as well. You might want to deduct 1/8” to make sure the paper folds nicely into the inside of the journal.  (see this next post for more instructions about this).

Step 3: Round corners with the corner punch.

Step 4: Score cereal box cover down the center until it folds crisply. I used a utensil knife and ruler to do this.

Step 5: Place cardboard (plain side up) on top of paper and tape together with painter’s tape.

Step 6: With sewing machine tension set to low, slowly stitch long stitches along the scored line.

Step 7: Fold over and place under a heavy book  to press flat.

Craft Green: More Eco-Friendly Tutorials

craft-green2

recycled-craft-tutorials-2

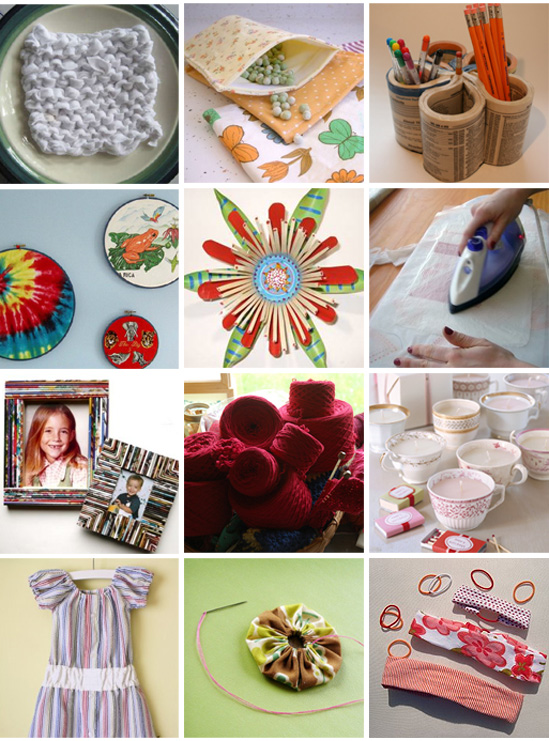
Knitted T-shirt Dishcloth from Instructables.

Reusable Snack Bag from We Wilsons.

Phone Book Desk Organizer from Chica and Jo.

Links and Ideas for Recycled T-shirts from Crafting a Green World (pictured: Betz White’s embroidery hoops).

Aluminum Can Flowers from CafeMomStreetTeam.

How to Fuse Plastic Bags from Etsy Labs.

Magazine Reeds Box and Picture Frame from Diane Gilleland (of CraftyPod) for CraftStylish.

Recycling Sweaters for Yarn from Craft Leftovers.

Teacup Lights from Martha Stewart.

Men’s Shirt to Girl’s Dress from made (link via Whipstitch).

50 Fabric Scrap Projects from Tipnut (pictured: Yo-yos from Heather Bailey).

Recycled Fabric Headband from Maya Made.